English
 Deutsch
 Español
 Français
 Italiano
 日本語
日本語 Русский
 中文
中文
Compression vs. Injection Molding – How to Choose the Right Technology
- Published November 06 2025 - Updated June 22 2026
Understand the differences between compression molding and injection molding, including process steps, cost, cycle time, and applications to choose the right manufacturing method.
In modern manufacturing, a common pain point is the struggle to balance intricate design requirements with production costs. High material waste and expensive tooling often prevent high-quality designs from reaching the market efficiently.
To solve this, Compression Molding and Injection Molding offer two distinct pathways. While one focuses on high-volume precision and speed, the other provides a cost-effective solution for robust, simpler shapes and specialized materials. This guide compares both technologies to help you identify the most efficient manufacturing strategy for your project.
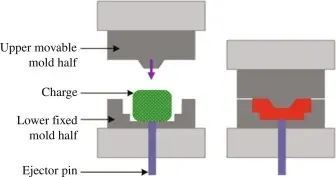
1. THE STEP-BY-STEP COMPRESSION MOLDING PROCESS
The step-by-step compression molding process works as follows:
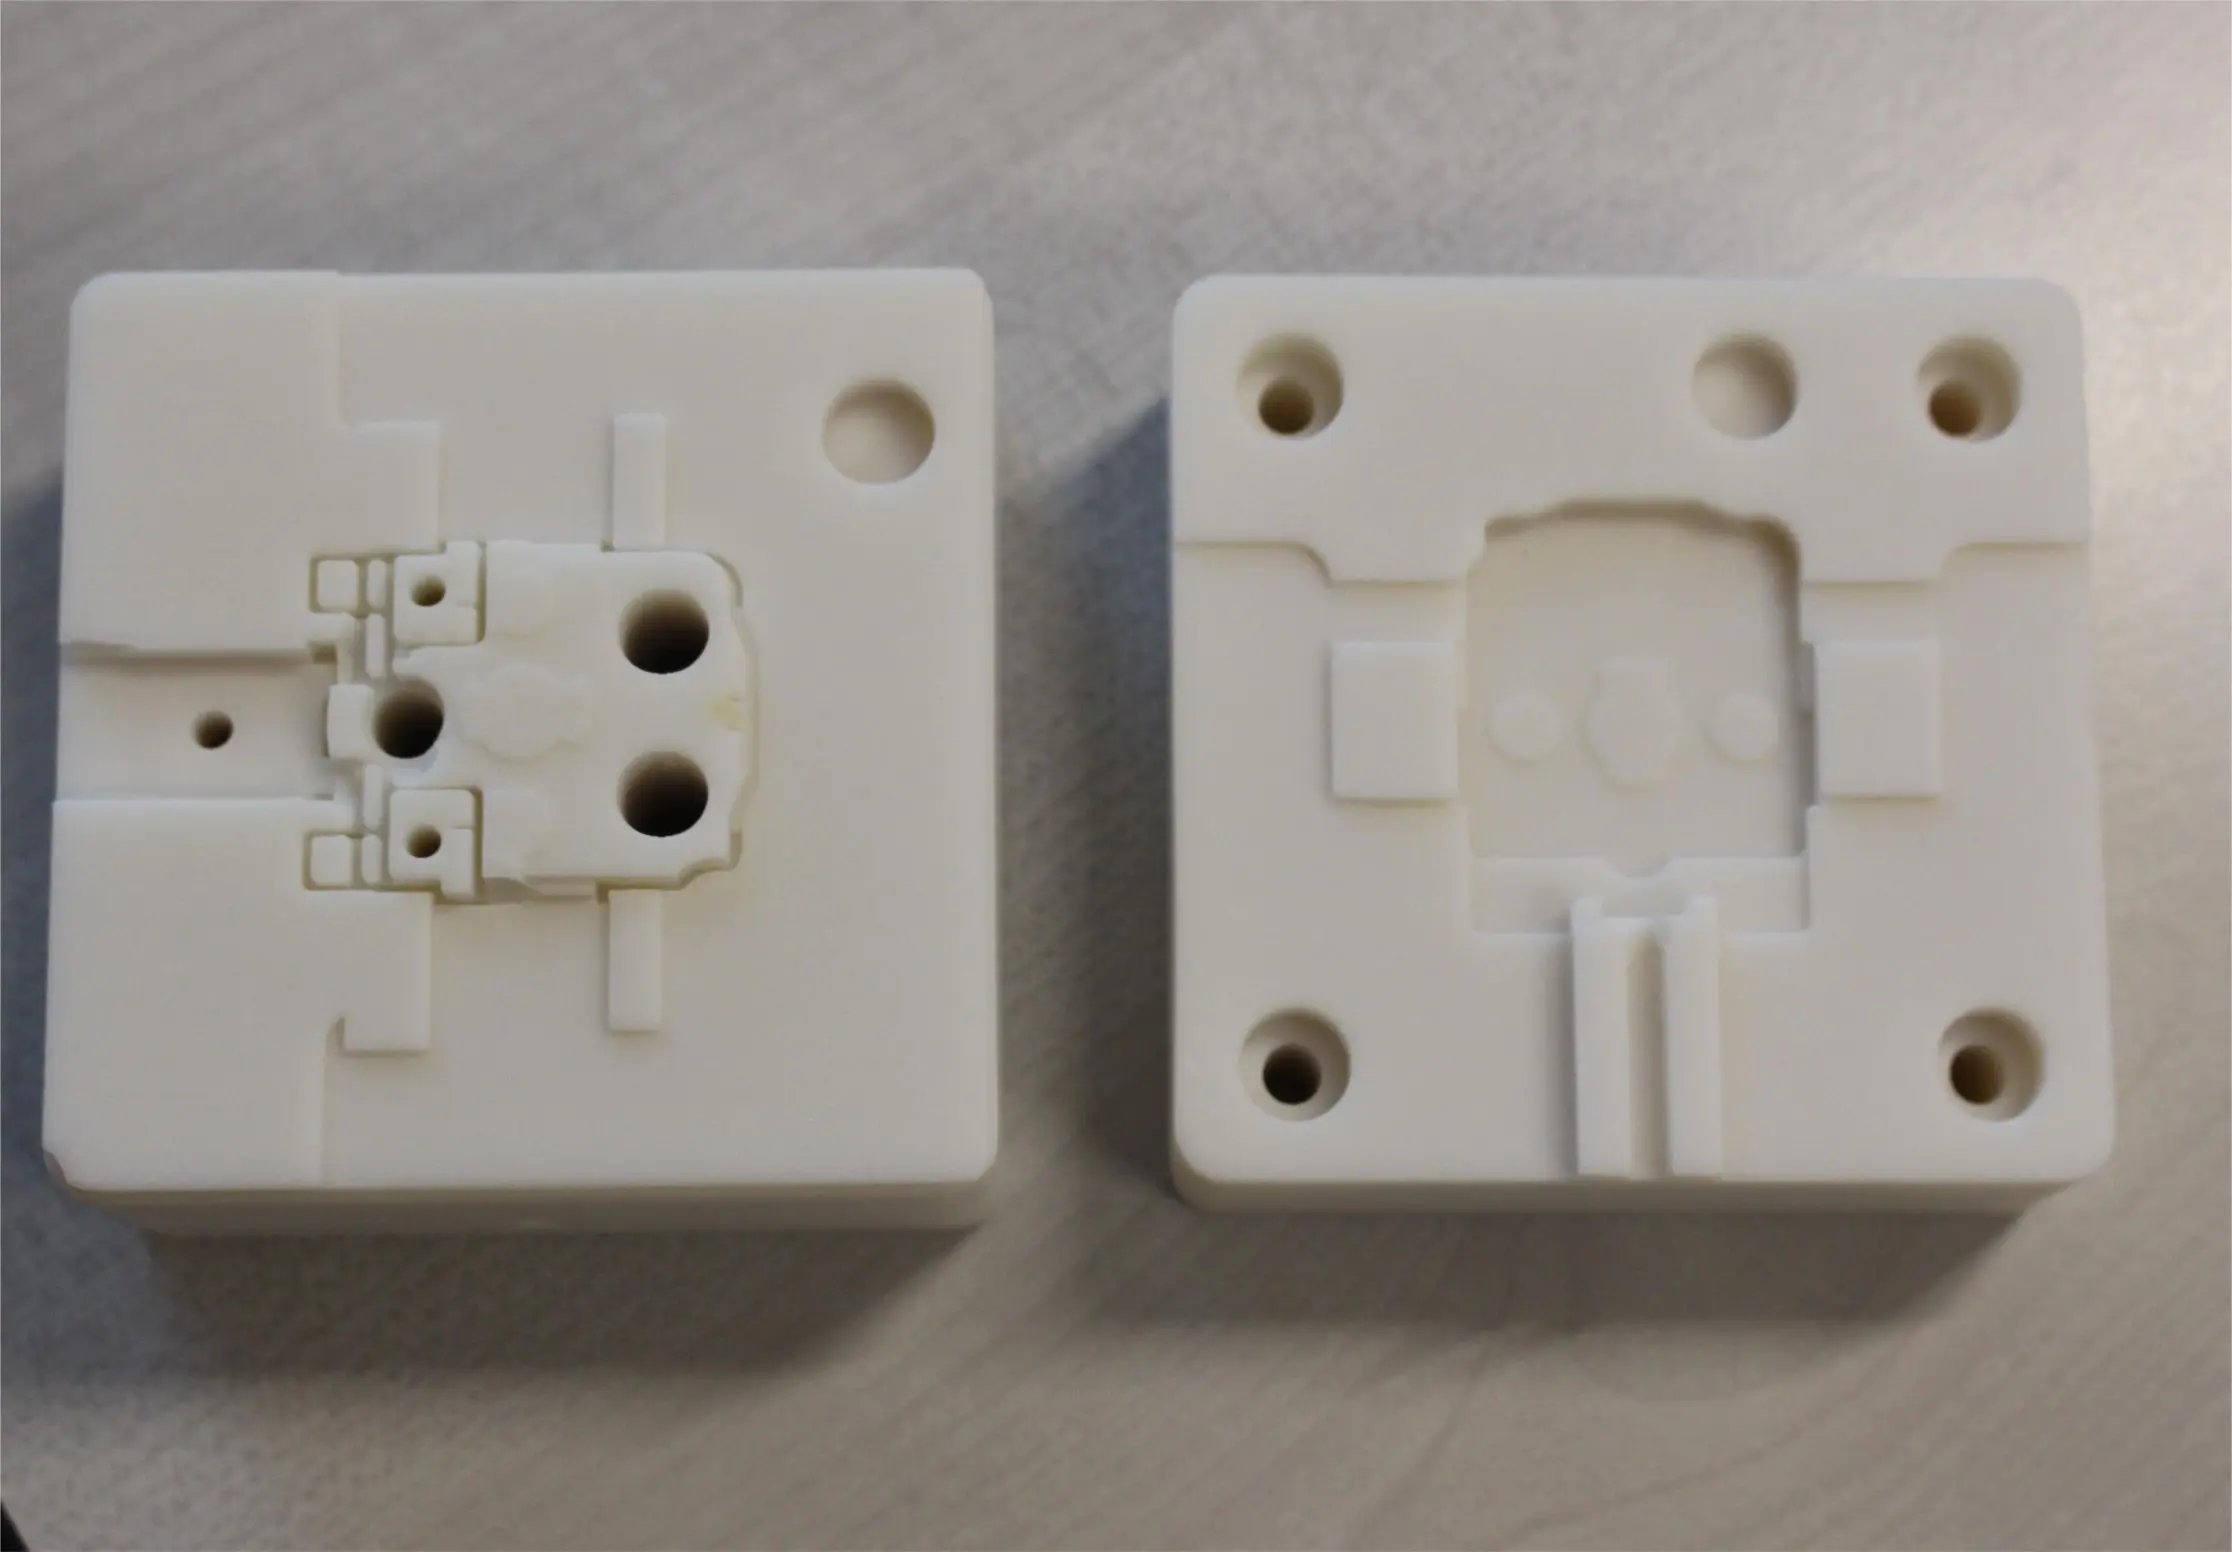
- STEP 1: Create molds – Tooling can be produced in a number of ways, including machining, die casting, 3D printing.
- STEP 2: Set up the machine – Depending on the specific machine or device you’re using, this may include cleaning the mold, turning on the heat, and other set-up processes.
- STEP 3: Prepare charge – Selected the type of material you want to use and determine the proper amount of material. If your charge is too big, excess material will seep out of the mold and result in flash that you will need to manually cut off.
- STEP 4: Insert charge – Place the charge in the center of the bottom mold.
- STEP 5: Compress part – Close the top mold, apply pressure, and wait for your piece to form. Many manufacturers also use heat during the compression process, which softens the raw materials and can help speed up production.
- STEP 6: Release part – Remove the finished piece.
- STEP 7: Clean part – Resin flash around the edges must be manually cut off or removed, and the part may need to be cleaned before the final assembly.
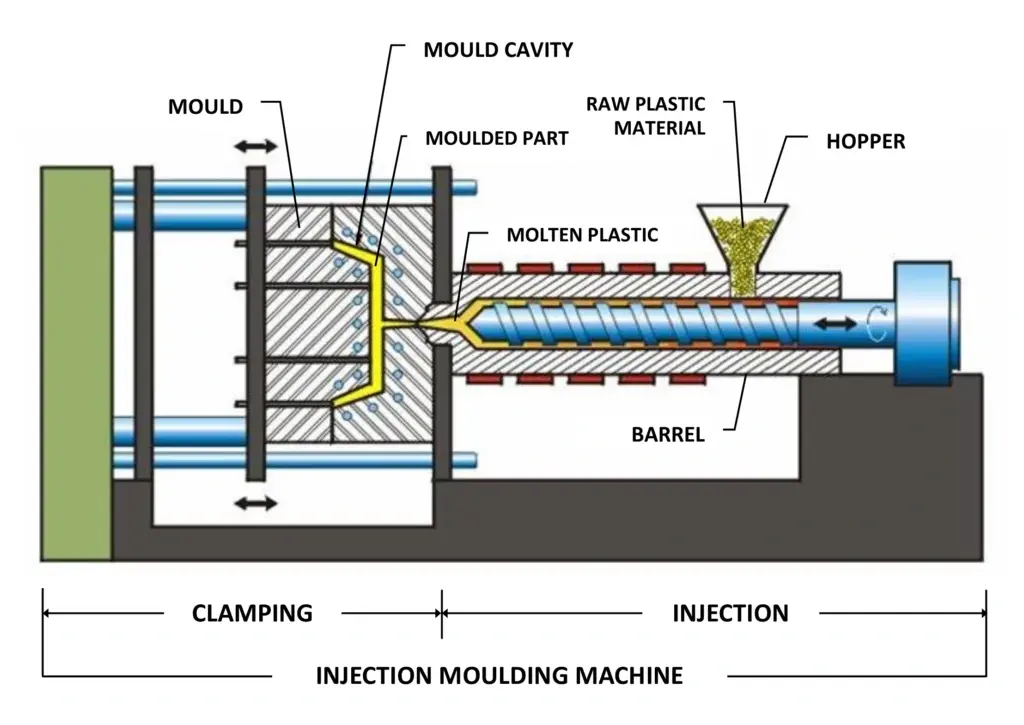
2. THE STEP-BY-STEP INJECTION MOLDING PROCESS
The step-by-step injection molding process works as follows:
- STEP 1: The mold closes – The Injection Molding cycle timer begins when the mold closes.
- STEP 2: Injection – The heated plastic is injected into the mold. As the melt enters the mold, the displaced air escapes through vents in the injection pins and along the parting line. Runner, gate and vent design are important to insure the mold is properly filled.
- STEP 3: Cooling – Once the mold is filled the part is allowed to cool for the exact amount of time needed to harden the material. Cooling time is dependent on the type of resin used and the thickness of the part. Each mold is designed with internal cooling or heating lines where water is cycled through the mold to maintain a constant temperature.
- STEP 4: Plasticizing the resin – While the part cools, the barrel screw retracts and draws new plastic resin into the barrel from the material hopper. The heater bands maintain the needed barrel temperature for the type of resin being used.
- STEP 5: Ejection – The mold opens and the ejector rod moves the ejector pins forward. The part falls and is captured in a bin located below the mold.
3. COMPARATIVE ANALYSIS: COMPRESSION MOLDING VS. INJECTION MOLDING
Compression molding and injection molding are very similar, but they have one major difference. In compression molding, molds are closed around the charge, and in injection molding, the charge is injected into a closed mold cavity.
Complexity and Material Compatibility
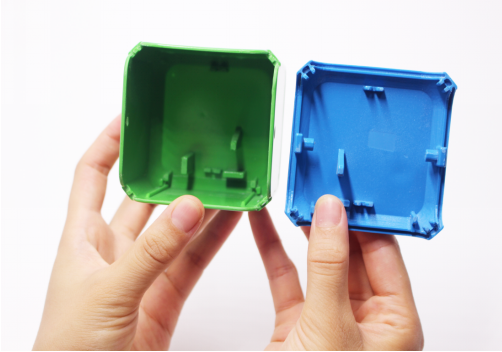
Today’s manufacturers frequently use both compression and injection molding but for different types of parts. Injection molding is typically a better choice for more complex parts. It can be performed with a variety of materials, most commonly thermoplastic polymers. While compression molding is a great option for relatively simple designs, including ultra-large basic shapes that cannot be produced using extrusion techniques. For basic plastic parts made with thermoset materials, compression moulding remains a popular technique, especially for gaskets, seals, and grommets.
Efficiency, Cost, and Tooling Considerations
Injection molding requires a shorter cycle time than compression molding, so it’s often faster and more cost-effective if you need to produce a large number of parts. However, compression molding is a lower-pressure production method, so the tooling costs are often lower. It also wastes little material, providing an advantage when working with expensive materials.
Strategic Selection for Production Volume
As a general rule of thumb, high volume production is better suited for injection molding, while compression molding is used rather for low and medium series of part production.