English
 Deutsch
 Español
 Français
 Italiano
 日本語
日本語 Русский
 中文
中文
3D Printing vs. Vacuum Casting vs. Injection Molding: A 4-Step Decision Guide
- Published September 02 2026 - Updated September 19 2026
A Practical 4-Step Framework for Choosing the Right Manufacturing Process
For 3D printing, vacuum casting, and injection molding, most people have a common idea that the number of parts is the first thing to consider. For example, choose 3D printing for 1–10 parts, vacuum casting for 10–100 parts, and injection molding for more than 500 parts. This is also why people often compare 3D printing vs. injection molding, vacuum casting vs. injection molding, or 3D printing vs. vacuum casting based mainly on production volume.But this simple comparison based only on quantity cannot solve many of the real problems people face.Choosing between 3D printing, vacuum casting, and injection molding also involves design maturity, validation goals, lead time, manufacturing risk, material requirements, and upfront investment.
Instead of starting with production quantity or simply comparing the similarities and differences between these three processes, it is more useful to start with your actual project needs.In this article, we will use a typical situation where you may be deciding between 3D printing, vacuum casting, and injection molding for prototyping or production. Then, we will work through four questions step by step: what the parts need to validate, how mature the design is, whether the final production material needs to be used, and how much cost and manufacturing commitment you can take on.
3D PRINTING VS. INJECTION MOLDING VS. VACUUM CASTING:A TYPICAL SITUATION
Now you already have a plastic enclosure that has been validated by prototypes, and you need to make 100 parts for the next stage. You are not sure whether to choose 3D printing, vacuum casting, or injection molding.
Table 1: Comparing Process Options for 100 Parts
Why 3D printing, vacuum casting, and injection molding may all be considered for the same batch of 100 parts, and what to consider before choosing one.
| Process | Why you may choose it | Why you may hesitate |
| 3D Printing |
|
|
| Vacuum Casting |
|
|
| Injection Molding |
|
|
So, when facing this situation, how should we choose? Let us ask ourselves these four questions one by one, and the answer will naturally become clear. In the following sections, “it” means this batch of 100 parts.
1. WHAT DO YOU NEED TO VALIDATE?
First, you need to ask yourself why you are making this batch of parts. We can use some concepts from the New Product Introduction (NPI) process to help us understand the current stage of these 100 parts.
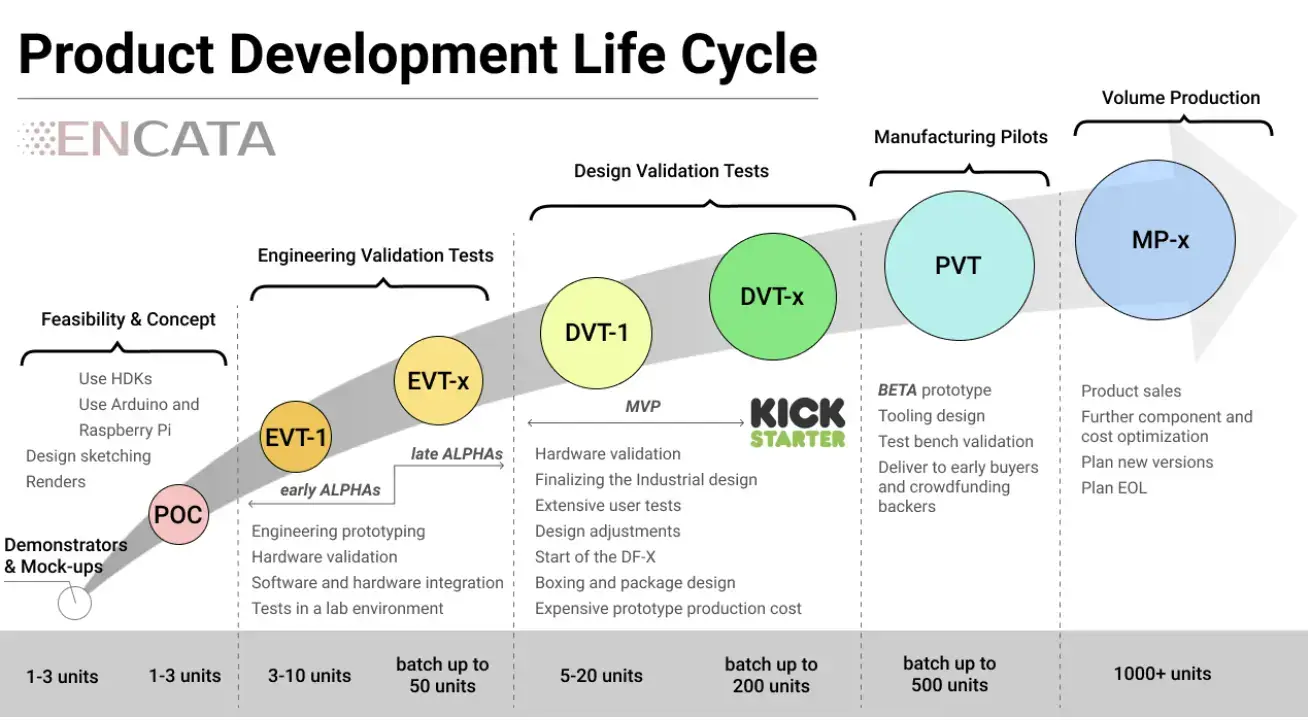
NPI Validation Stages: EVT, DVT, and PVT
EVT, DVT, and PVT represent different validation objectives during new product introduction, helping determine what the next batch of parts needs to prove.
Image source: Encata, “Hardware Product Development Stages: POC–EVT–DVT–PVT Explained”
As the product becomes more mature, it usually goes through three stages: EVT, DVT, and PVT. The validation goal at each stage is different.
EVT, Engineering Validation Test, mainly validates whether the product concept and function work during the product development stage. The requirements for the parts/manufacturing are mainly fast production, prototypes, and small batches.
DVT, Design Validation Test, validates whether the appearance, performance, and reliability meet the requirements. Therefore, this batch of parts needs to be closer to the final design, material, and performance.
PVT, Production Validation Test, focuses on whether the factory can produce the parts efficiently, repeatedly, and consistently. In general, this means that production tooling is needed.
Which Manufacturing Process Fits Your Validation Goal?
It is important to note that EVT, DVT, and PVT do not correspond one-to-one with 3D printing, vacuum casting, and injection molding. They are more useful for helping us understand “what exactly do these parts need to prove?” If we think about what this batch of parts is mainly for in this way, we can get a general answer in the first step.
Table 2: What Do You Need to Prove?
How different validation goals point toward different manufacturing processes for the next batch of parts.
| Main purpose | Potentially suitable choice |
| Validate engineering design | 3D Printing |
| Validate product design and need a small batch with good consistency | Vacuum Casting |
| Validate the final material and whether the injection molding process is feasible | Low-volume Injection Molding |
| Make these 100 parts the beginning of a stable production plan, such as entering stable production earlier | Production Injection Molding |
Note: This only gives us an initial direction, not the final answer. We still need to answer the next three questions.
2. IS YOUR CURRENT DESIGN MATURE ENOUGH?
How Do Design Changes Affect 3D Printing, Vacuum Casting, and Injection Molding?
After deciding what you want to get from this batch of parts, the next question is whether your design is mature enough. From an engineering point of view, this question can be more accurately written as: “How likely are you to change your design once you start manufacturing?”
The reason this question is necessary is the “cost of changing the design,” and this cost depends a lot on the process you choose. For example, for 3D printing, a change may only require updating the CAD file and reprinting the affected parts. However, once tooling is involved, the same change may mean modifying a mold that has already been designed and made.
An example published by Plastics Engineering magazine shows how quickly these costs can add up. In one injection molding project, engineering changes made after the mold was completed added an average of about $5,000 for each change. One project required three changes to both the moving and fixed halves of the mold. This not only added $30,000 to the mold cost, but also delayed the product launch by four weeks.
Table 3: What Does a Design Change Mean for Each Process?
How a design change affects cost, lead time, and engineering effort depending on the manufacturing process.
| Process | What a design change means | Cost impact | Time impact | Engineering effort |
| 3D Printing | Update the CAD drawing and print again | Relatively low | Relatively low | Relatively low |
| Vacuum Casting | Repair or remake the master | Medium | Medium | Medium |
| Low-volume IM | Change the tool, but the tooling investment is relatively low | Relatively high | Relatively high | Relatively high |
| Production IM | Change the tool, make new samples, and affect the schedule | High | High | High |
Here, we can also give a design standard to help you judge the design gate for these processes.
How Mature Does Your Design Need to Be for Each Process?
Table 4: How Mature Does Your Design Need to Be?
The minimum level of design maturity required for 3D printing, vacuum casting, low-volume injection molding, and production injection molding.
| Process | What state should your design normally reach before entering this process? | Key checks | If these issues are not solved |
| 3D Printing | Design is still being iterated |
| Prioritize flexibility and do not take on tooling commitment too early |
| Vacuum Casting (VC) | Design is stable enough to be copied |
| Continue using 3D printing for iteration, or reassess whether it is worth making a master/silicone mold |
| Low-volume / Rapid IM | Design is mature enough to take on the mold investment |
| Delay tooling release, otherwise later changes may bring additional tooling cost and time |
| Production IM | Design has basically entered the production stage |
| Do not rush into formal production tooling solve the remaining design/manufacturing risks first |
3. DOES THE MATERIAL NEED TO MATCH THE FINAL PART?
After considering the purpose of making this batch of parts and the current design maturity, the next thing we need to focus on is the “final production material.”
First, the material itself is part of the product. It represents properties such as strength, stiffness, heat resistance, impact resistance, chemical resistance, and even surface appearance. These are not things that the manufacturing process itself can replace.
For example, a part that can snap together when printed with PLA or ordinary resin does not mean that it will also work properly when the final part is injection molded with PA66-GF.
When the design is basically determined, we need to start considering mechanical, chemical, and electrical properties. Using production-grade materials can help us evaluate material selection and final performance more accurately.
Therefore, material selection is a very important dividing point here. Even if you have already determined the final material, it can in turn limit whether you can use a certain process to validate it.
We can say that material affects not only the performance of the part, but also the manufacturing process. This is because different manufacturing processes use materials in different physical states and have different processing mechanisms.
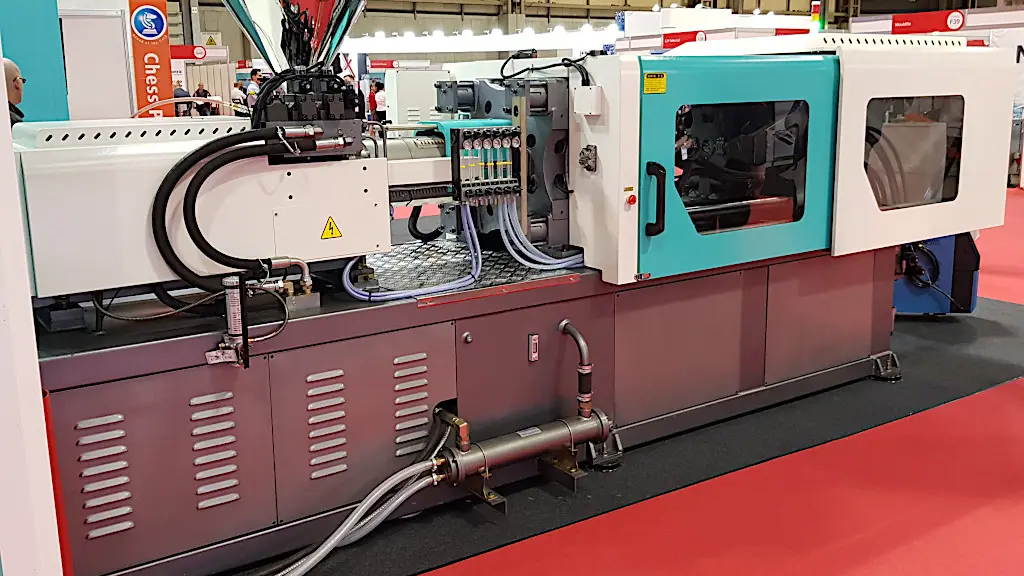
Injection Molding Station at TCT 3Sixty
Image Source: ©3DWithUs – Photo by Max Funkner
Read more from Max: Can 3D Printing Replace Injection Molding?
How Do Materials Differ Across 3D Printing, Vacuum Casting, and Injection Molding?![]()
- 3D Printing: Depends on the material processing method, such as FDM melt extrusion, SLA photopolymerization, and SLS powder sintering. It mainly affects layer bonding, shrinkage and warping, and surface quality.
- Vacuum Casting: Depends on the flow and curing of liquid resin in the silicone mold. Resin viscosity and curing properties mainly affect filling, demolding, and surface reproduction.
- Low-volume IM: Depends on the rheology and crystallization of thermoplastics. Melting and shrinkage behavior mainly affect mold design, molding parameters, and shrinkage.
- Production IM: Based on low-volume IM, it further requires the material to match long-term production conditions. It mainly affects the processing window, cycle time, yield, and batch stability.
When Do You Need the Final Production Material?
More importantly, the “real representation” of the material in different processes is fundamentally different.
3D Printing: If you only need to validate dimensions and appearance, there is a lot of flexibility in material substitution. But if you need to test mechanical properties, material substitution can make the result less accurate.
Vacuum Casting (VC): This is a very special transition process. It can reproduce the appearance and feel of the final product relatively well, but casting resin (PU) is not the same as the final thermoplastic used for injection molding. It can reproduce the “geometry,” but it cannot fully reproduce the “final material behavior.”
Low-volume IM (L-V IM): This is a change point. From here, we use real thermoplastic material + real injection molding, so it is very suitable for functional testing.
Production IM: This is the final stage. Material does not only determine performance, but also determines “whether it can be produced stably with a specific mold and machine.” Shrinkage and melt flow can affect the design of the gate, runner, and cooling system.
So, when answering this question, how should we choose the specific process?
Table 5: What Material Requirements Does Your Process Need to Meet?
How different material requirements, from basic geometry validation to final-material testing, can lead to different process choices.
| Your material validation needs | Impact on process choice |
| Final material is not determined yet; only geometry/assembly needs to be validated | 3D Printing has the highest flexibility |
| The final product needs an appearance and feel similar to an injection-molded part, but the material itself is not the main validation target | Vacuum Casting may be reasonable |
| A specific final thermoplastic material must be tested for strength, heat resistance, snap fits, threads, and other performance | The value of Low-volume IM clearly increases |
| The final material is already determined, and you also need to validate the production material + mold + molding conditions + repeatability | Production IM is more reasonable |
4. HOW MUCH COST AND COMMITMENT CAN YOU TAKE ON?
At this step, we will really start to consider manufacturing cost. It should be pointed out that among these processes, this is not simply part price × quantity, but the real commitment, risk, and total cost.
First, let us sort out the cost structure of these processes to do a 3D Printing vs. Vacuum Casting vs. Injection Molding Cost Comparison.
3D Printing, Vacuum Casting, and Injection Molding: Cost Comparison
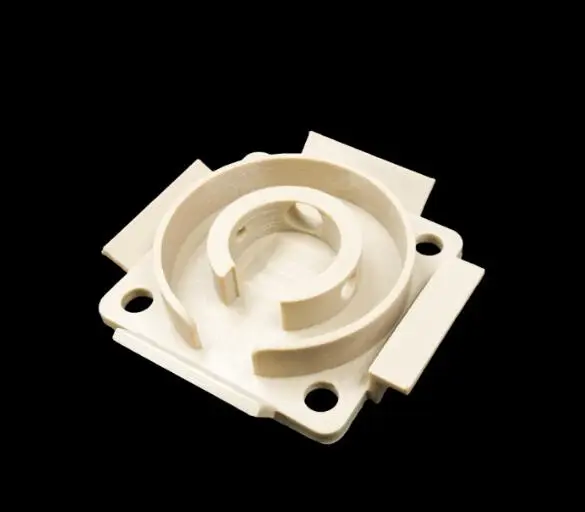
FDM 3D Printing with PEEK for Mechanical Parts
FDM 3D printed mechanical part made with PEEK, showing the layered surface typical of FDM printing.
Image source: IN3DTEC
3D Printing – part cost × quantity + finishing.
The advantage is that the upfront fixed investment is low, but the economic risk mainly comes from the fact that after repeated production of many parts, the total part cost can become very high. – Higher unit cost, lower commitment
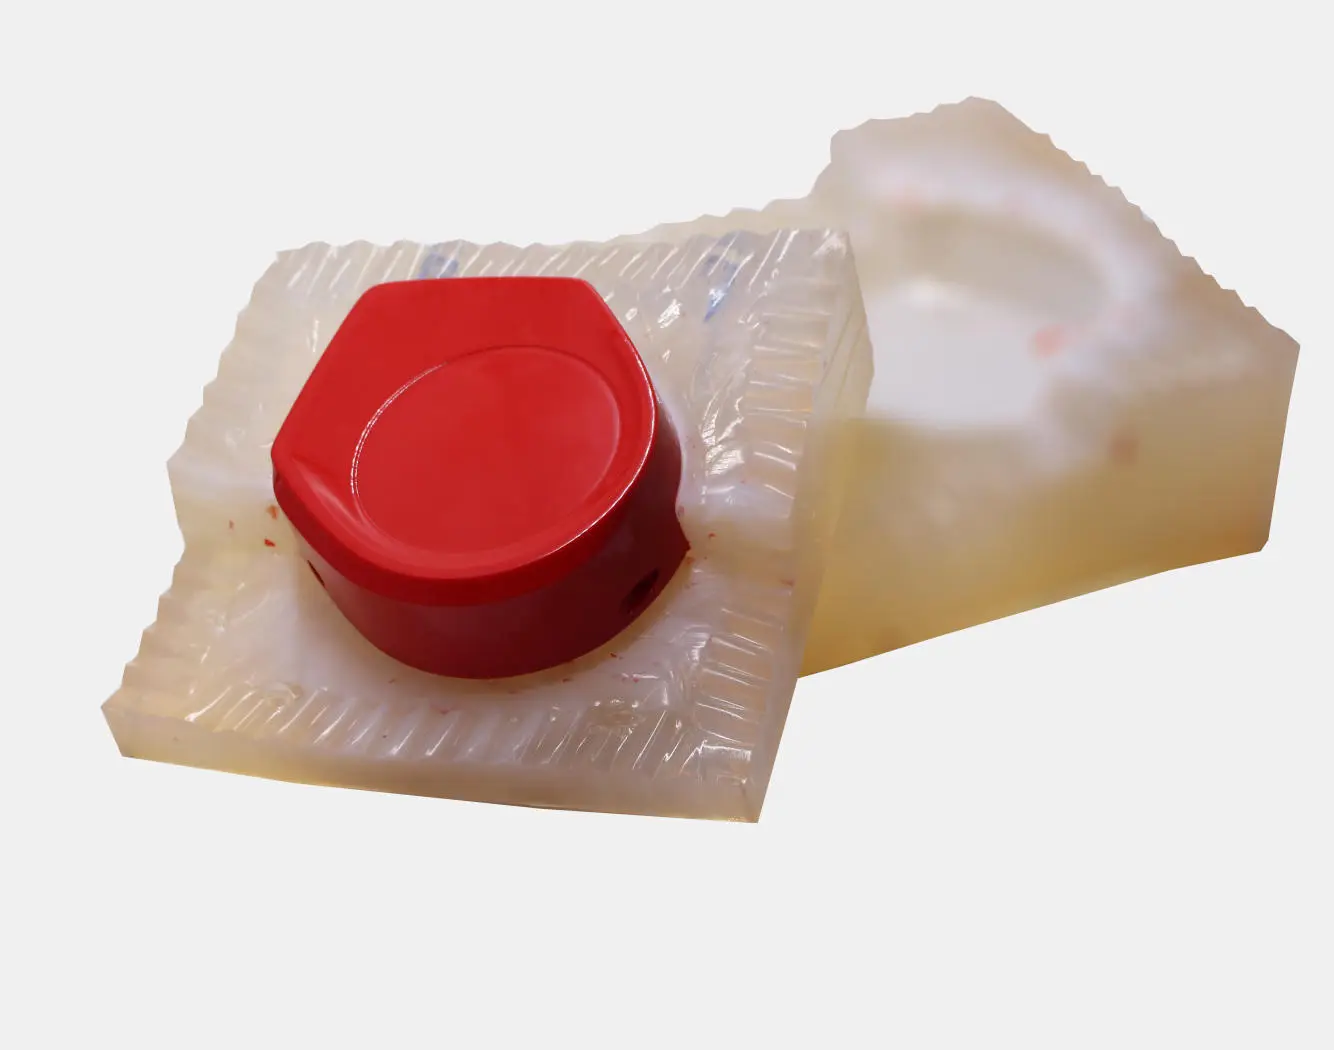
Vacuum Casting for Glossy ABS-like Parts
Vacuum cast ABS-like part with a glossy surface finish, produced using a silicone mold.
Image source: IN3DTEC
Vacuum Casting – master + silicone mold + casting parts.
There is clearly more upfront commitment here. The difference between VC and 3D printing is that you are not buying 100 parts, but buying a mold system that can reproduce the design in small quantities. – Moderate upfront investment, moderate commitment
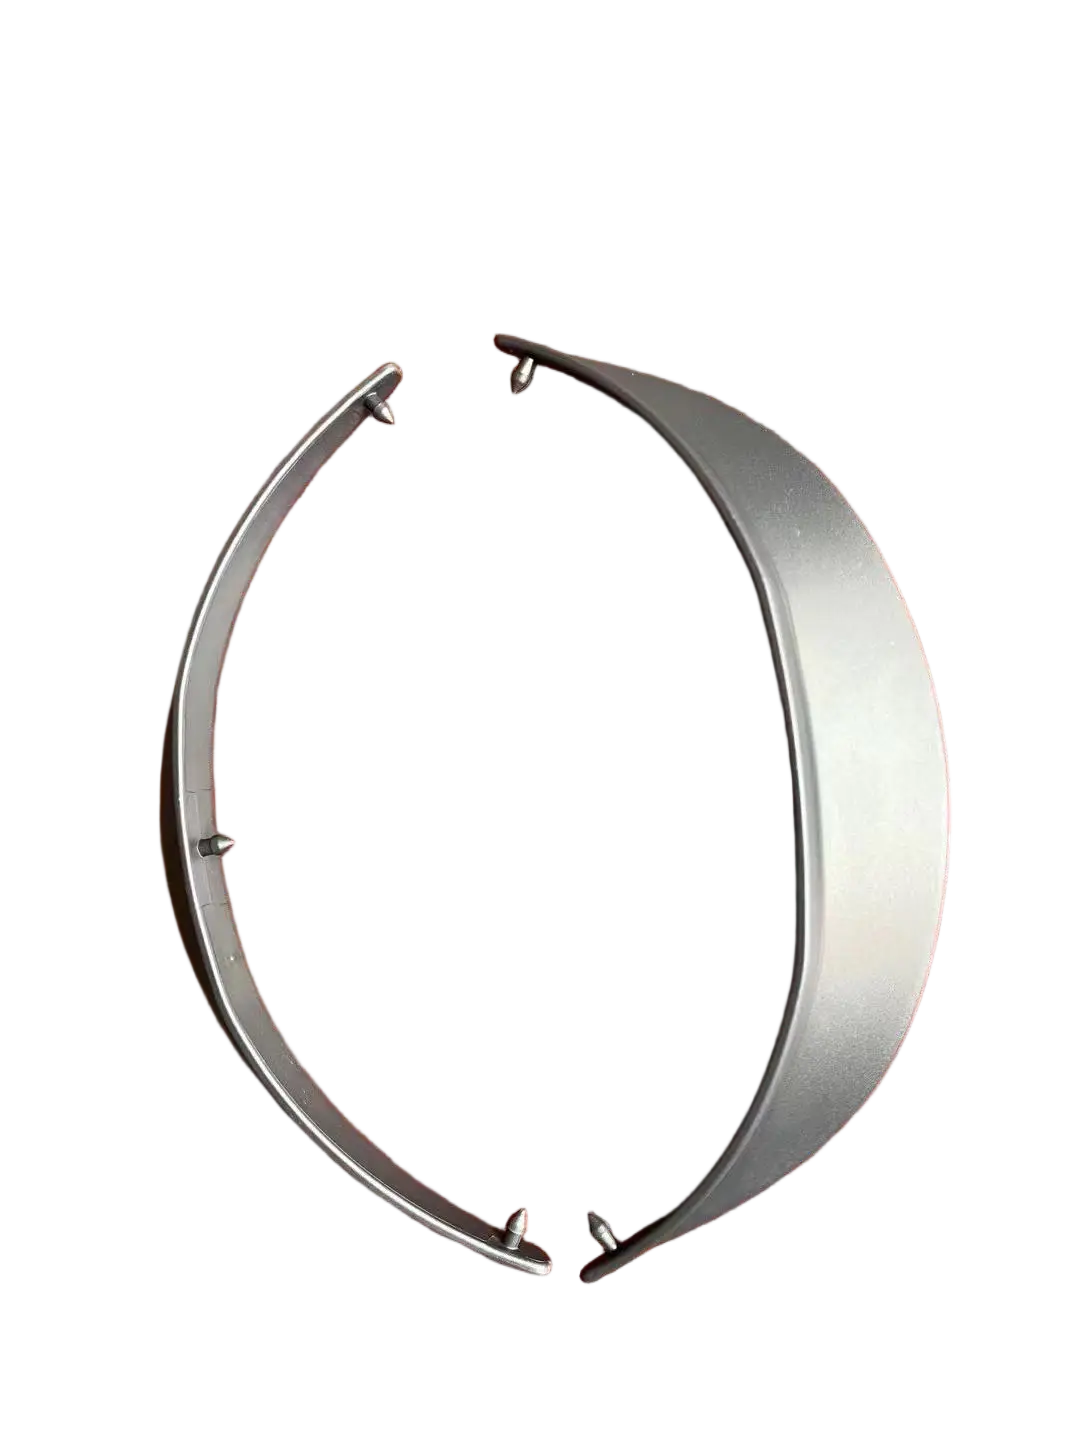
IN3DTEC Low-Volume Injection Molding Process
Image Source: IN3DTEC
L-V / Rapid IM – tooling cost + part cost × quantity.
Here, tooling commitment is added. We can use aluminum molds to lower the tooling investment. The economic logic can be understood as: you are willing to spend some money first in exchange for a lower unit cost later, as well as the ability to use real thermoplastic material. – Tooling investment in exchange for lower unit cost and production-grade thermoplastic parts
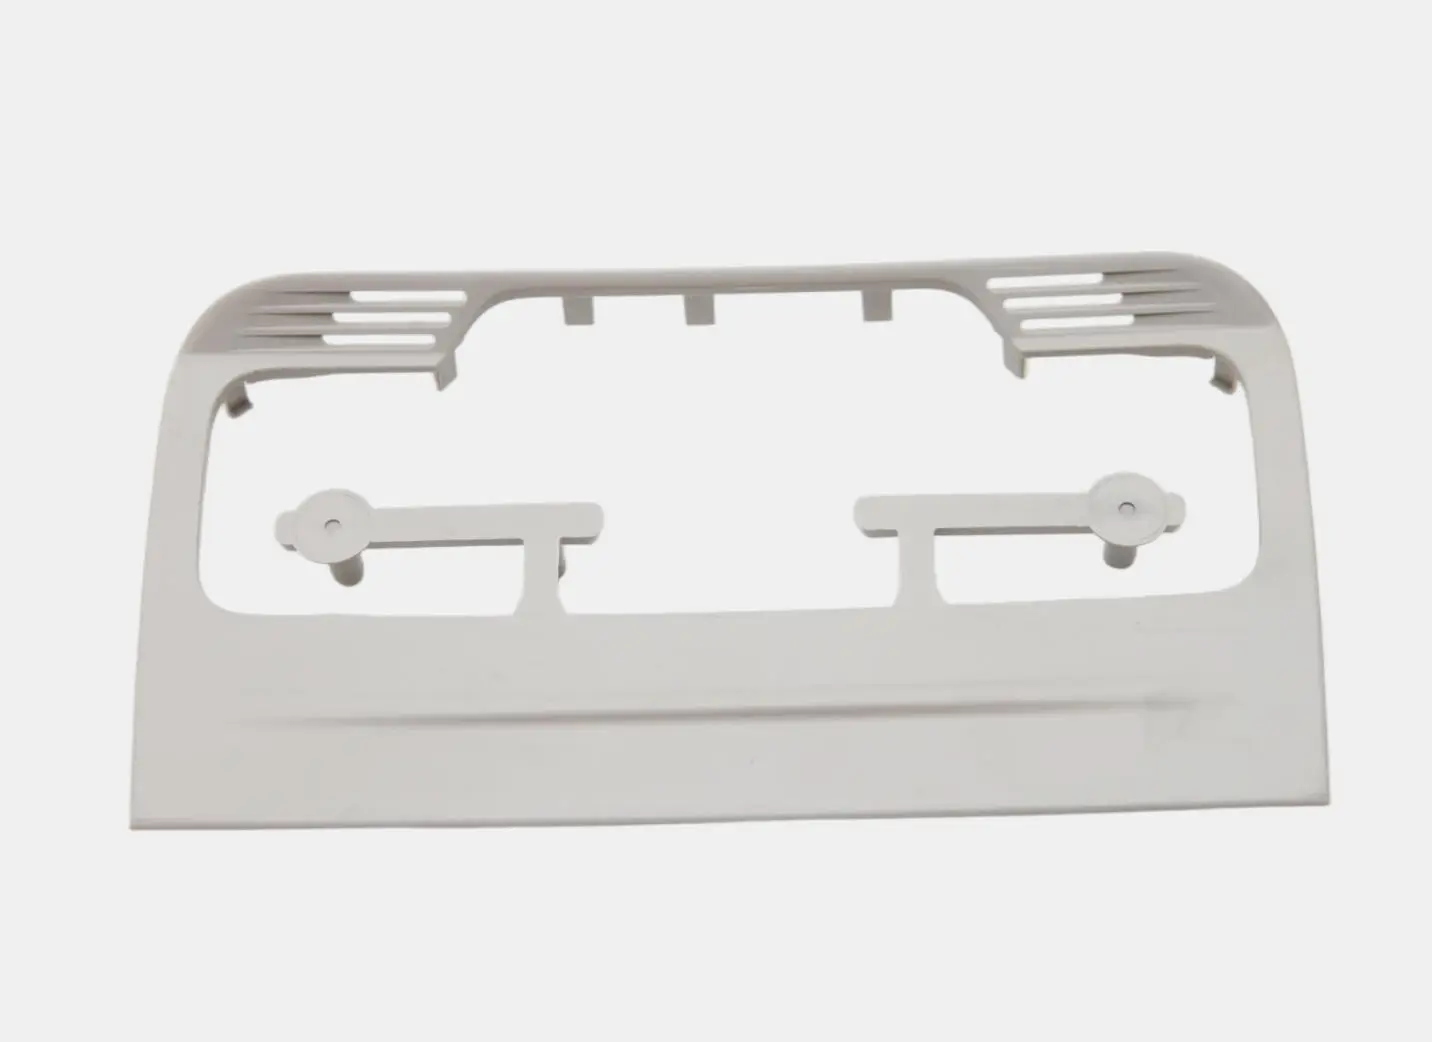
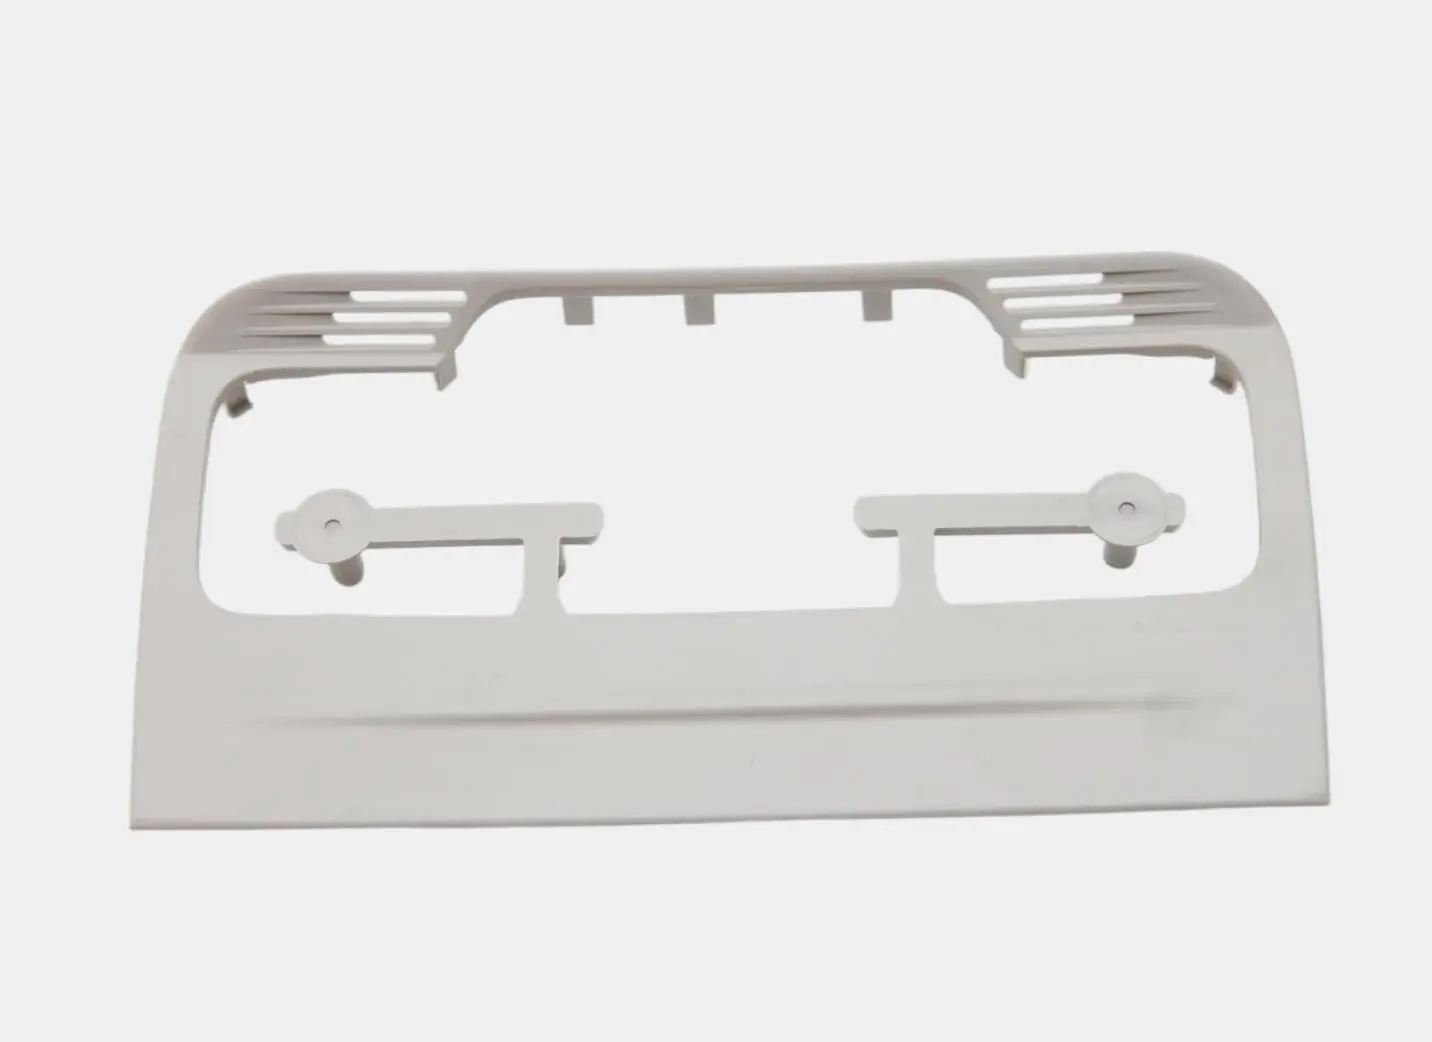
Injection Molding for Consumer Electronics Casing
Injection molded consumer electronics casing with a smooth surface, uniform walls, vents, and mounting features.
Image source: IN3DTEC
Production IM – tooling commitment + volume commitment + material commitment + manufacturing commitment + supply commitment.
At this stage, we are no longer focusing on whether the design is correct, but on risk management around production speed, people, scrap, daily yield, and so on. If our product decision is wrong at this stage, the loss may not only be one mold, but the whole production plan. – High upfront and long-term production commitment
What Should You Consider Before Committing to a Manufacturing Process?
Based on this, our question should not simply be “How much budget do you have?” but “How much risk can you take during the manufacturing of this batch of parts?”
Here we also have a checklist that can help you make the decision.
Table 6: Manufacturing Commitment Checklist
Key cost, tooling, production, and risk factors to consider before committing to a manufacturing process.
| Questions to ask yourself | Actual impact |
| How much upfront budget do I have now? | Can you afford tooling? |
| If I change the design one more time, how much additional cost can I accept? | Determines whether you should enter tooling |
| If this batch of parts fails, can I accept making another batch? | Determines how much process flexibility you need |
| How low does my unit cost need to be? | Determines whether it is worth using tooling to get a lower piece price |
| Do I expect to continue production later? | Determines whether the tooling cost can be spread over more parts |
| Is this a one-time project? | A one-time project may not be suitable for high upfront investment |
| What if demand changes from 100 to 1,000 / 10,000 parts? | Determines whether bridge / production tooling should be considered |
| Can I accept a longer tooling lead time? | Affects whether you can move into injection molding |
| How high are my requirements for material/dimensional/appearance consistency? | Affects whether it is worth moving to a more stable manufacturing process |
| What is the cost of failure for this batch of parts? | Affects how much manufacturing risk you are willing to take |
| How certain are my future orders/demand? | Determines whether production tooling is reasonable |
| Is the mold life enough to cover the expected volume? | Affects tooling ROI |
HOW TO CHOOSE THE RIGHT MANUFACTURING PROCESS
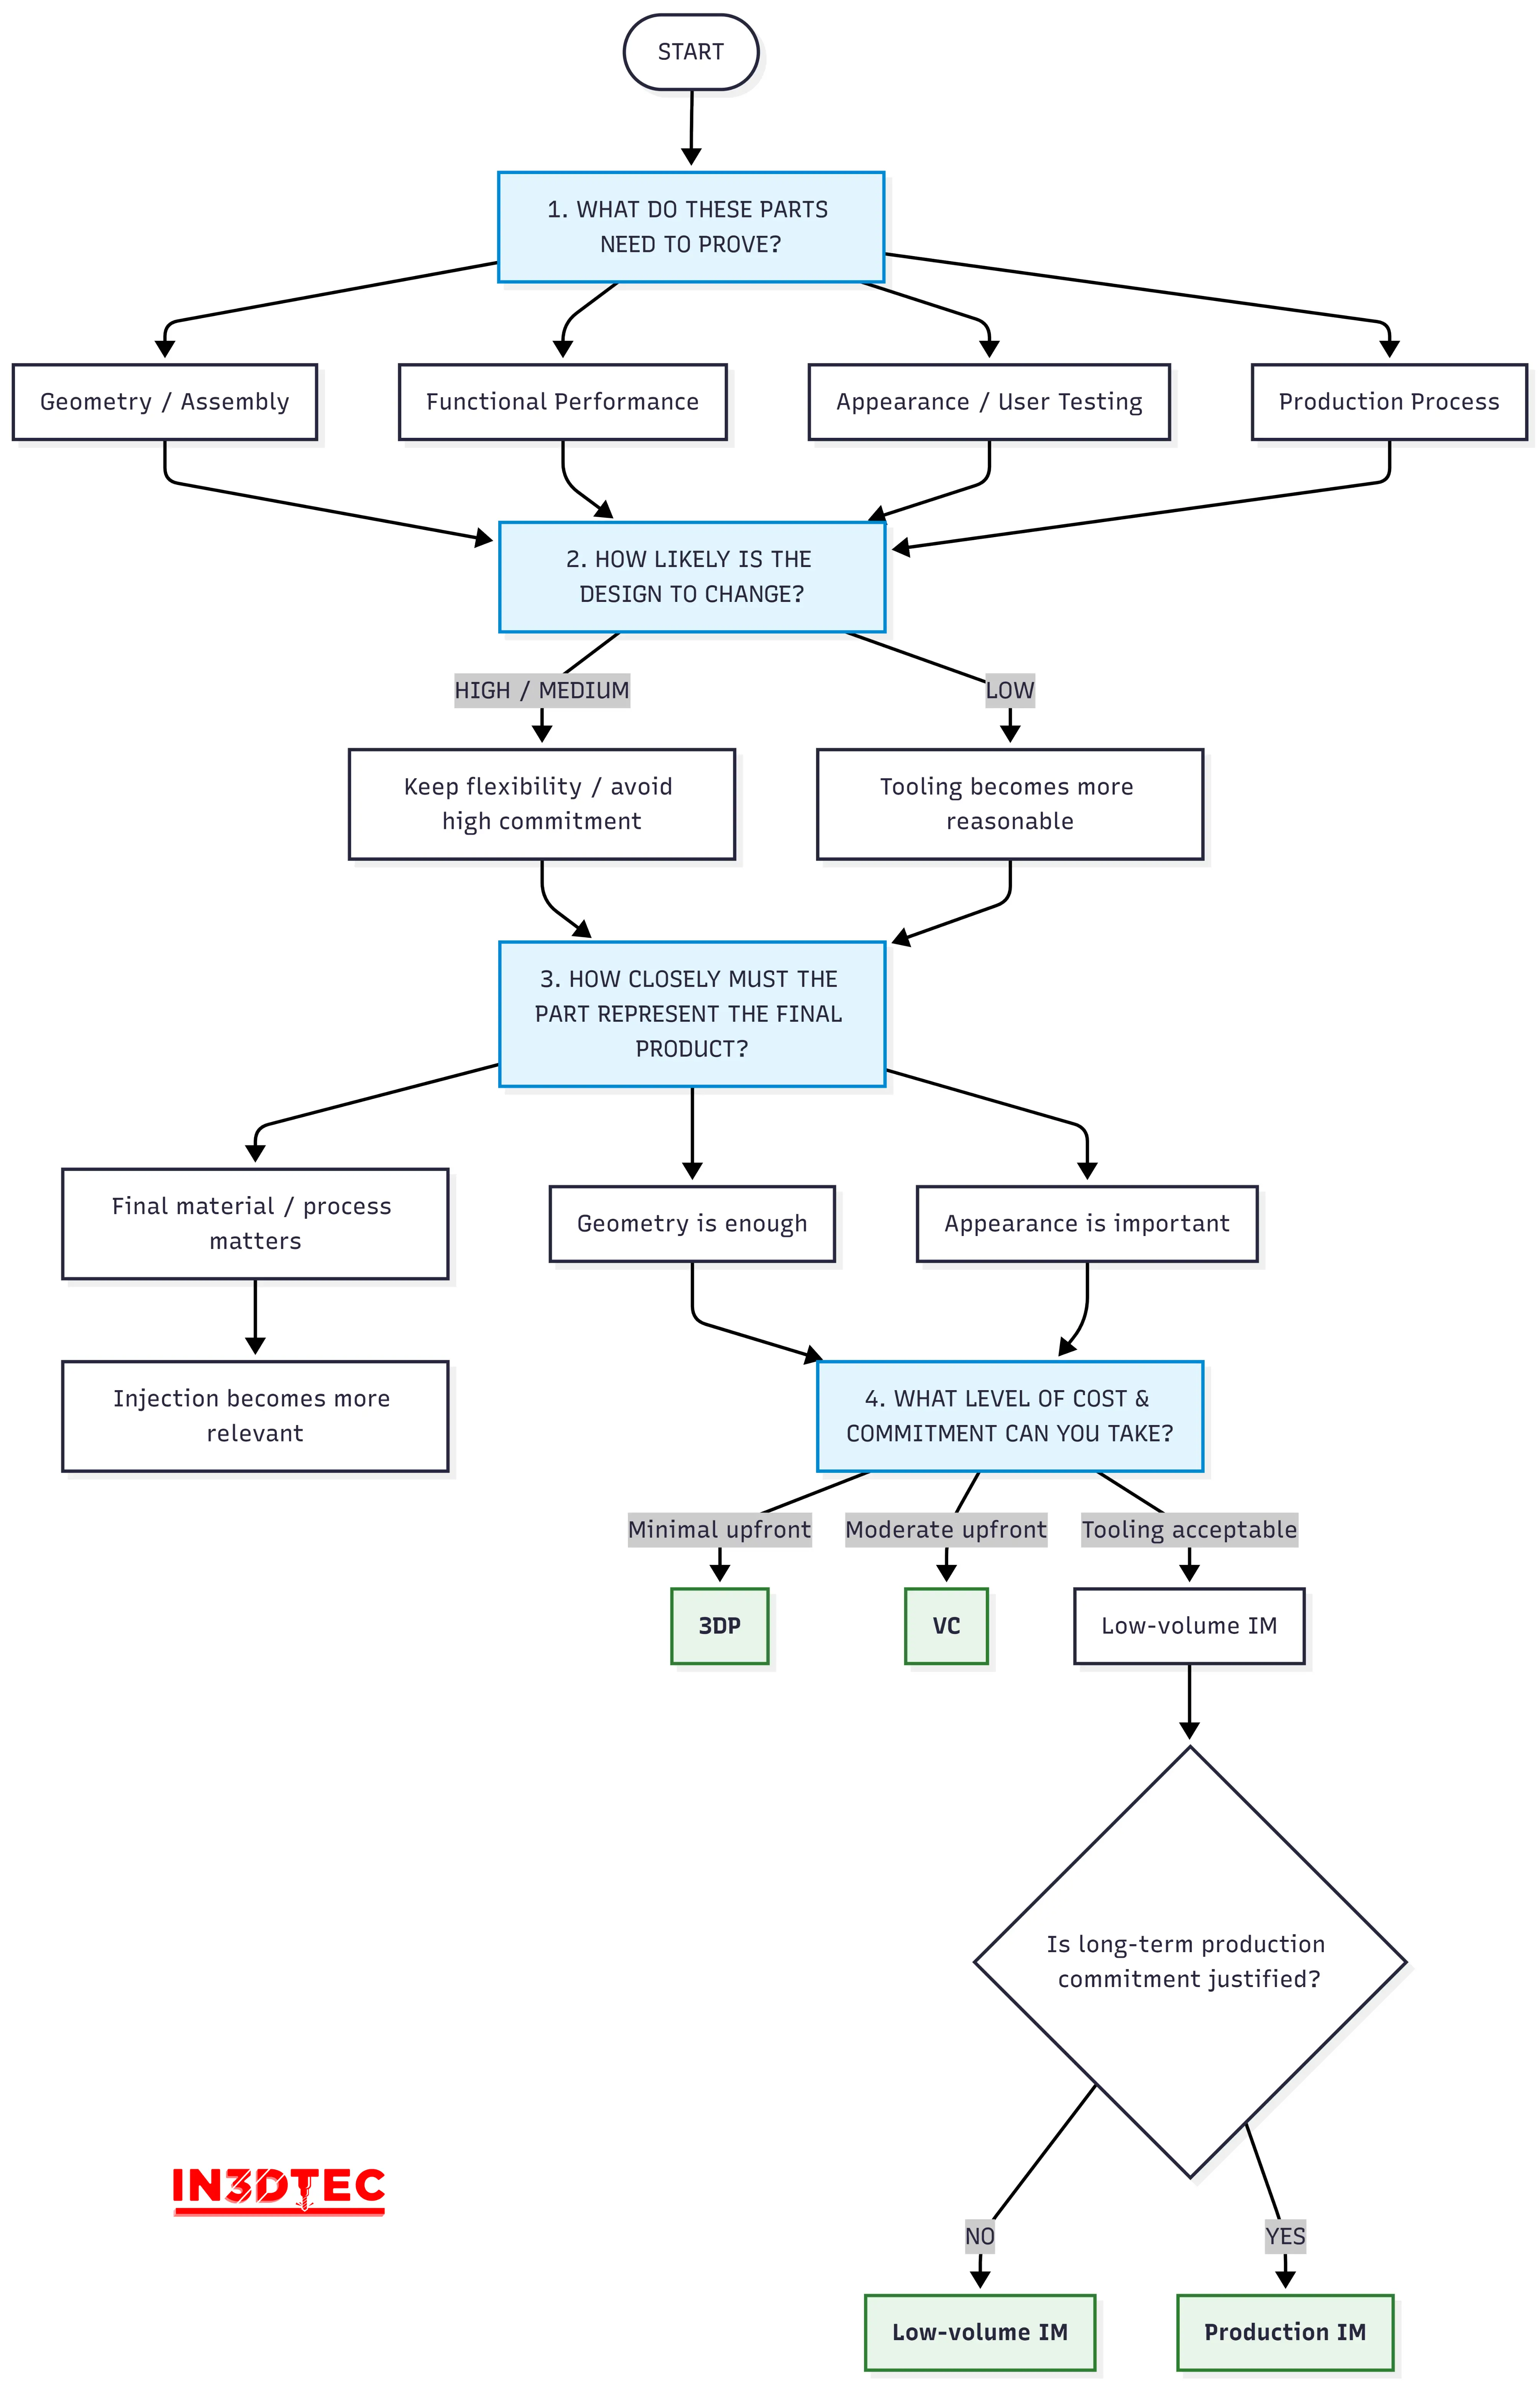
Engineering Decision Tree: Choosing the Right Manufacturing Process
An engineering decision framework for selecting 3D printing, vacuum casting, low-volume injection molding, or production injection molding based on validation goals, design maturity, material requirements, and manufacturing commitment.
Image source: IN3DTEC Technical Team
The engineering decision tree below brings these four questions together and provides a more systematic way to choose a manufacturing process for the next batch of parts.
As you may have noticed that throughout the whole article, we did not mention quantity as an independent core decision factor for these three processes. The reason is that we believe simply considering quantity is far from enough to make an engineering decision.
Just like the typical situation we set at the beginning of the article, the quantity was already given to you from the beginning. But we still need to think about other key factors to decide which process we should choose.
CLOSING
Do you have a project that needs to be manufactured now, or are you still hesitating because you do not know how to make the decision? Contact us, and IN3DTEC will give you professional advice based on your current situation.
In addition, IN3DTEC provides 3D printing, VC, low-volume IM, and production IM services. Welcome to learn more.