English
 Deutsch
 Español
 Français
 Italiano
 日本語
日本語 Русский
 中文
中文
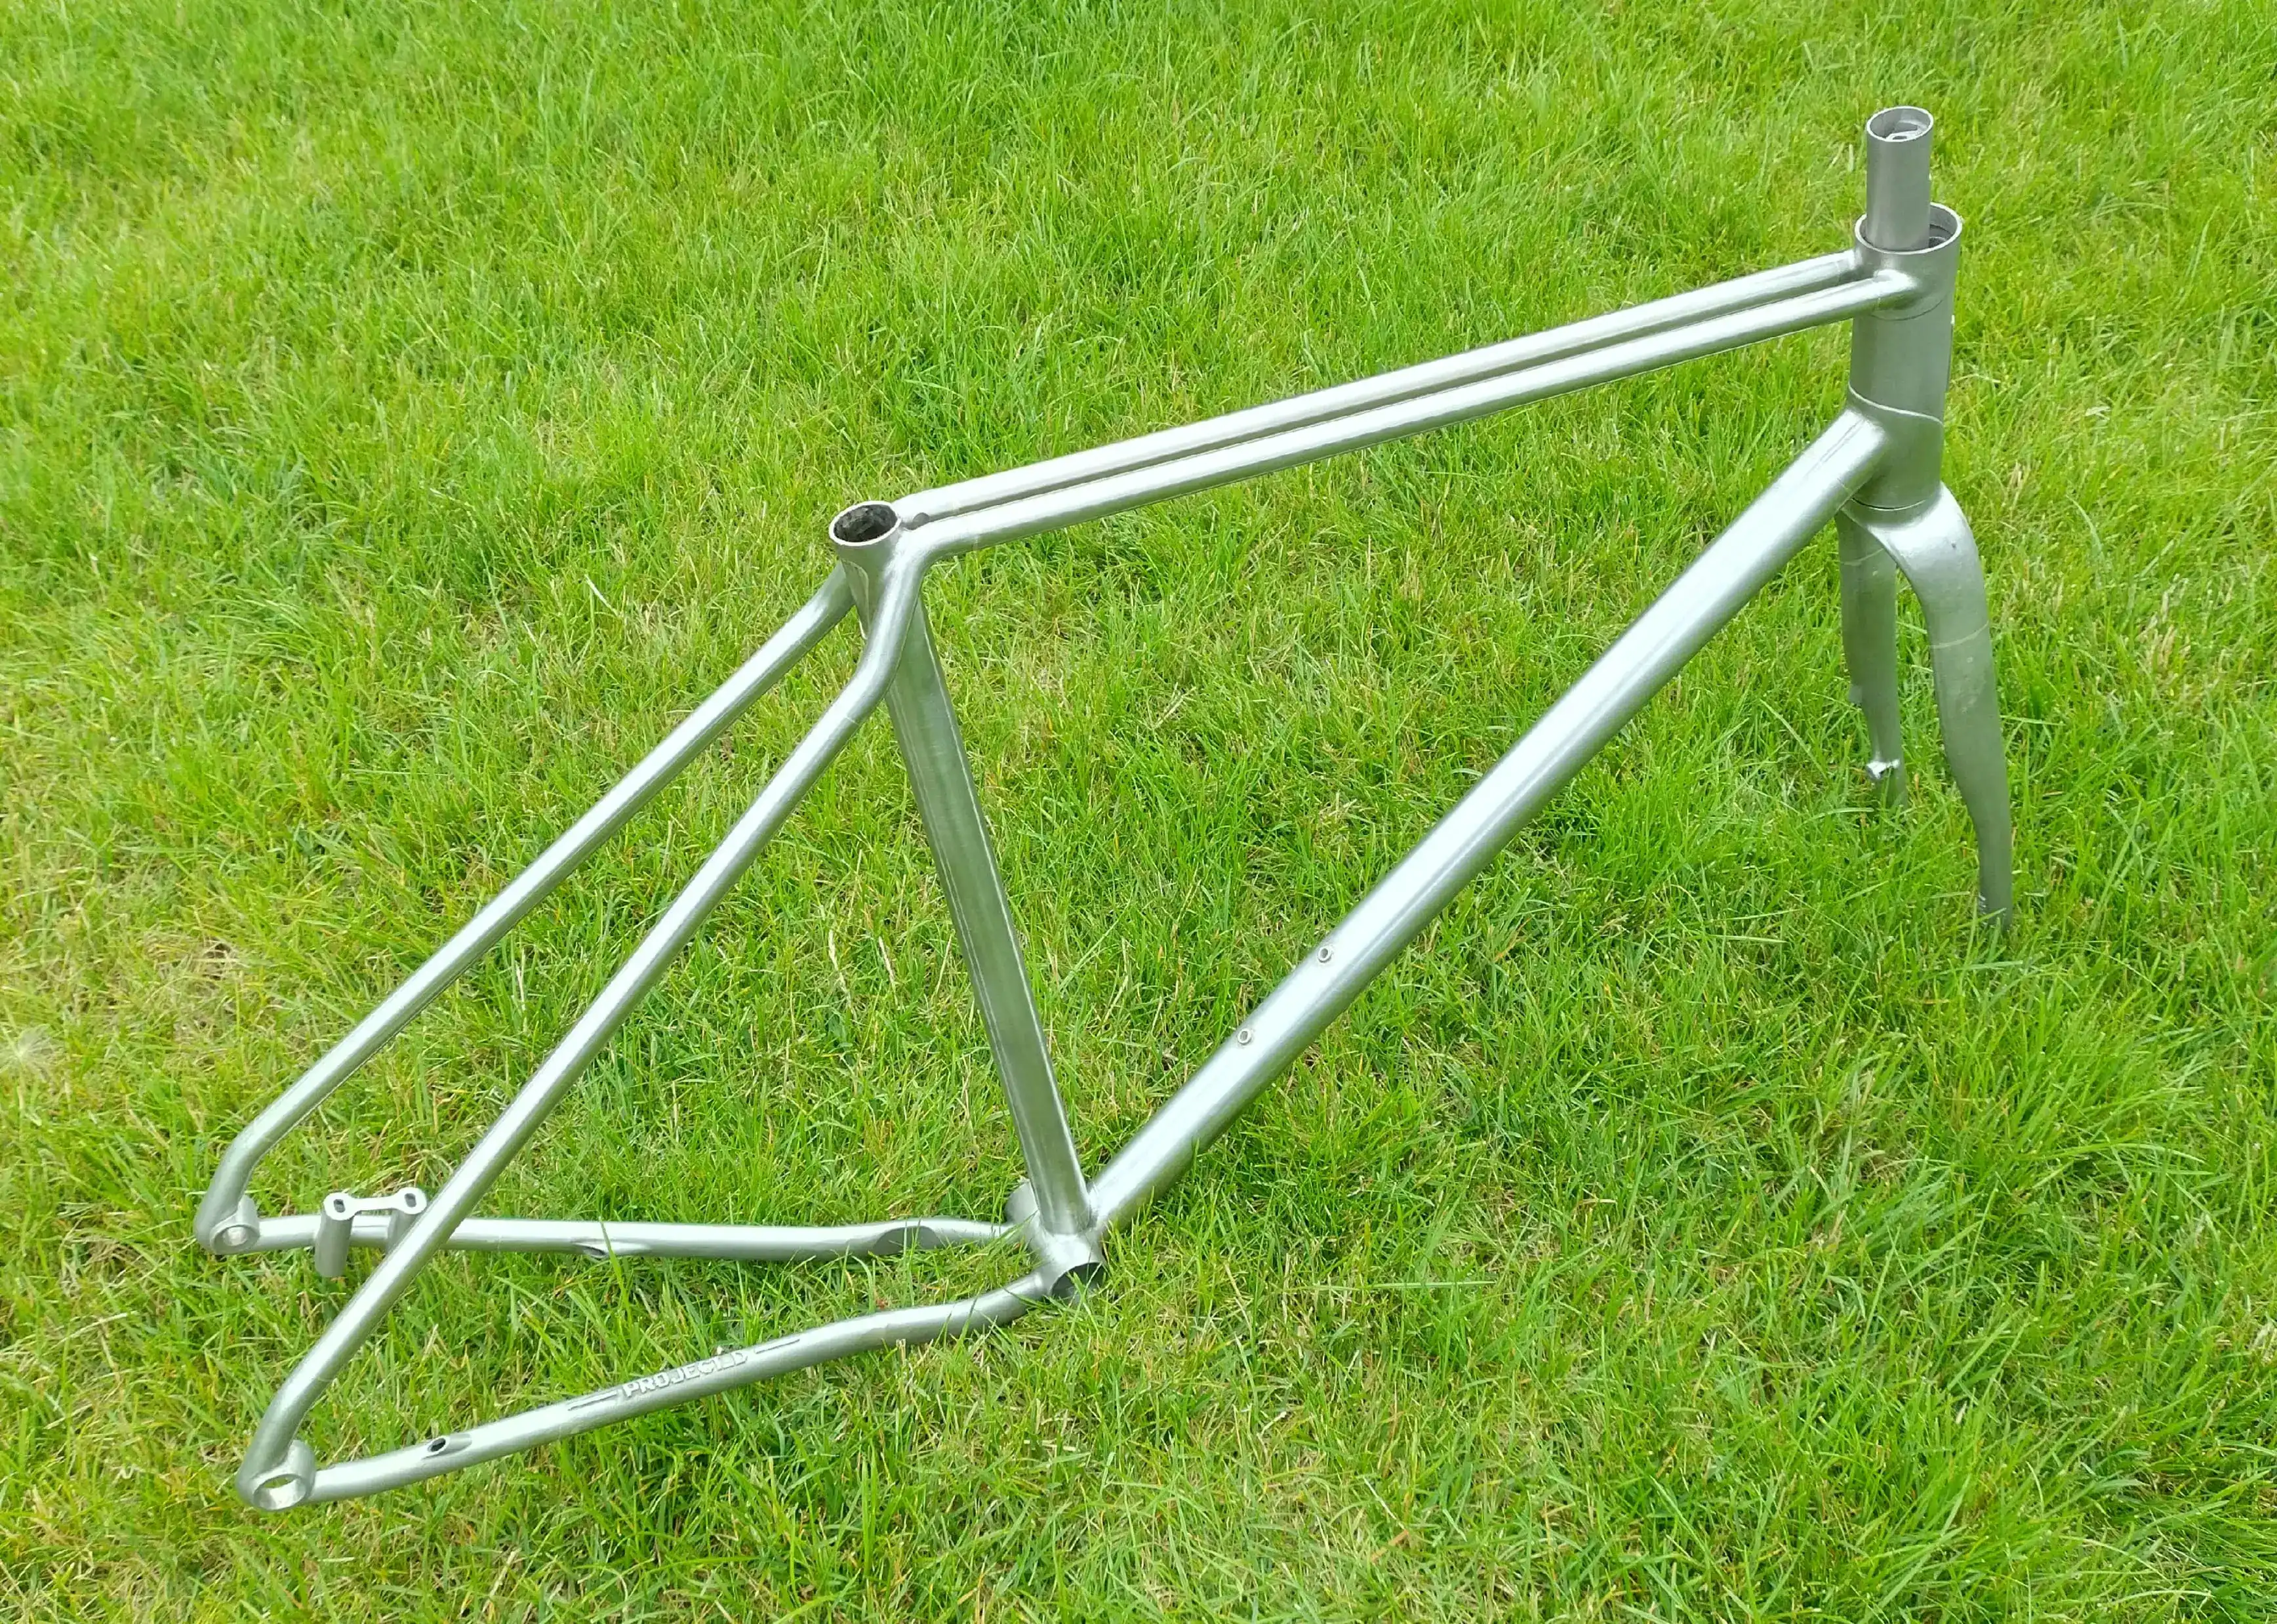
Project_D prototype gravel frame creation story
- Published August 03 2026 - Updated August 28 2026
How 3D printing helped create a high-performance custom gravel bike
Project story by @ Project_D Bicycles, with IN3DTEC production notes.
The process of creating the Project_D prototype gravel frame started with conceptual design and FEA analysis, followed by 3D printing custom stainless steel components that could not be achieved with standard manufacturing techniques.
1. CONCEPT & DESIGN
I run Project_D Bicycles with a singular goal – to create bicycles that offer unforgettable riding experiences. For that to happen, the bikes must be engineered differently from most bikes out there, which behave satisfactorily, but create no lasting memories. When designing a new frame, I always start with an idea of how I want the bike to subjectively feel and handle and then attempt to bring that idea to the real world. One of the issues however is that the materials available to bicycle designers are limited – there are only a certain number of tube shapes and diameters out there in a handful of materials. It soon turned out that the objectives I set are impossible to fulfill with the available tubes, I would need to create some of the tubes myself.
The process of creating my prototype gravel frame prototype started with an overall conceptual design followed by multiple sessions of FEA analyses, where I would primarily focus on the cross-section, shape and wall thicknesses of the chainstays. Chainstays, the tubes holding the back wheel, are the most difficult area of the modern bike to design – they need to snake around the chainrings and the tire, offer clearance for the shoes and then create sufficient space for the disc brake – all that while being sufficiently strong to transfer enormous forces and sufficiently rigid for the frame to not rob the rider of the precious watts. Multiple sessions of FEA gave me a good idea of the shapes and wall thicknesses I was after – unfortunately, no commercial chainstays fit my objectives, so it was clear I would need to 3D print the entire chainstays. For the toptubes, seatstays and the downtube I used Columbus XCR – high-strength stainless steel tubes from my favorite Italian manufacturer.
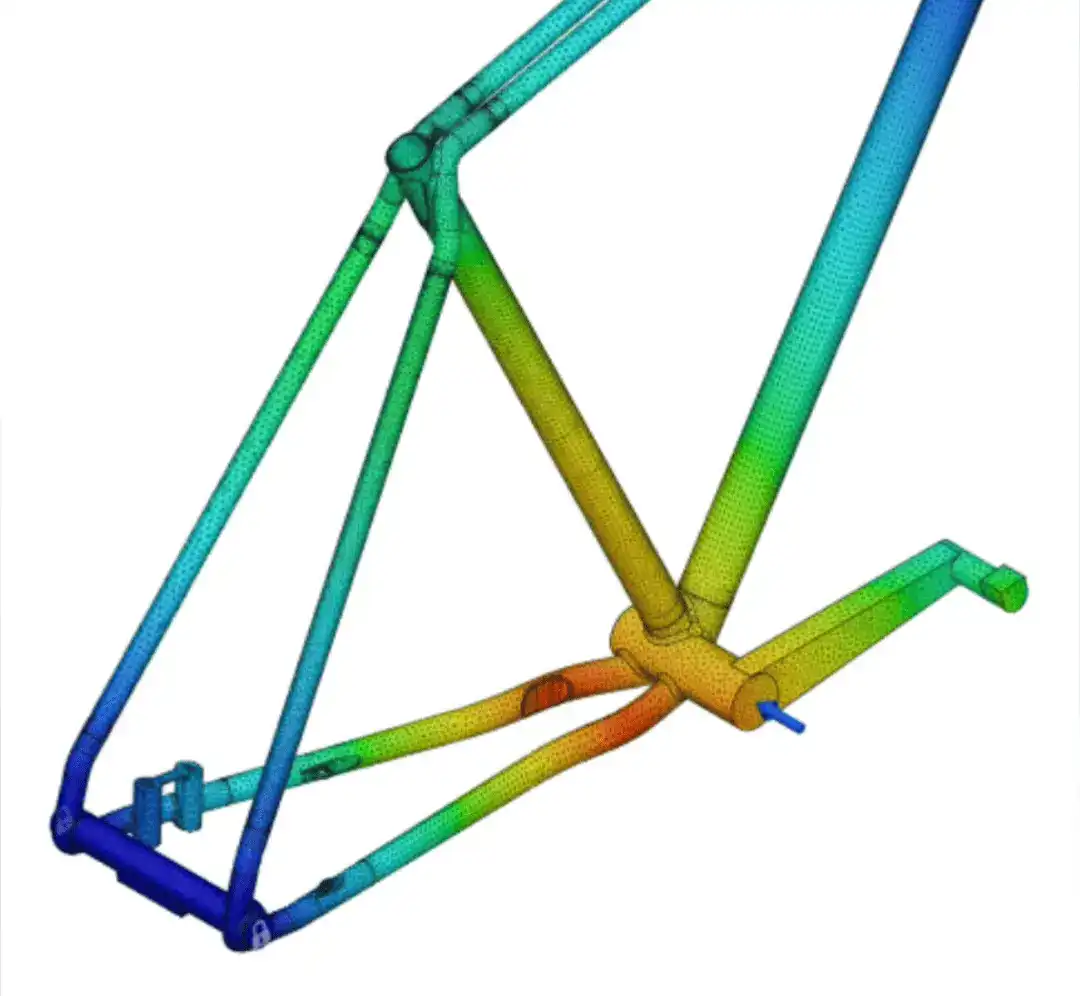
FEA stress analysis used to evaluate the prototype bicycle frame design.
Image source: @Project_D Bicycles
2. METAL 3D PRINTING
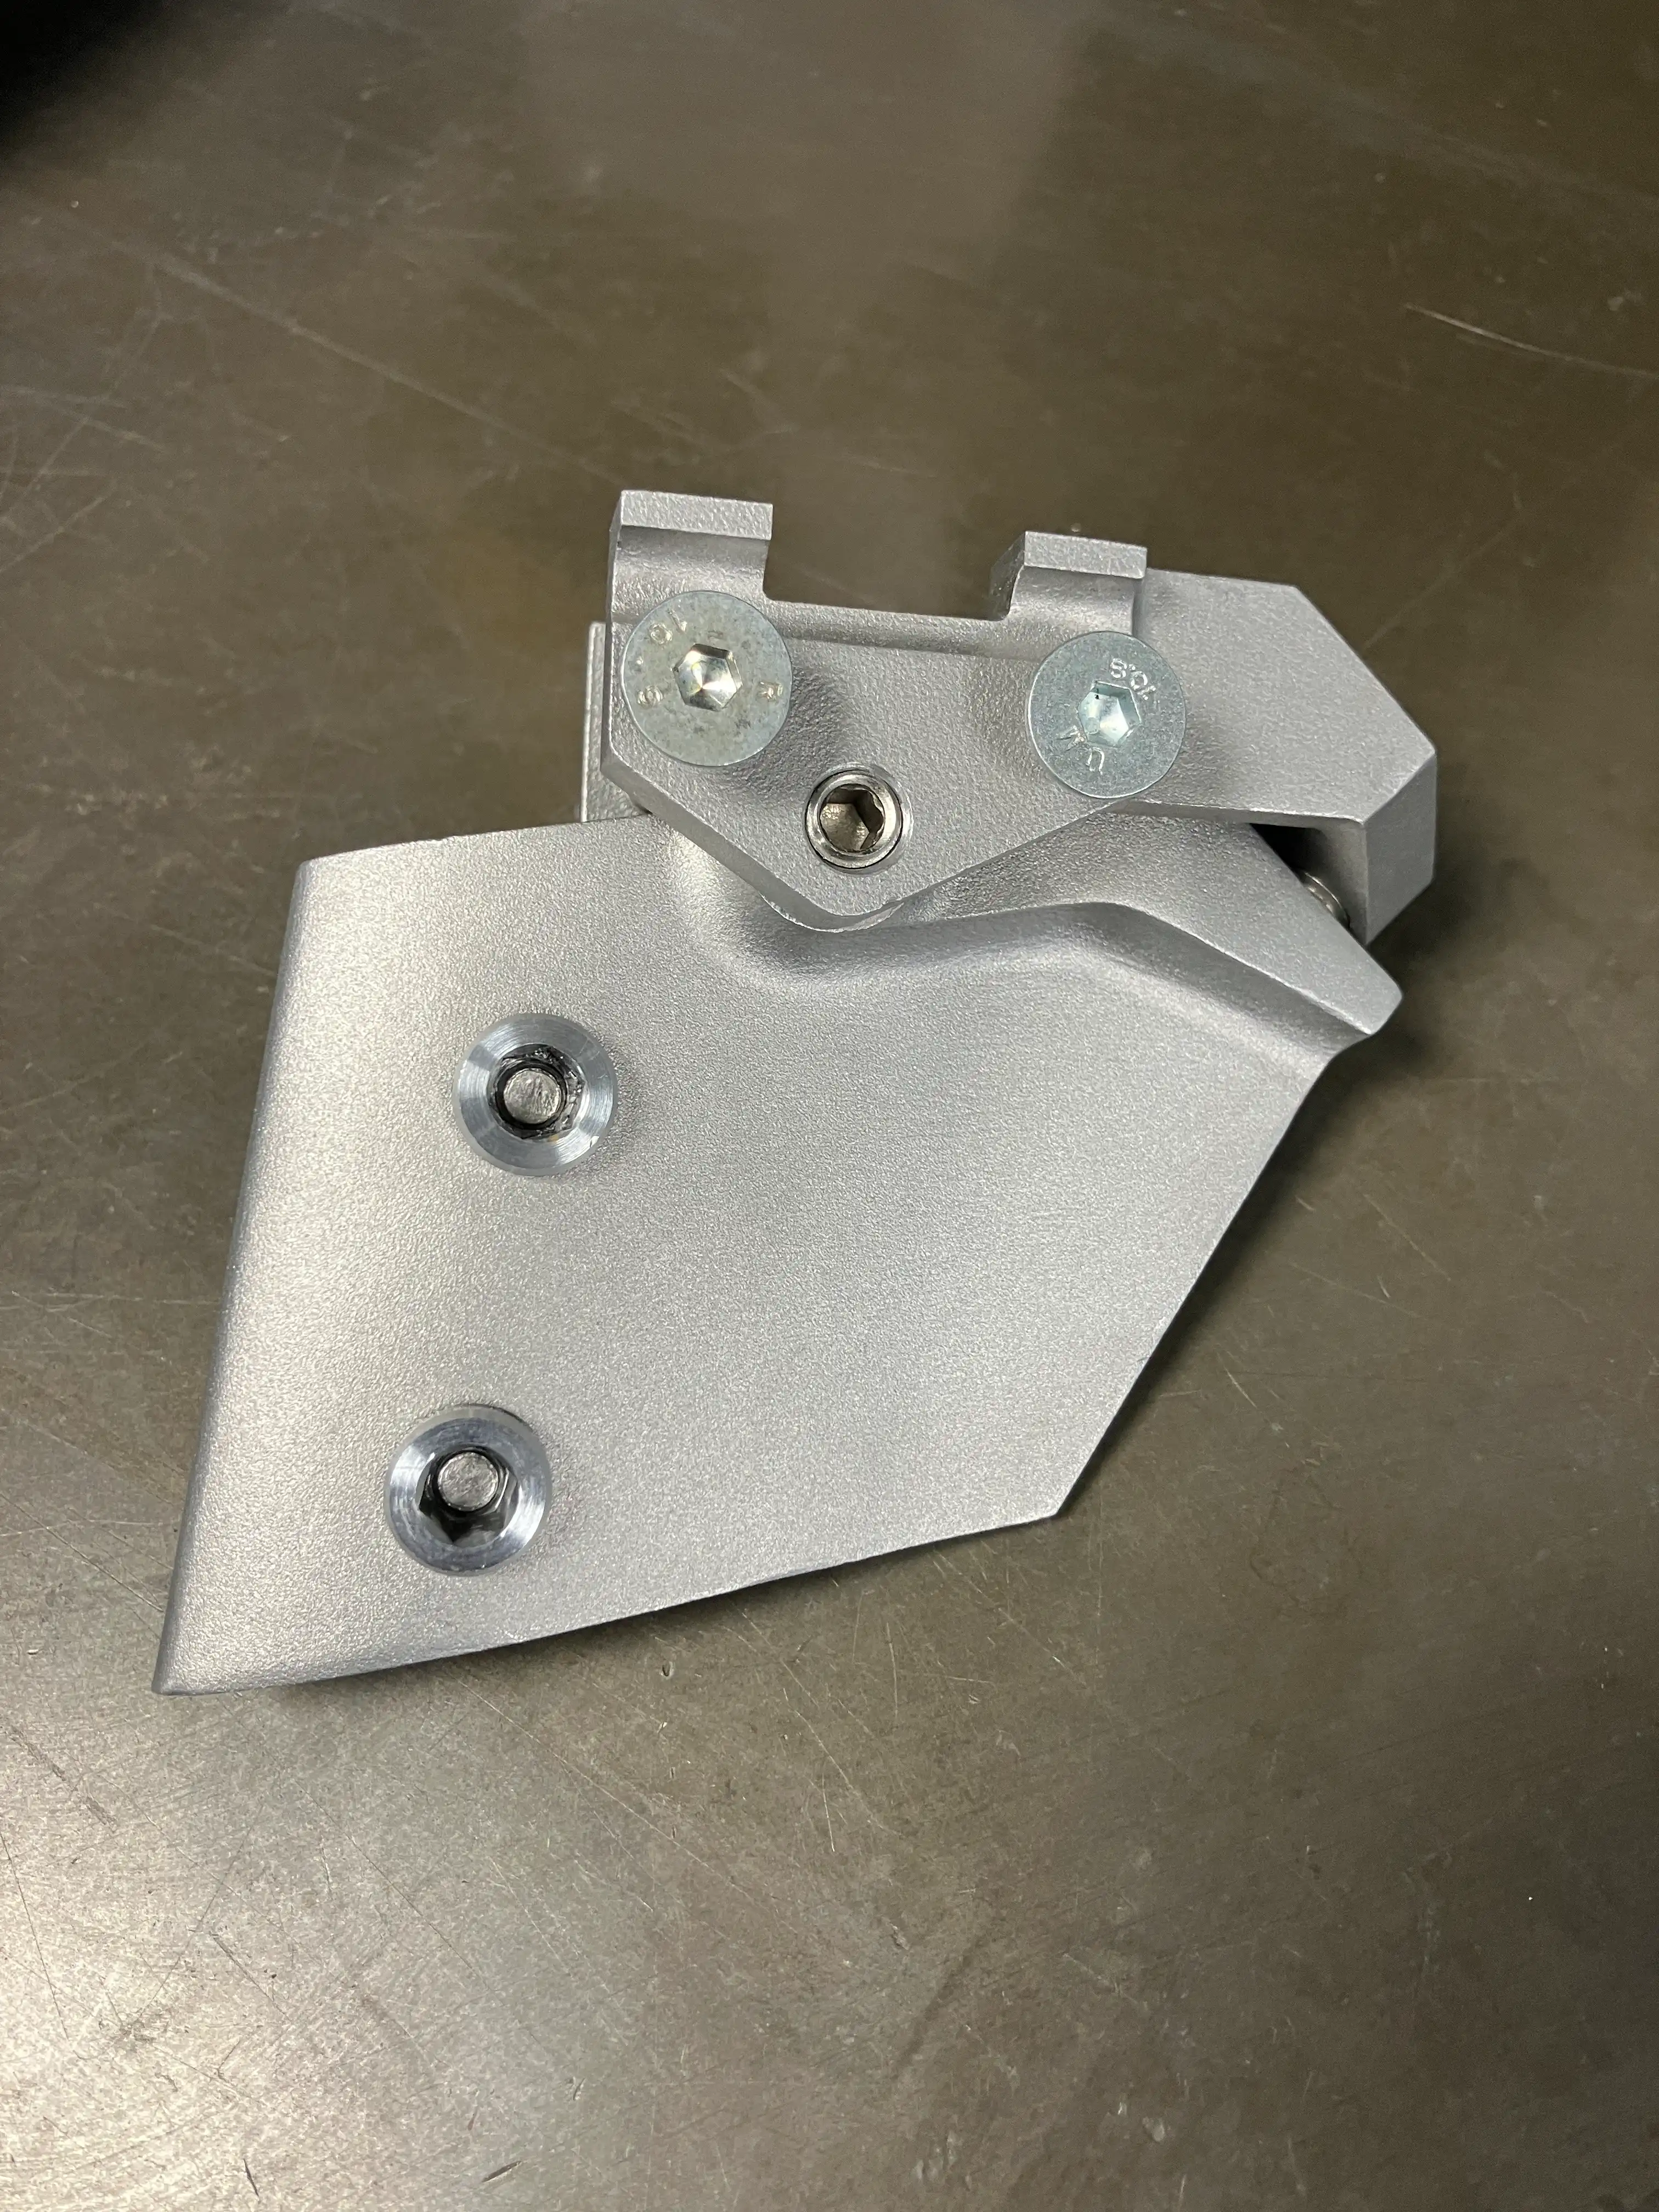
Since I had previously successfully 3D-printed chainstays with In3DTec, I once again turned to them with this project. Besides the chainstays and dropouts, I also asked them to print the headtube and the seatcluster area of the frame.
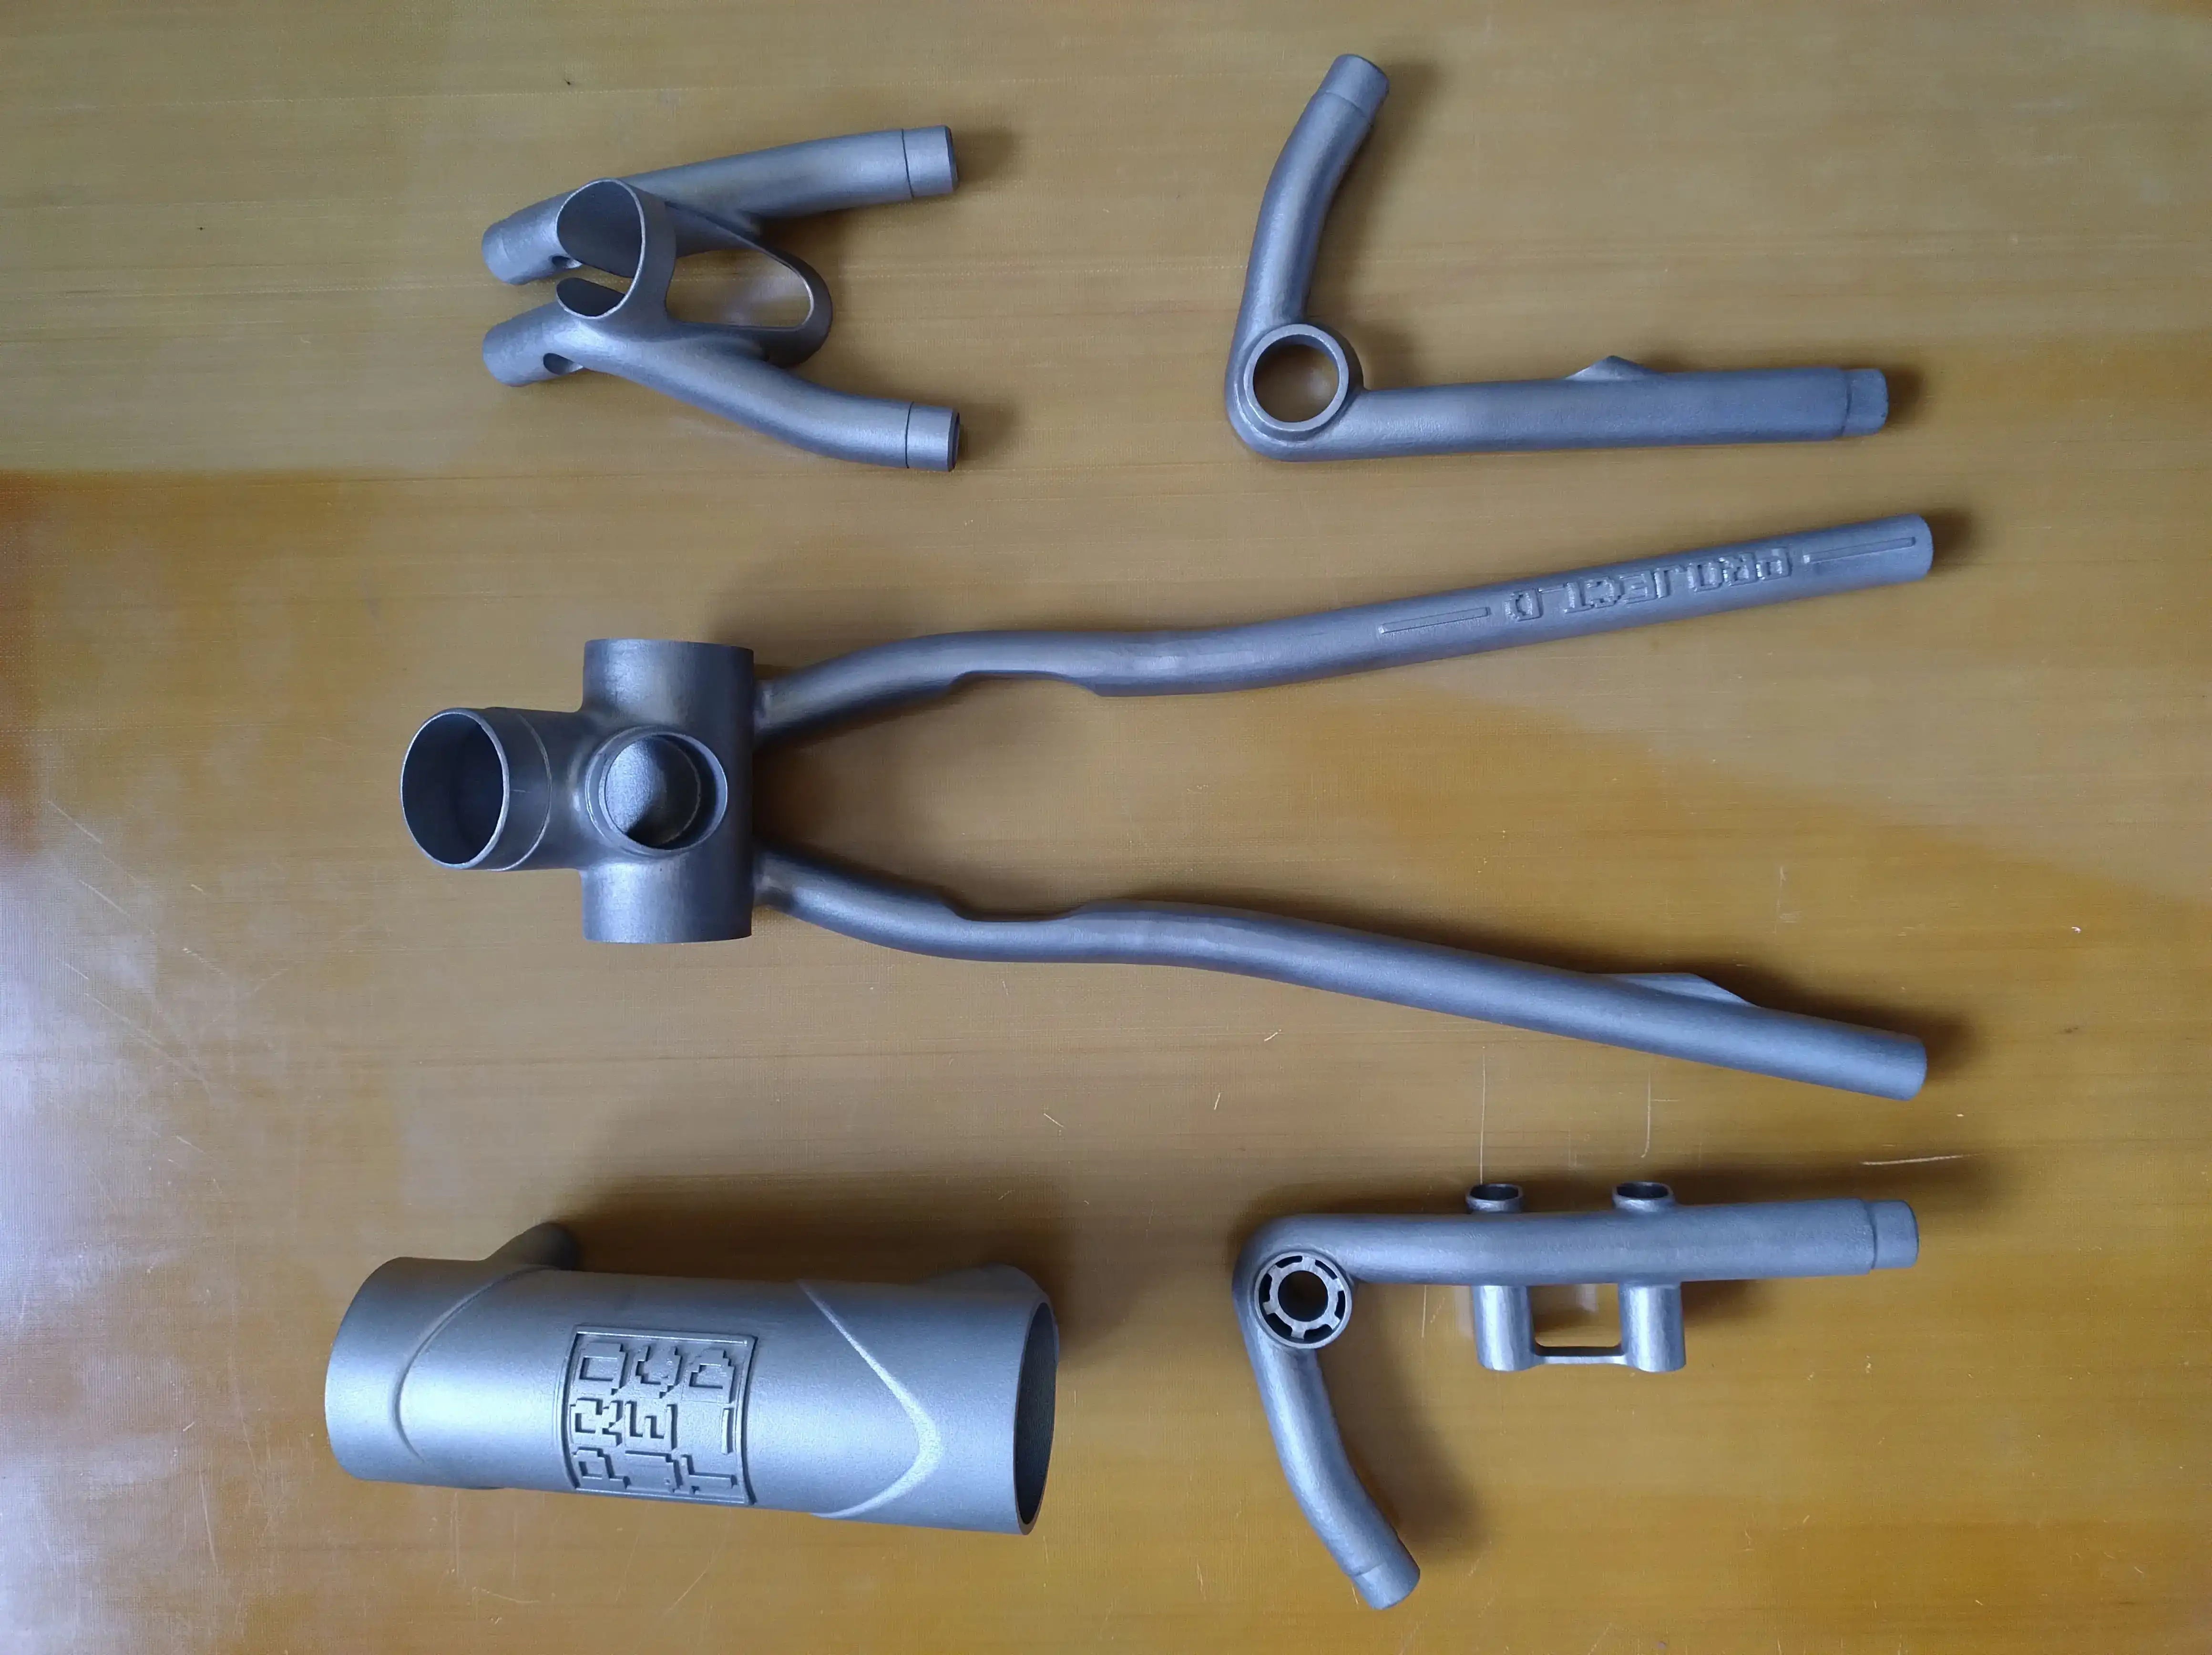
3D-printed titanium lugs designed for the Project_D prototype gravel frame.
Image source: @Project_D Bicycles
I went with 17-4PH stainless steel, which is incredibly strong (on par with drawn bicycle tubing from Columbus or Reynolds), yet offers excellent flex and vibration dampening characteristics. The only downside to this material is its hardness, especially after heat-treatment. Since IN3DTEC offers heat-treatment and thread cutting, I also asked them to heat-treat the chainstays and cut the BSA threads in the bottom bracket.
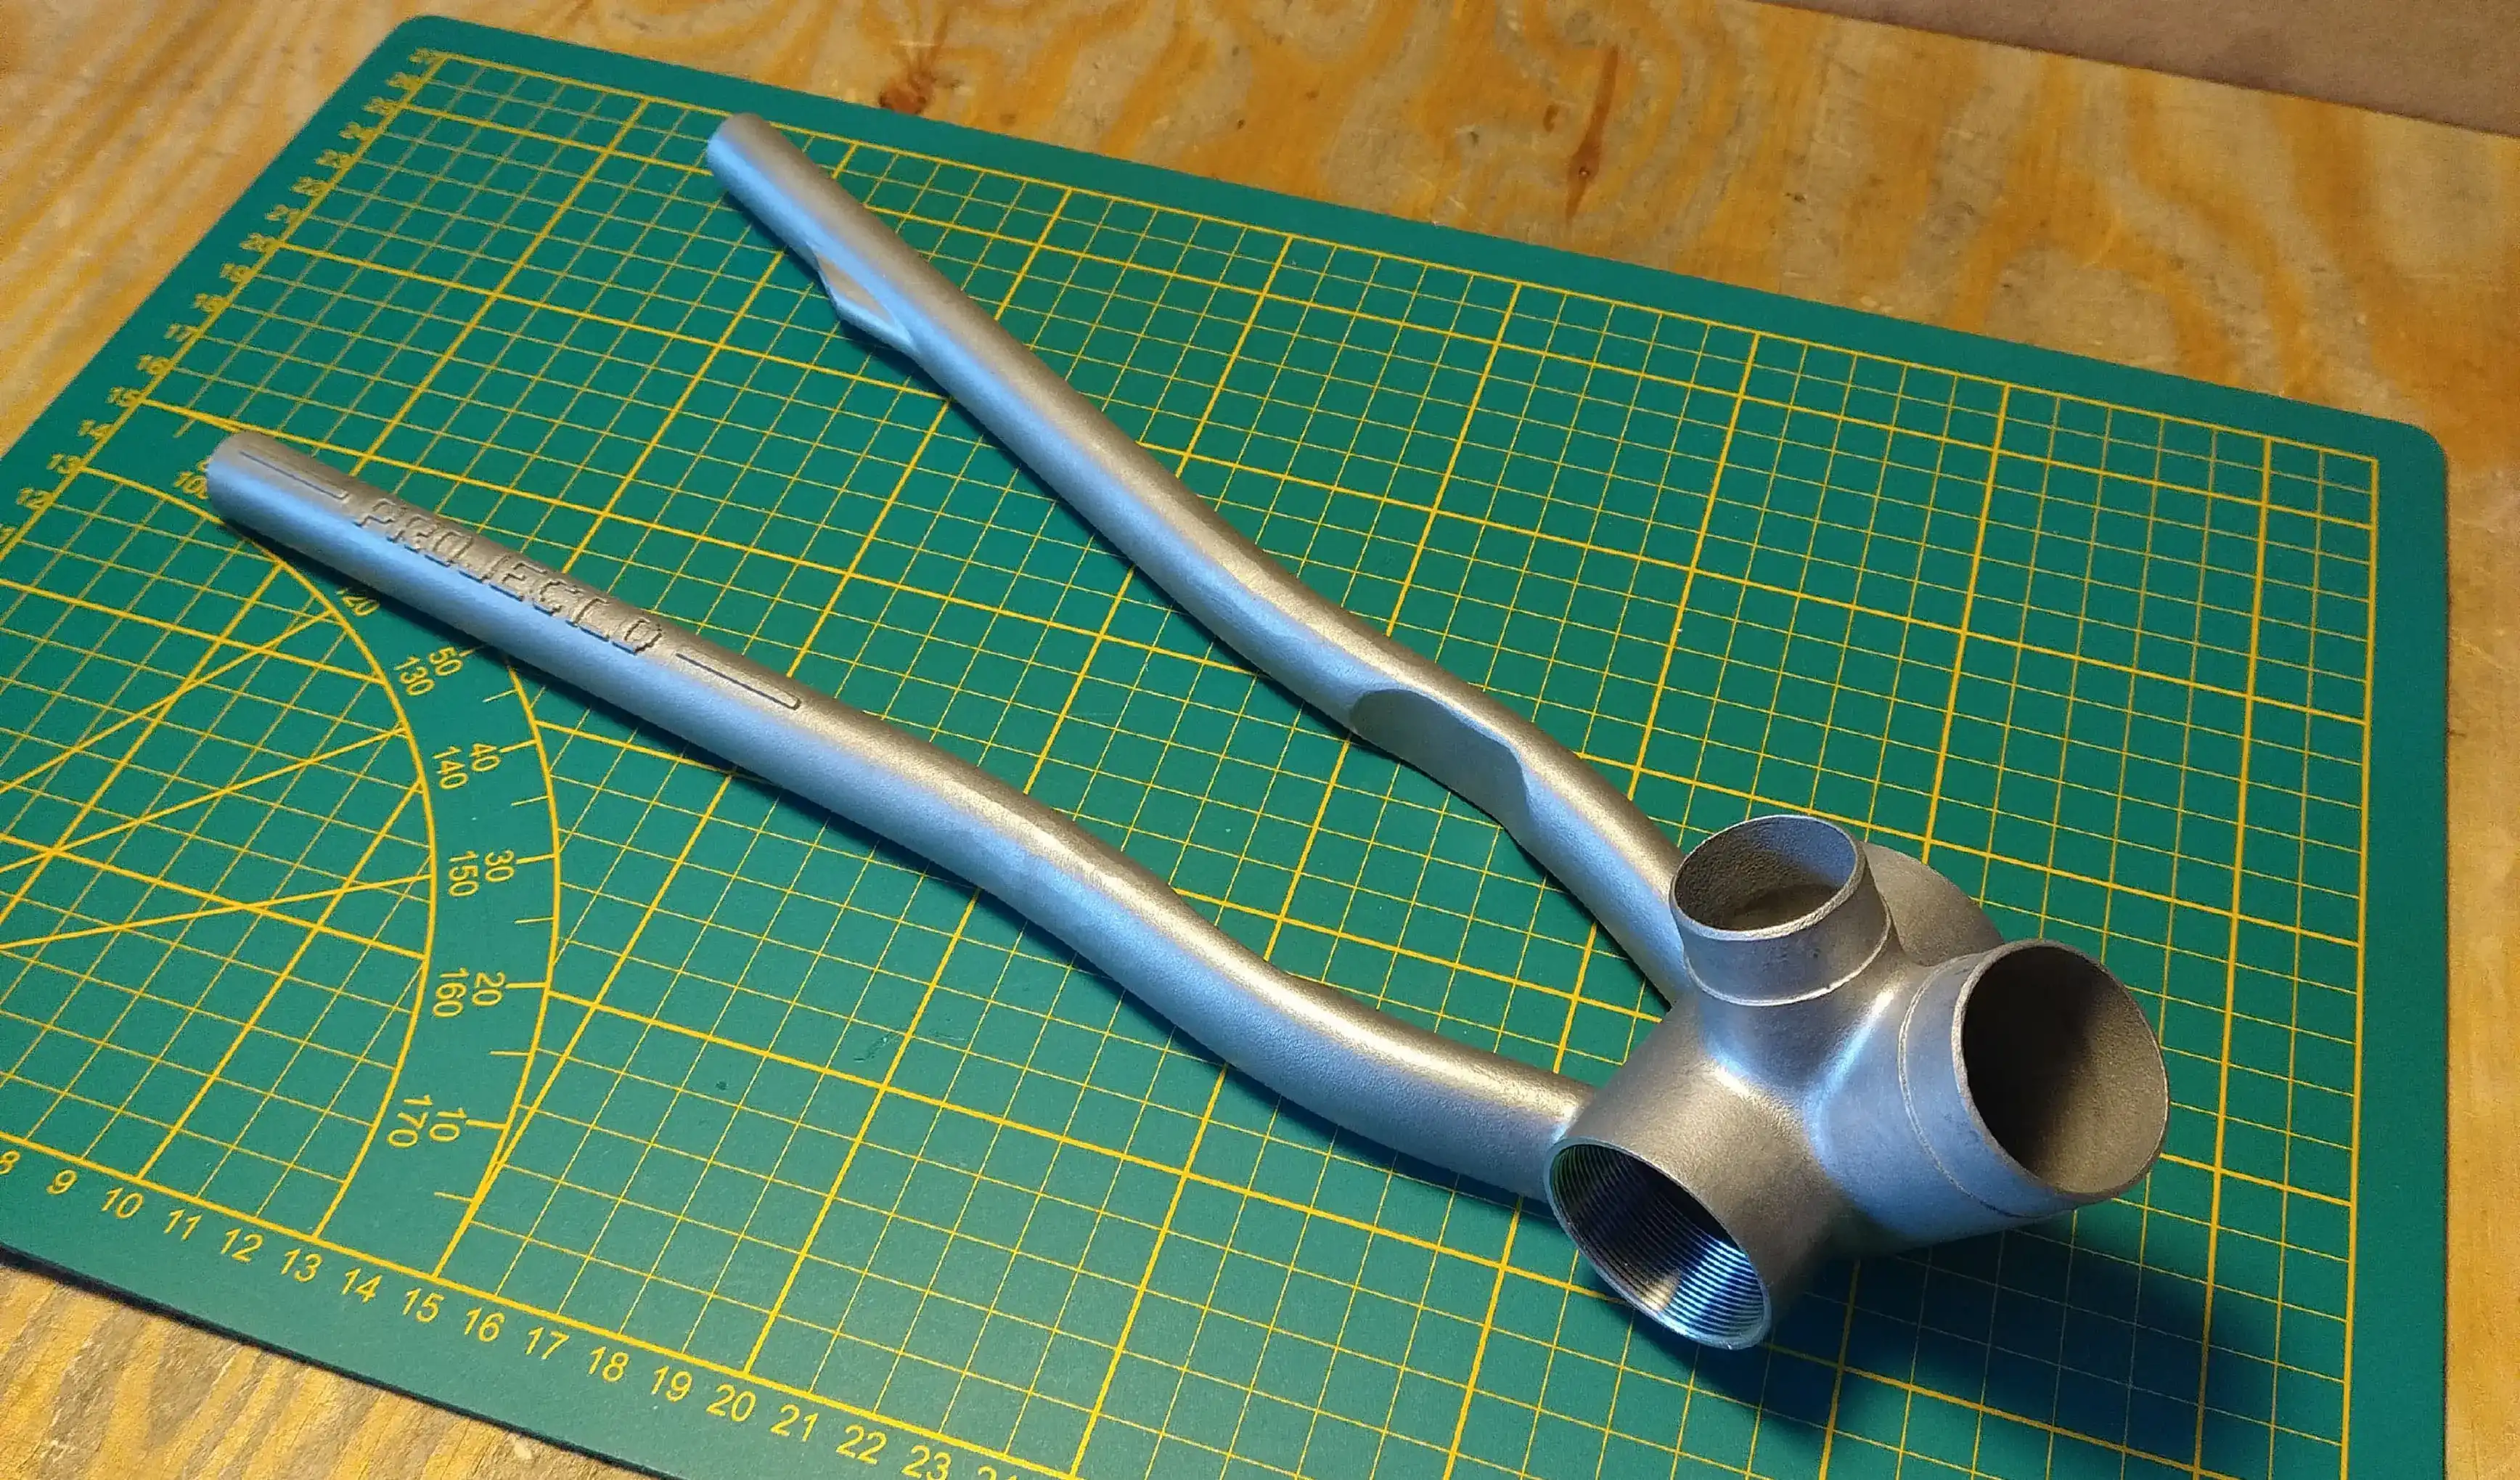
3D-printed titanium components for the bottom bracket and chainstay area of the Project_D frame.
Image source: @Project_D Bicycles
3. FRAME CONSTRUCTION
No frameset is complete without the fork, so a few FEA sessions later I arrived on a variant of my own steel fork design that suited the frame in terms of performance and aesthetics. The fork was also 3D-printed in 17-4PH stainless steel and heat-treated for increased strength and fatigue. One of the unique features of the fork was the silhouetted steerer designed to run the derailleur and brake cables inside – a feature that looks and works great on screen but later turned out to be a nightmare to interact with in the real world.
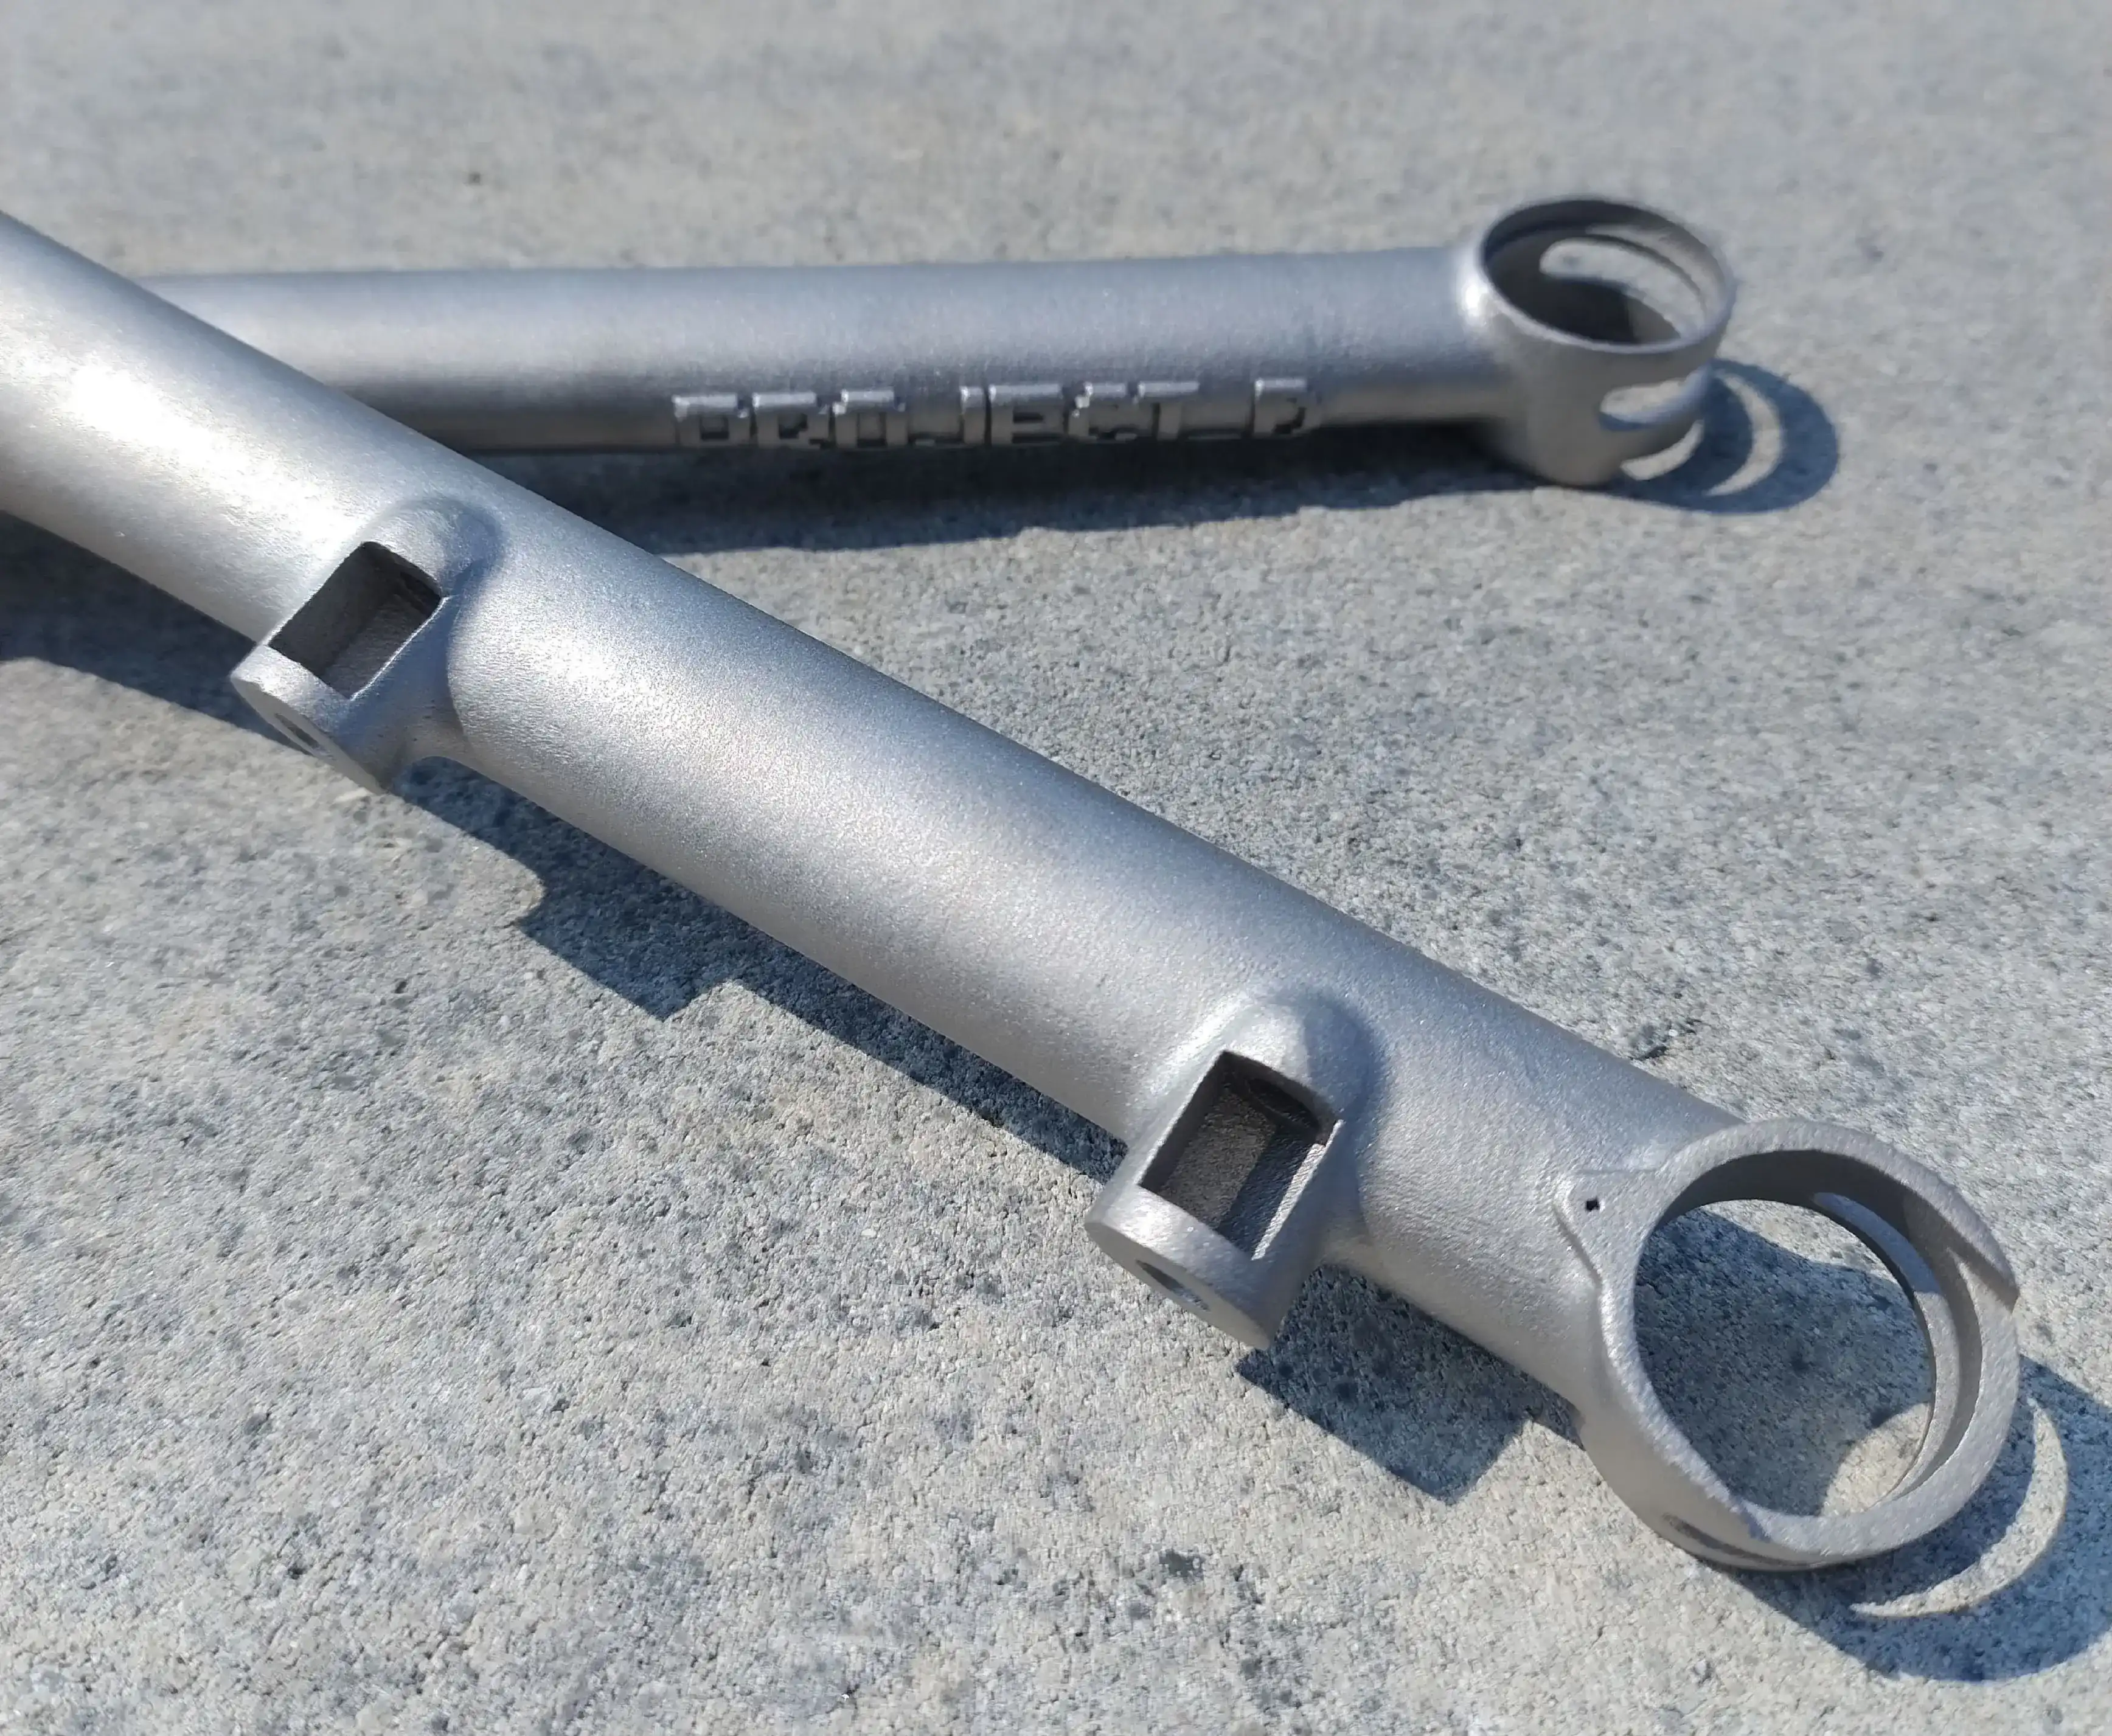
Close-up of the 3D-printed titanium fork leg components.
Image source: @Project_D Bicycles
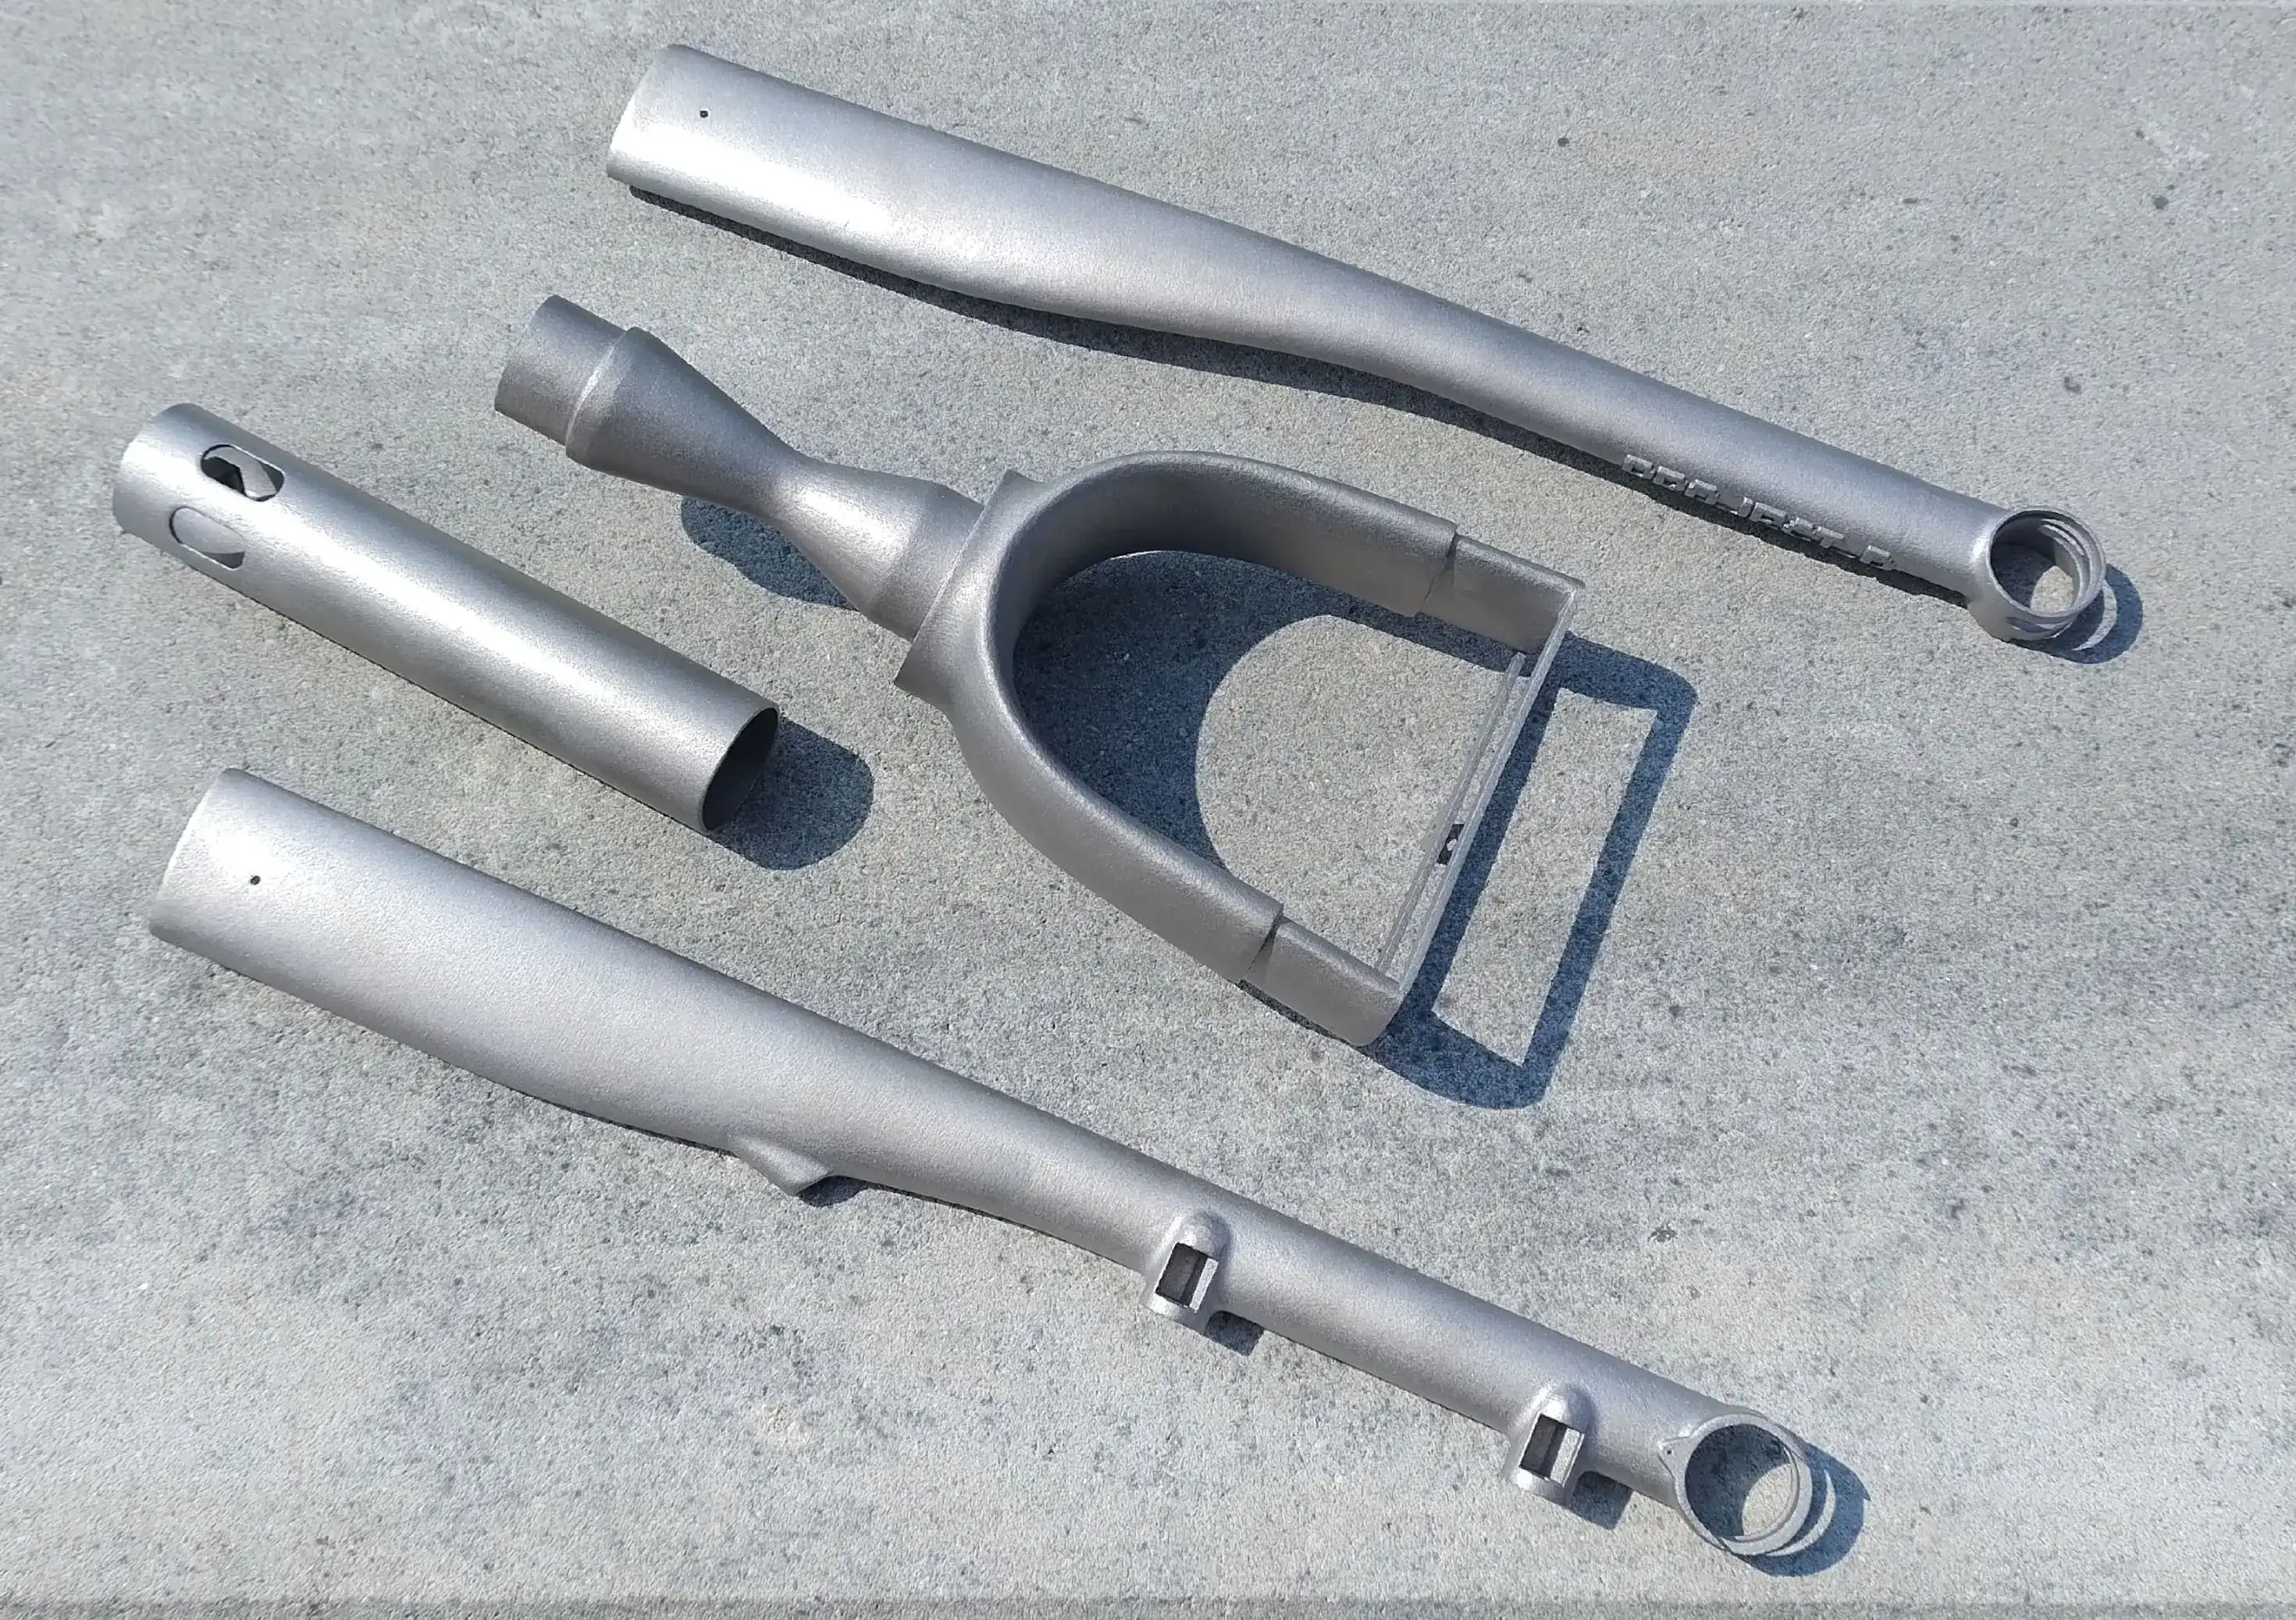
A set of 3D-printed titanium components prepared for the Project_D rigid fork.
Image source: @Project_D Bicycles
When the parts arrived, the build process began. I was happy to see that the parts were, as usual, very accurate dimensionally, so the build process was quite straightforward – I had to grind the brazing areas for fit with the tubes and adjust the dimensions on the headtube and the fork crown where the headset fits. After that, I put the assembled frame into the jig and brazed the frame with 56% silver.
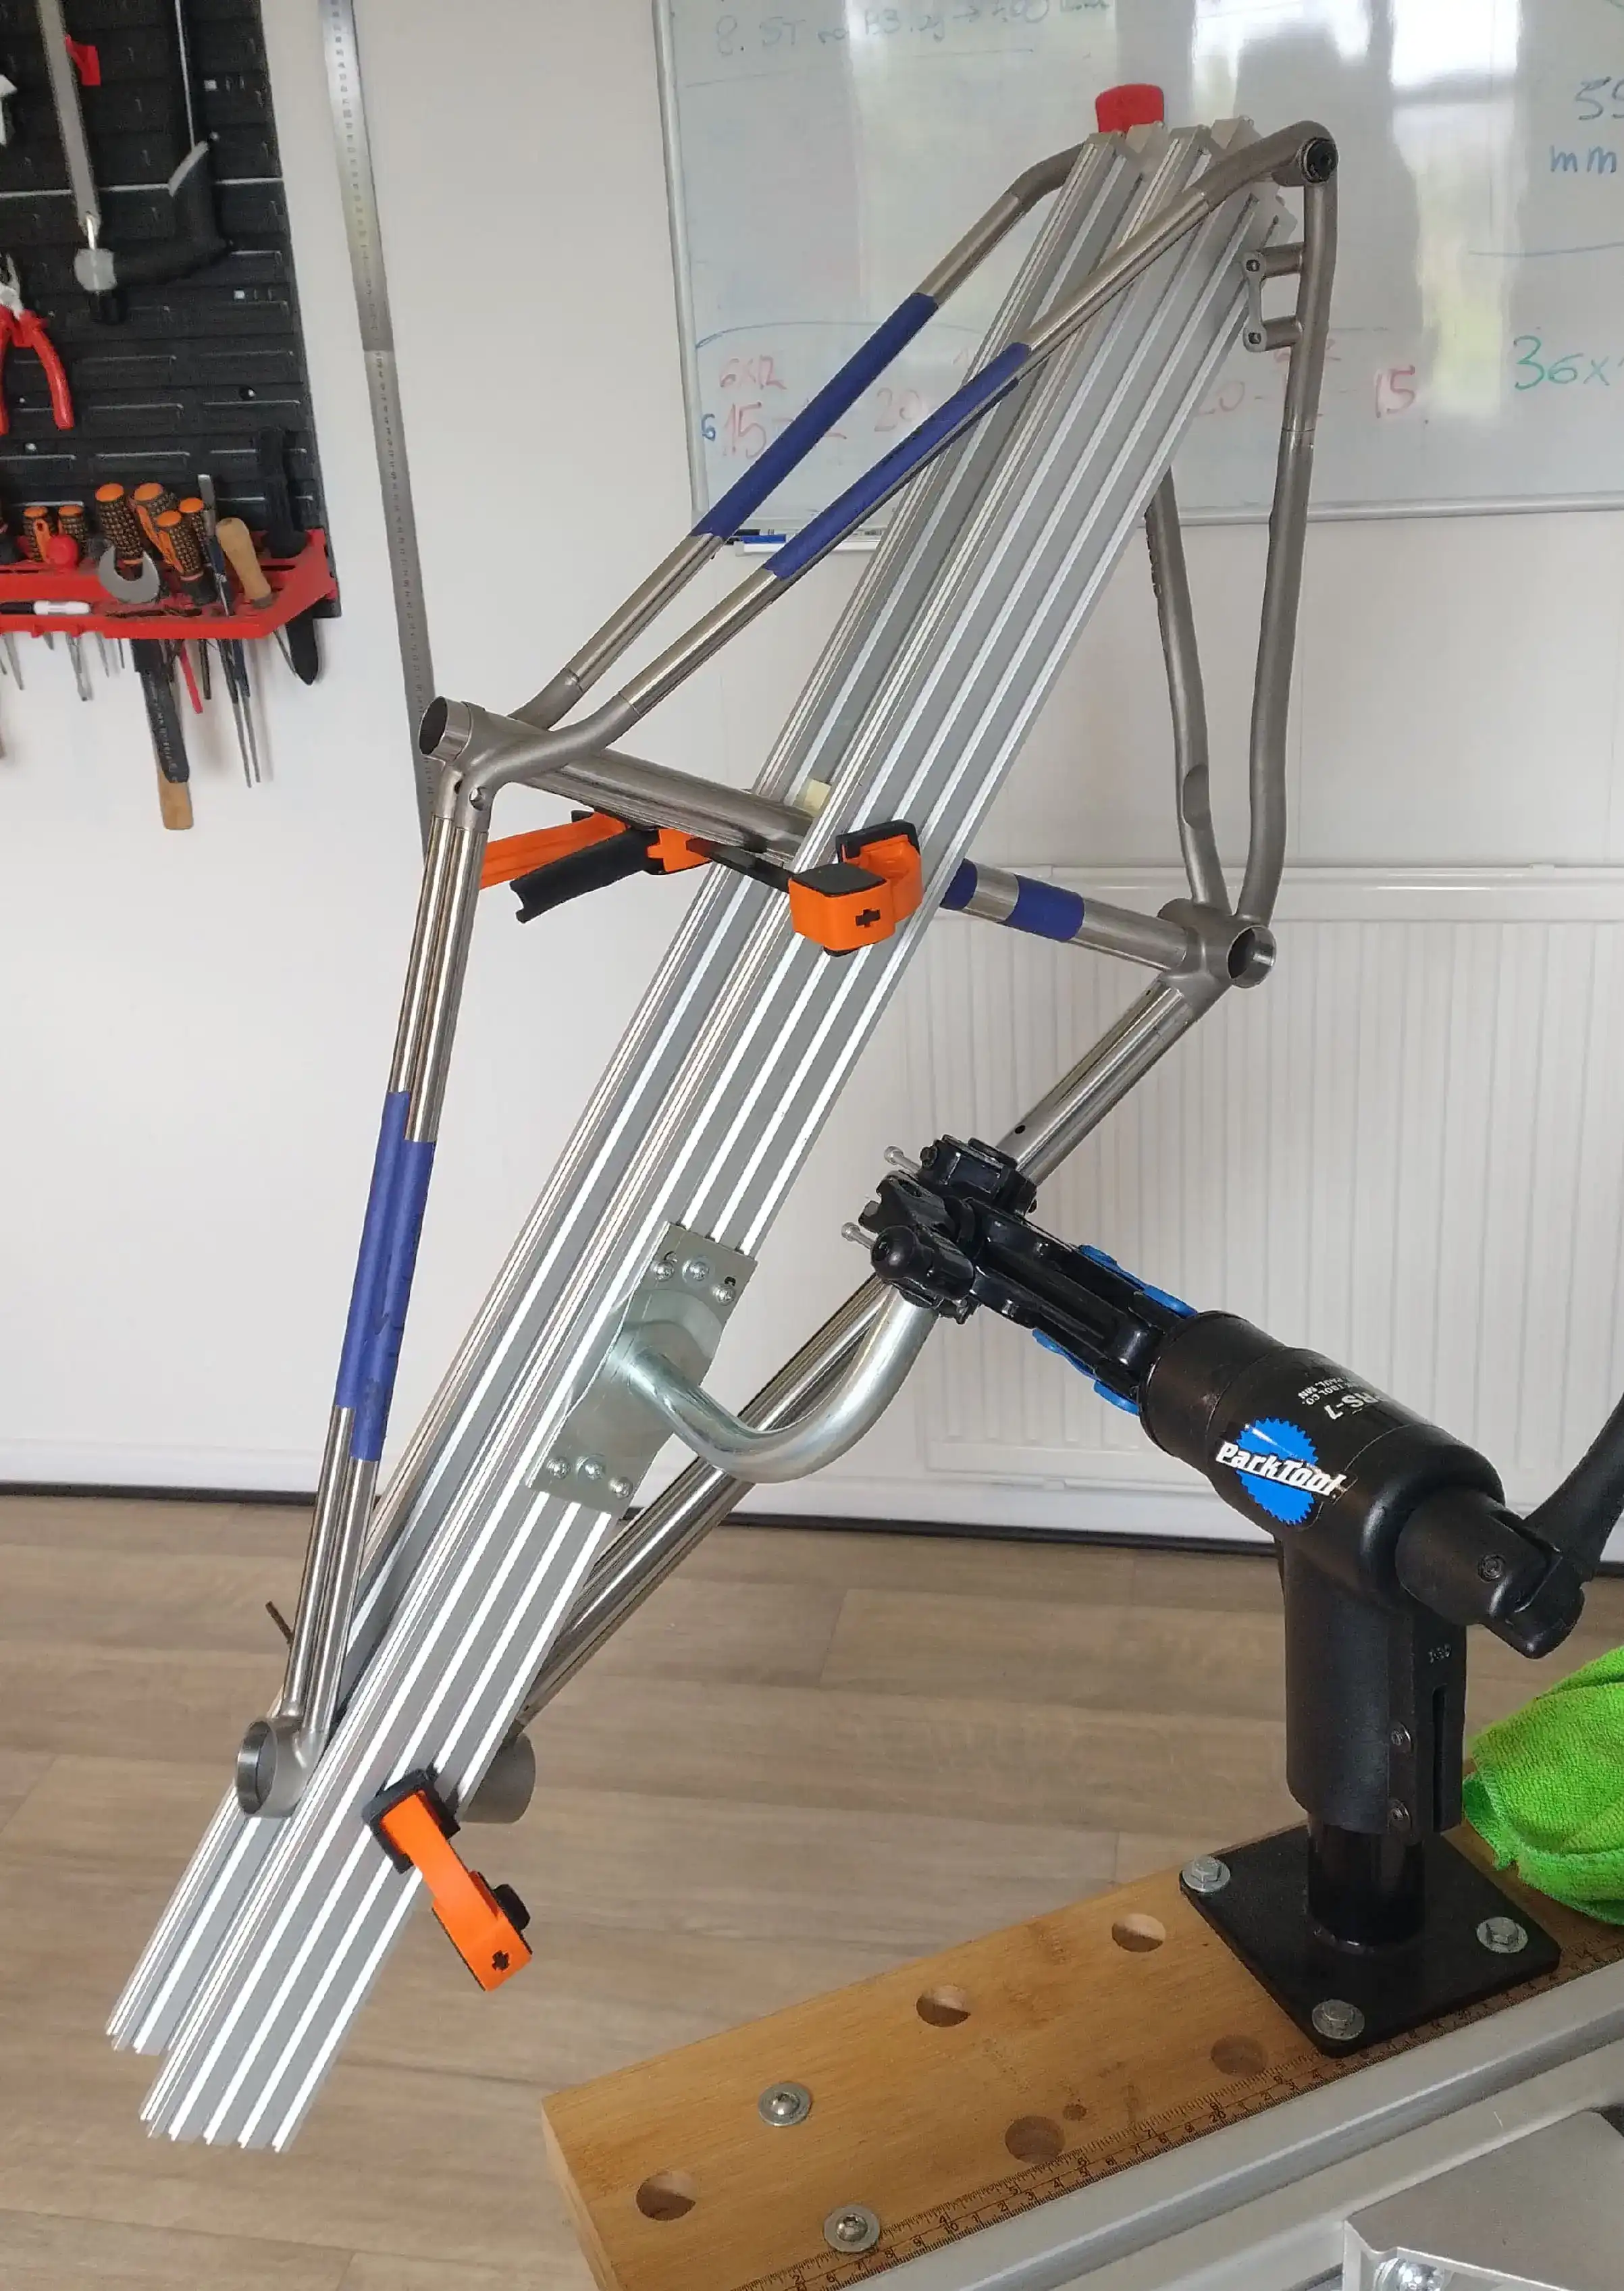
The custom jig used to hold and position the bike frame during fabrication.
Image source: @Project_D Bicycles
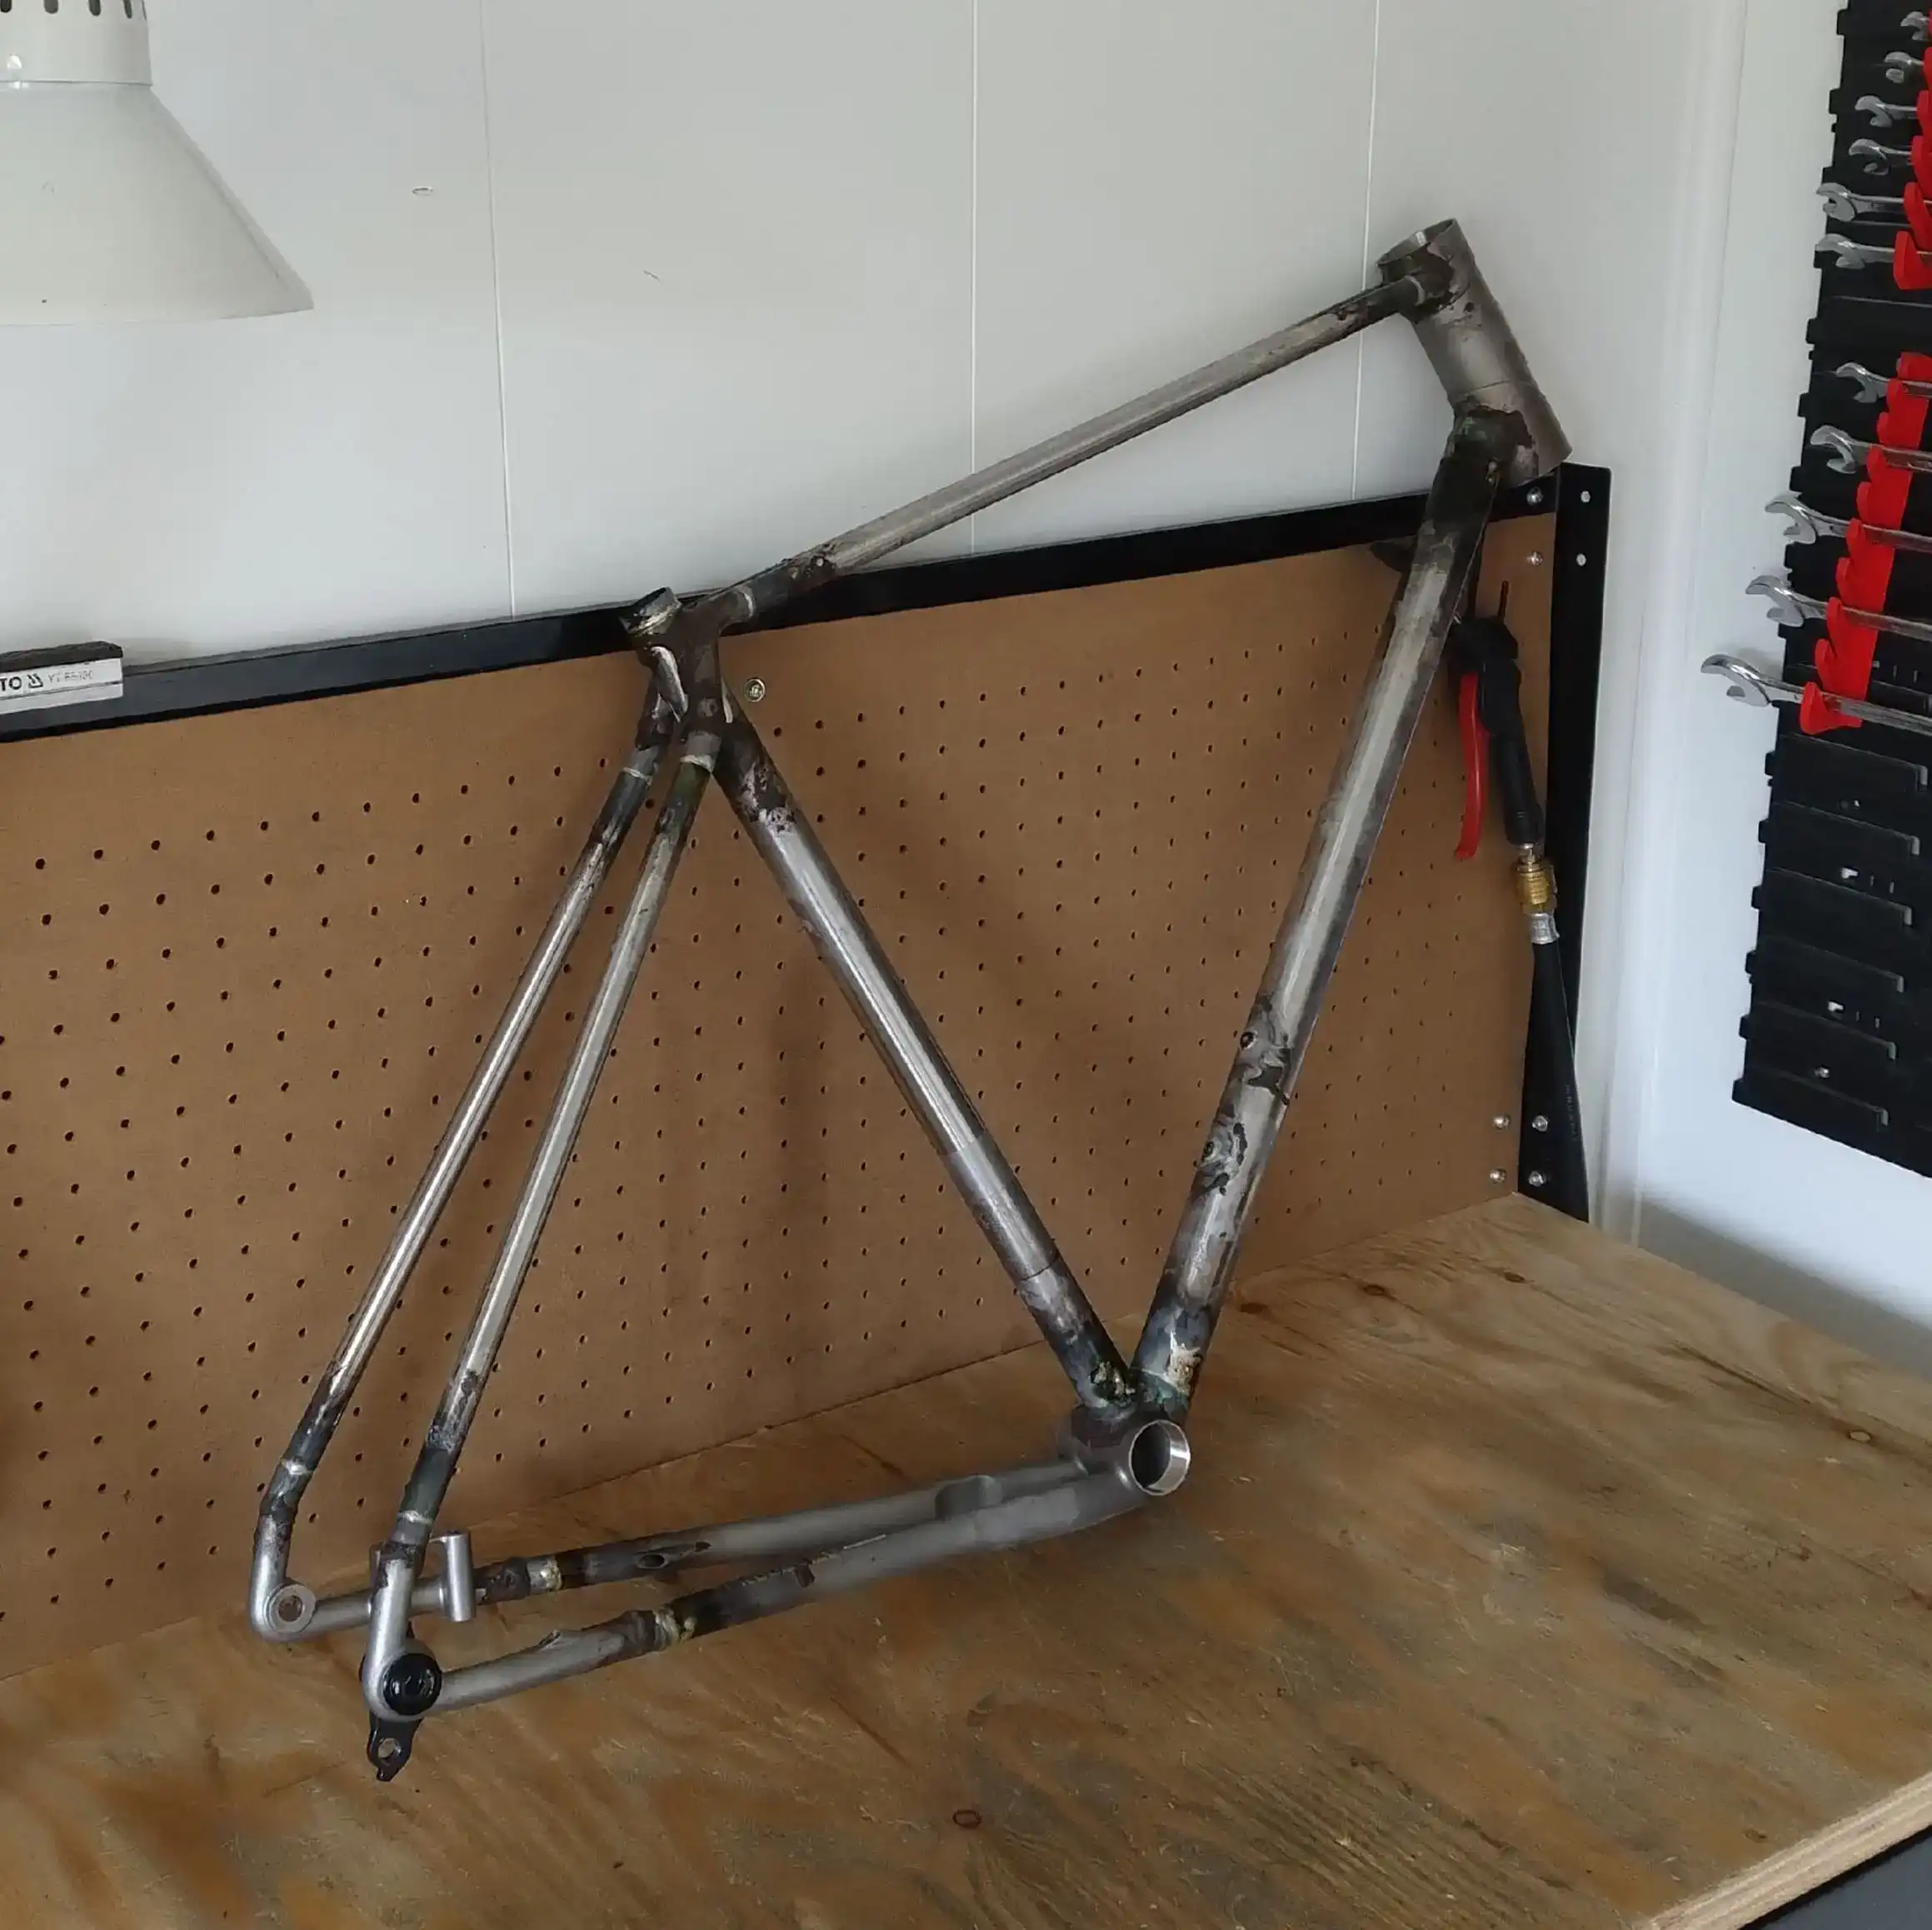
The raw welded titanium frame before final finishing and assembly.
Image source: @Project_D Bicycles
Finishing included grinding away the excess silver and sanding the entire frame with scouring pads. Since all the prints and tubes were stainless steel, the frame could be left unpainted in the beautiful and robust 500 grit finish. The embossed logos, made possible by additive manufacturing, were polished to a high gloss to create a visual pop on the satin background.
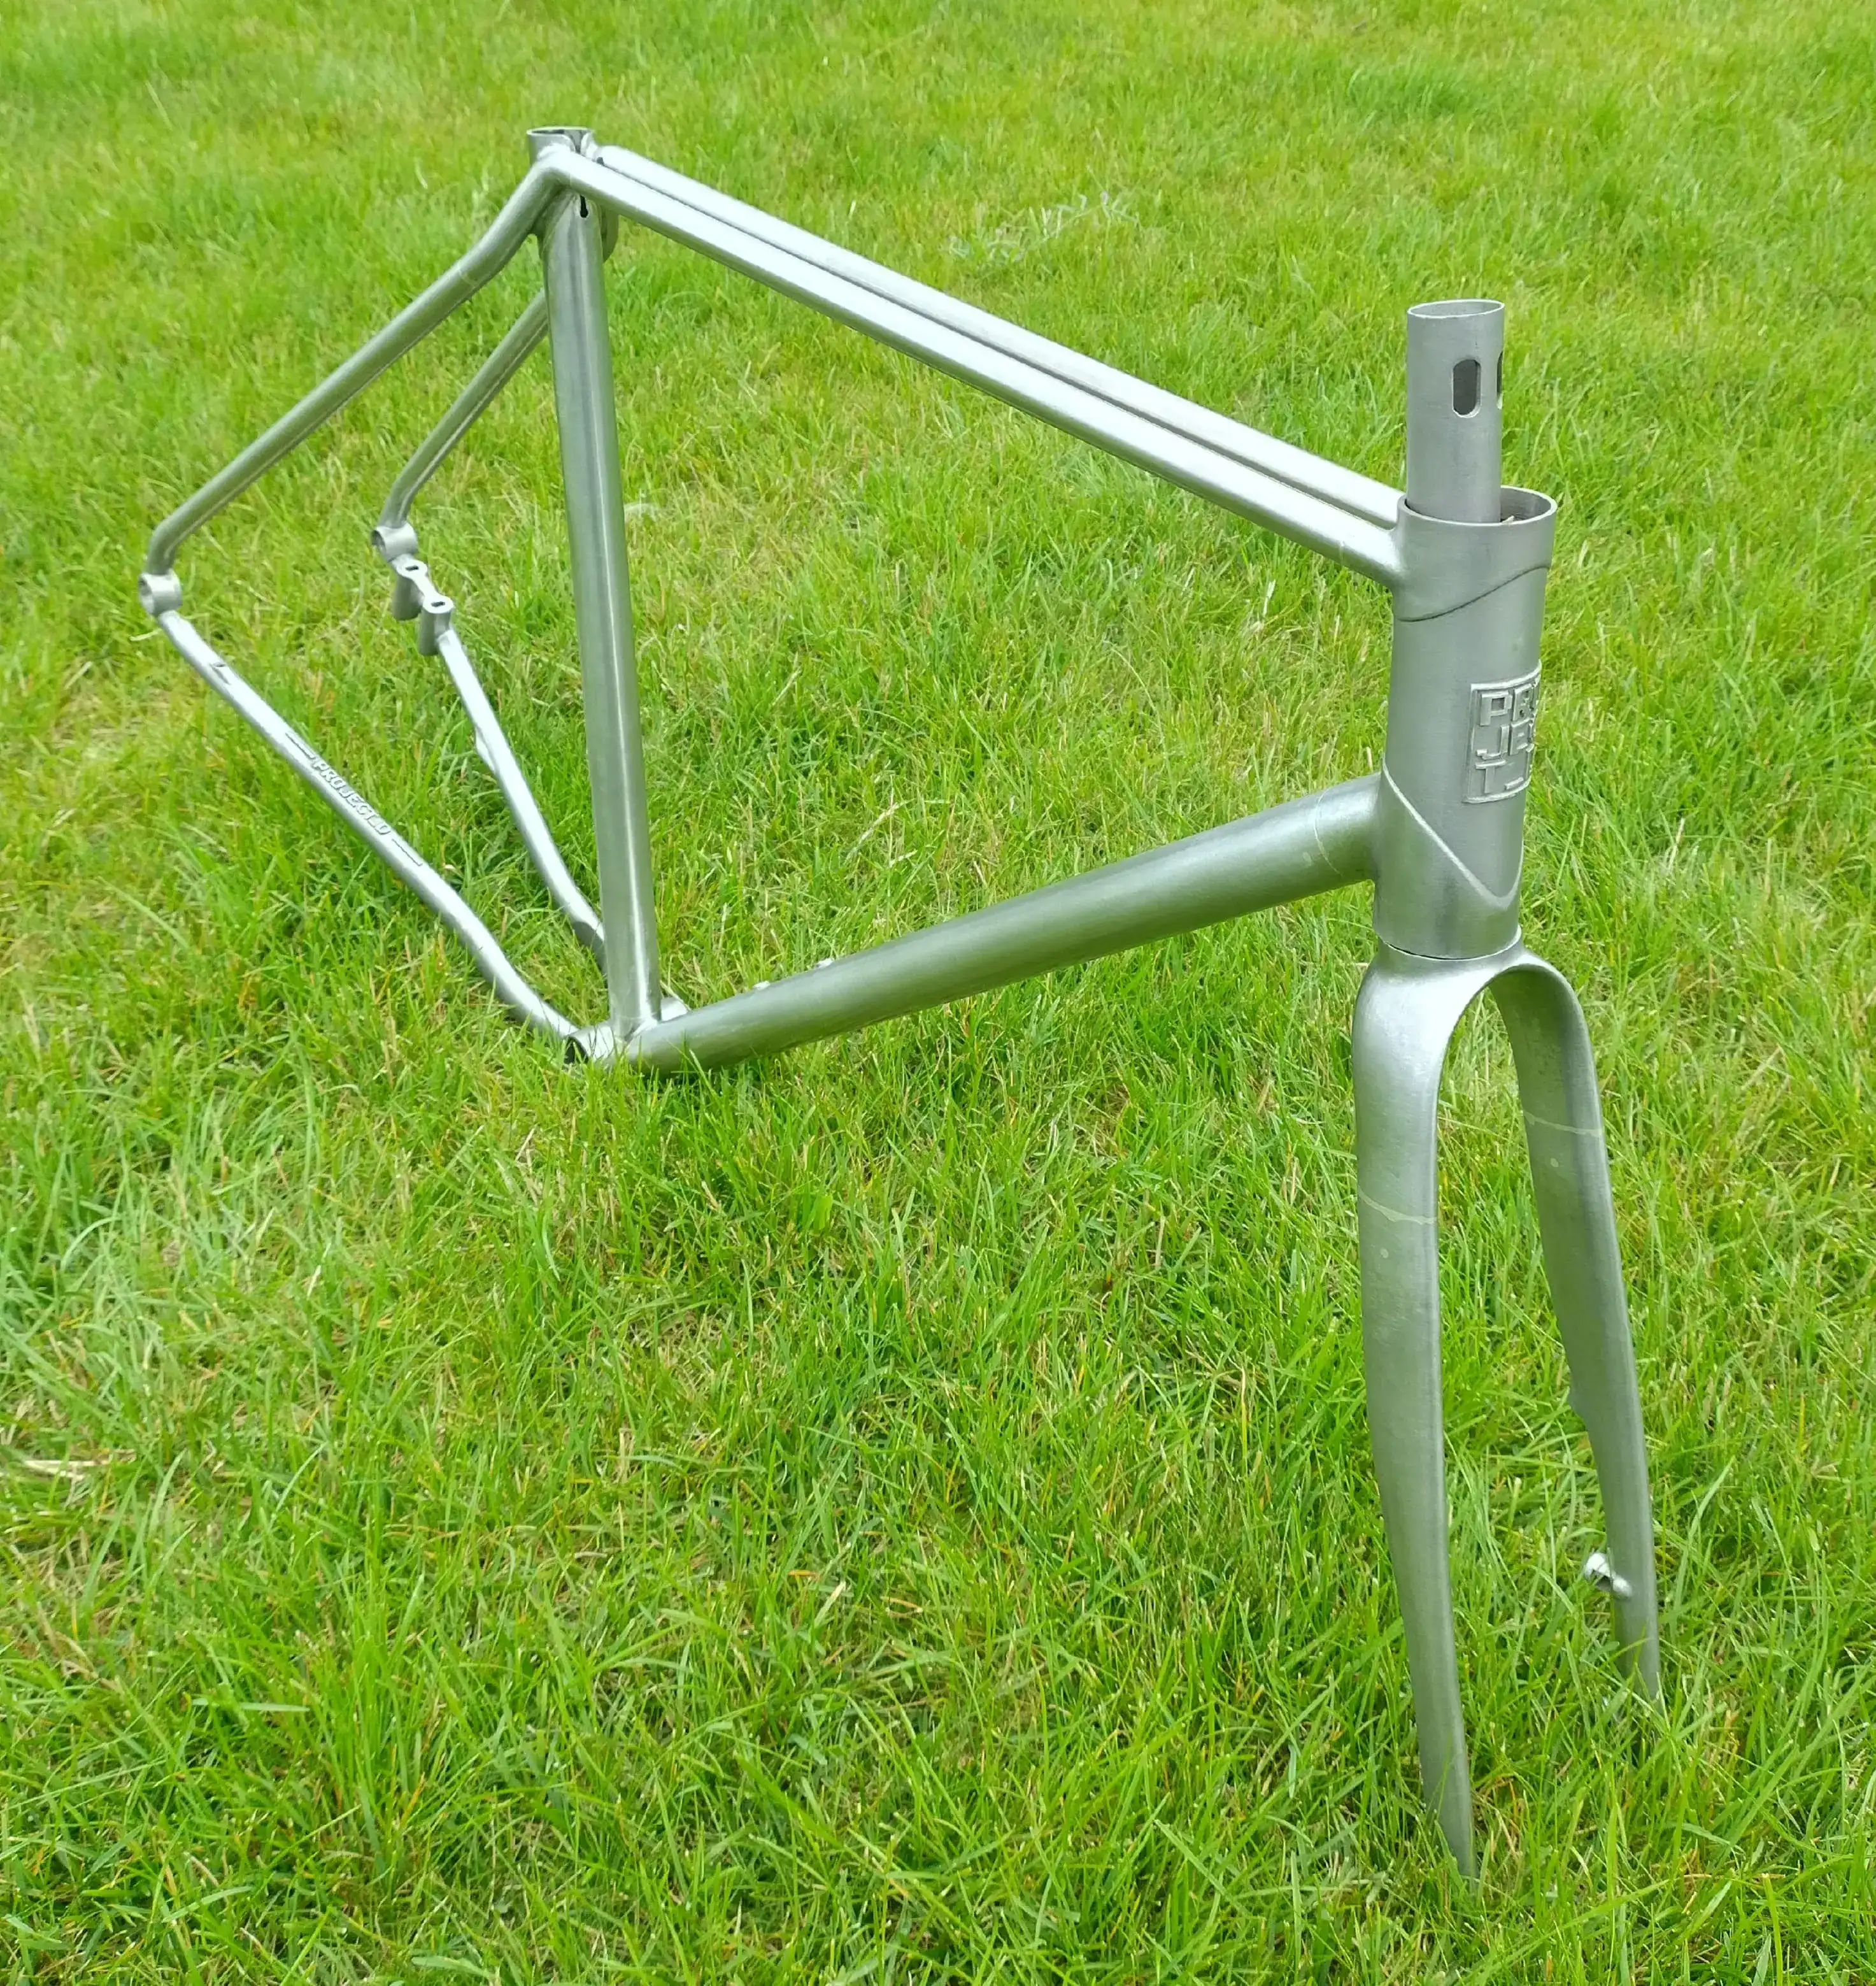
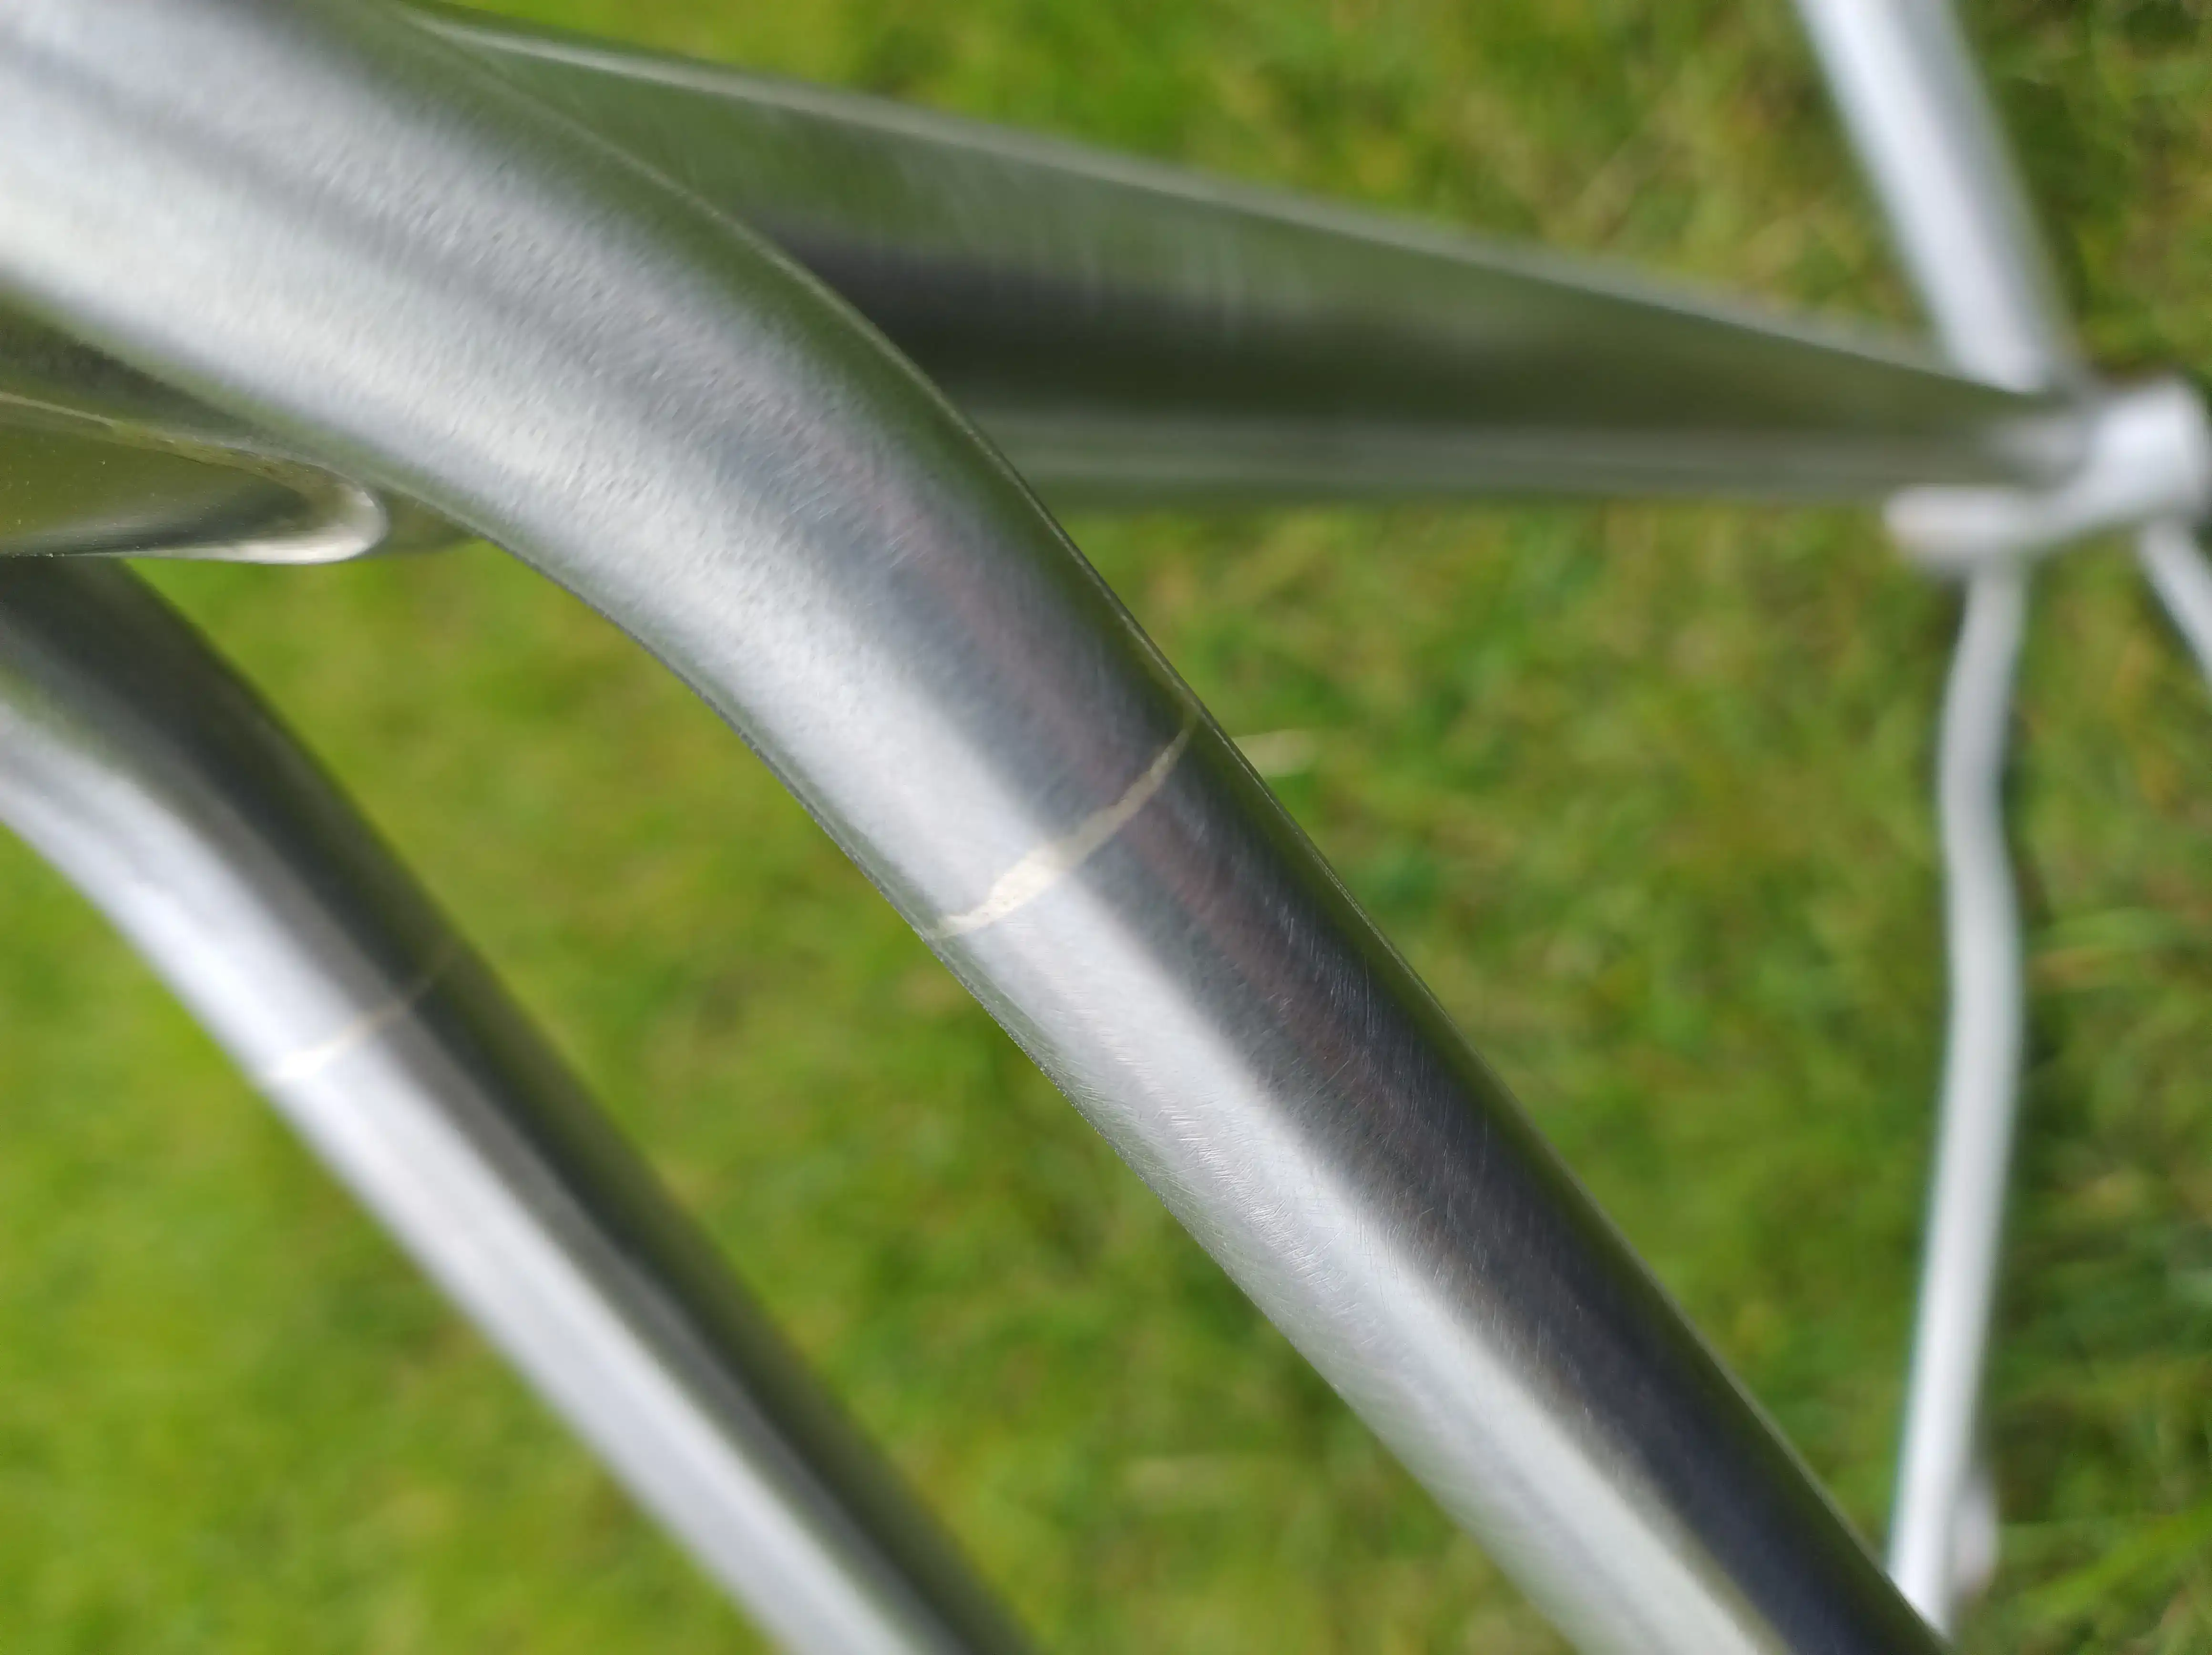
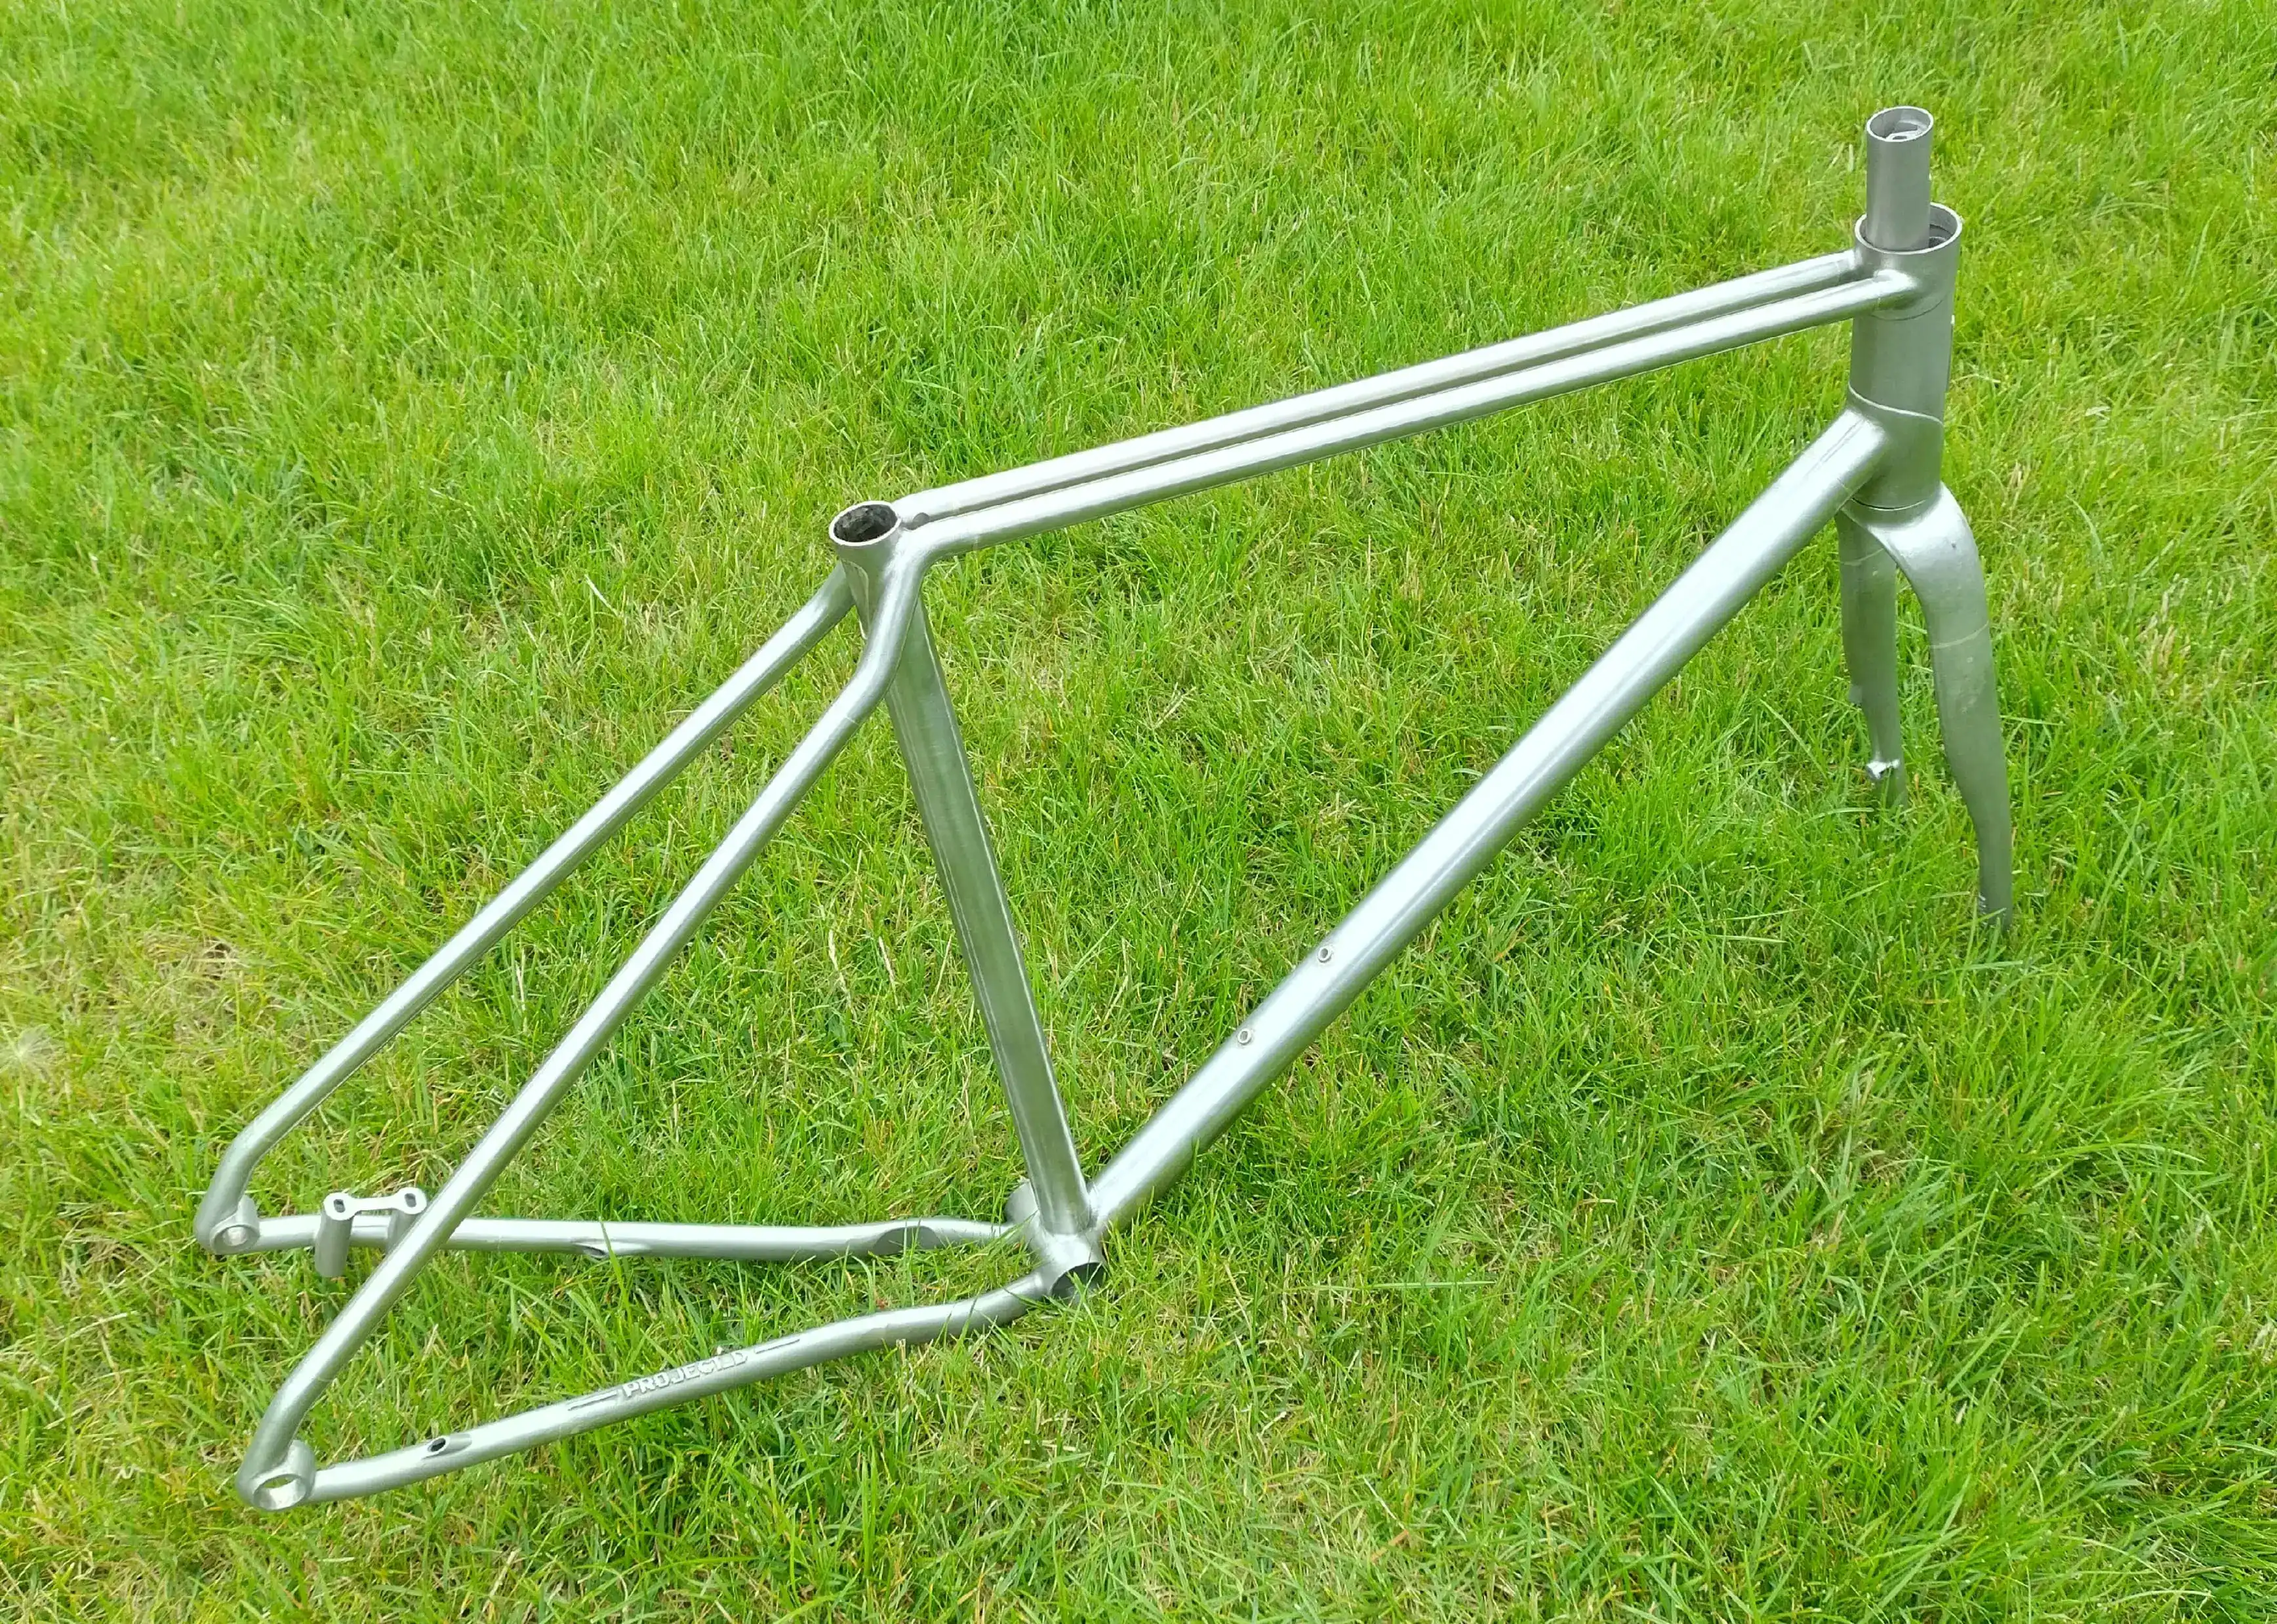
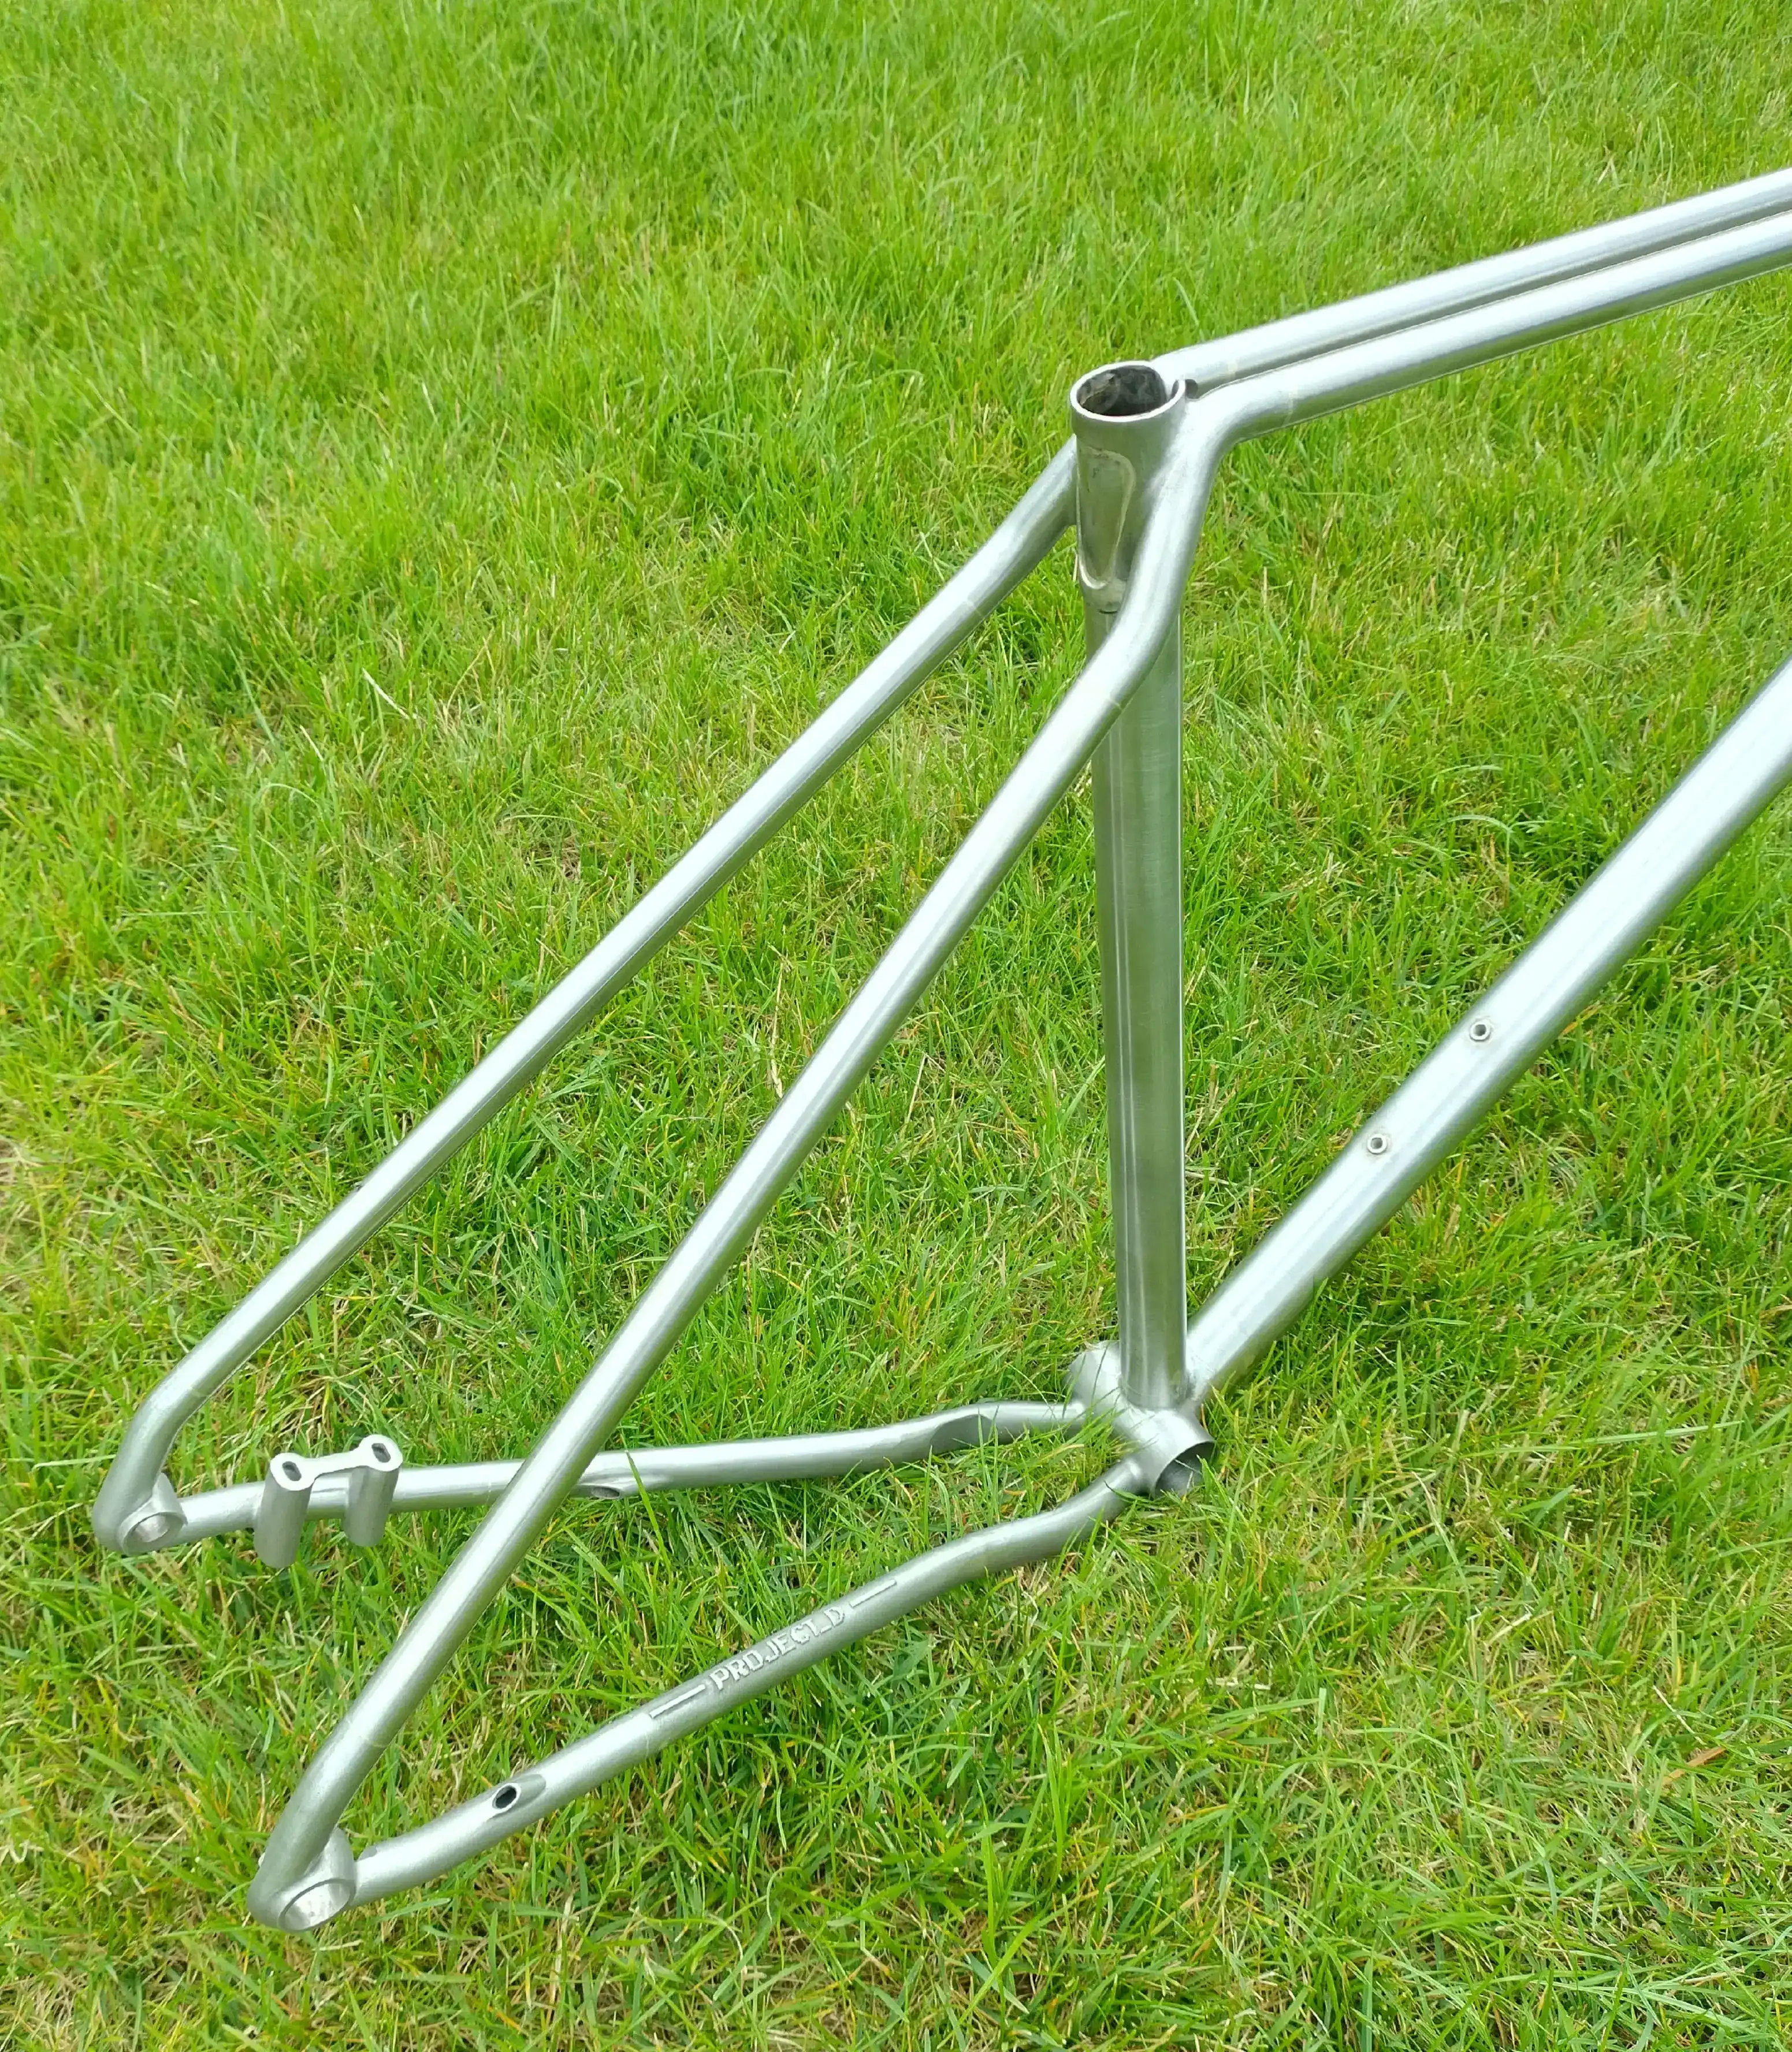
Rear triangle of the custom titanium frame showing the completed frame structure.
Image source: @Project_D Bicycles
4. FINAL RESULT
The complete bike turned out great. Unfortunately, my imagination around internal cable routing failed me and I was unable to run all the cables through the complex steerer I designed – it was simply impossible to pull the cables through the entire frame, the steerer, stem and the handlebars. But since I was very impatient to ride the bike, I solved the issue with a few plastic ties and ran the cables partly externally.
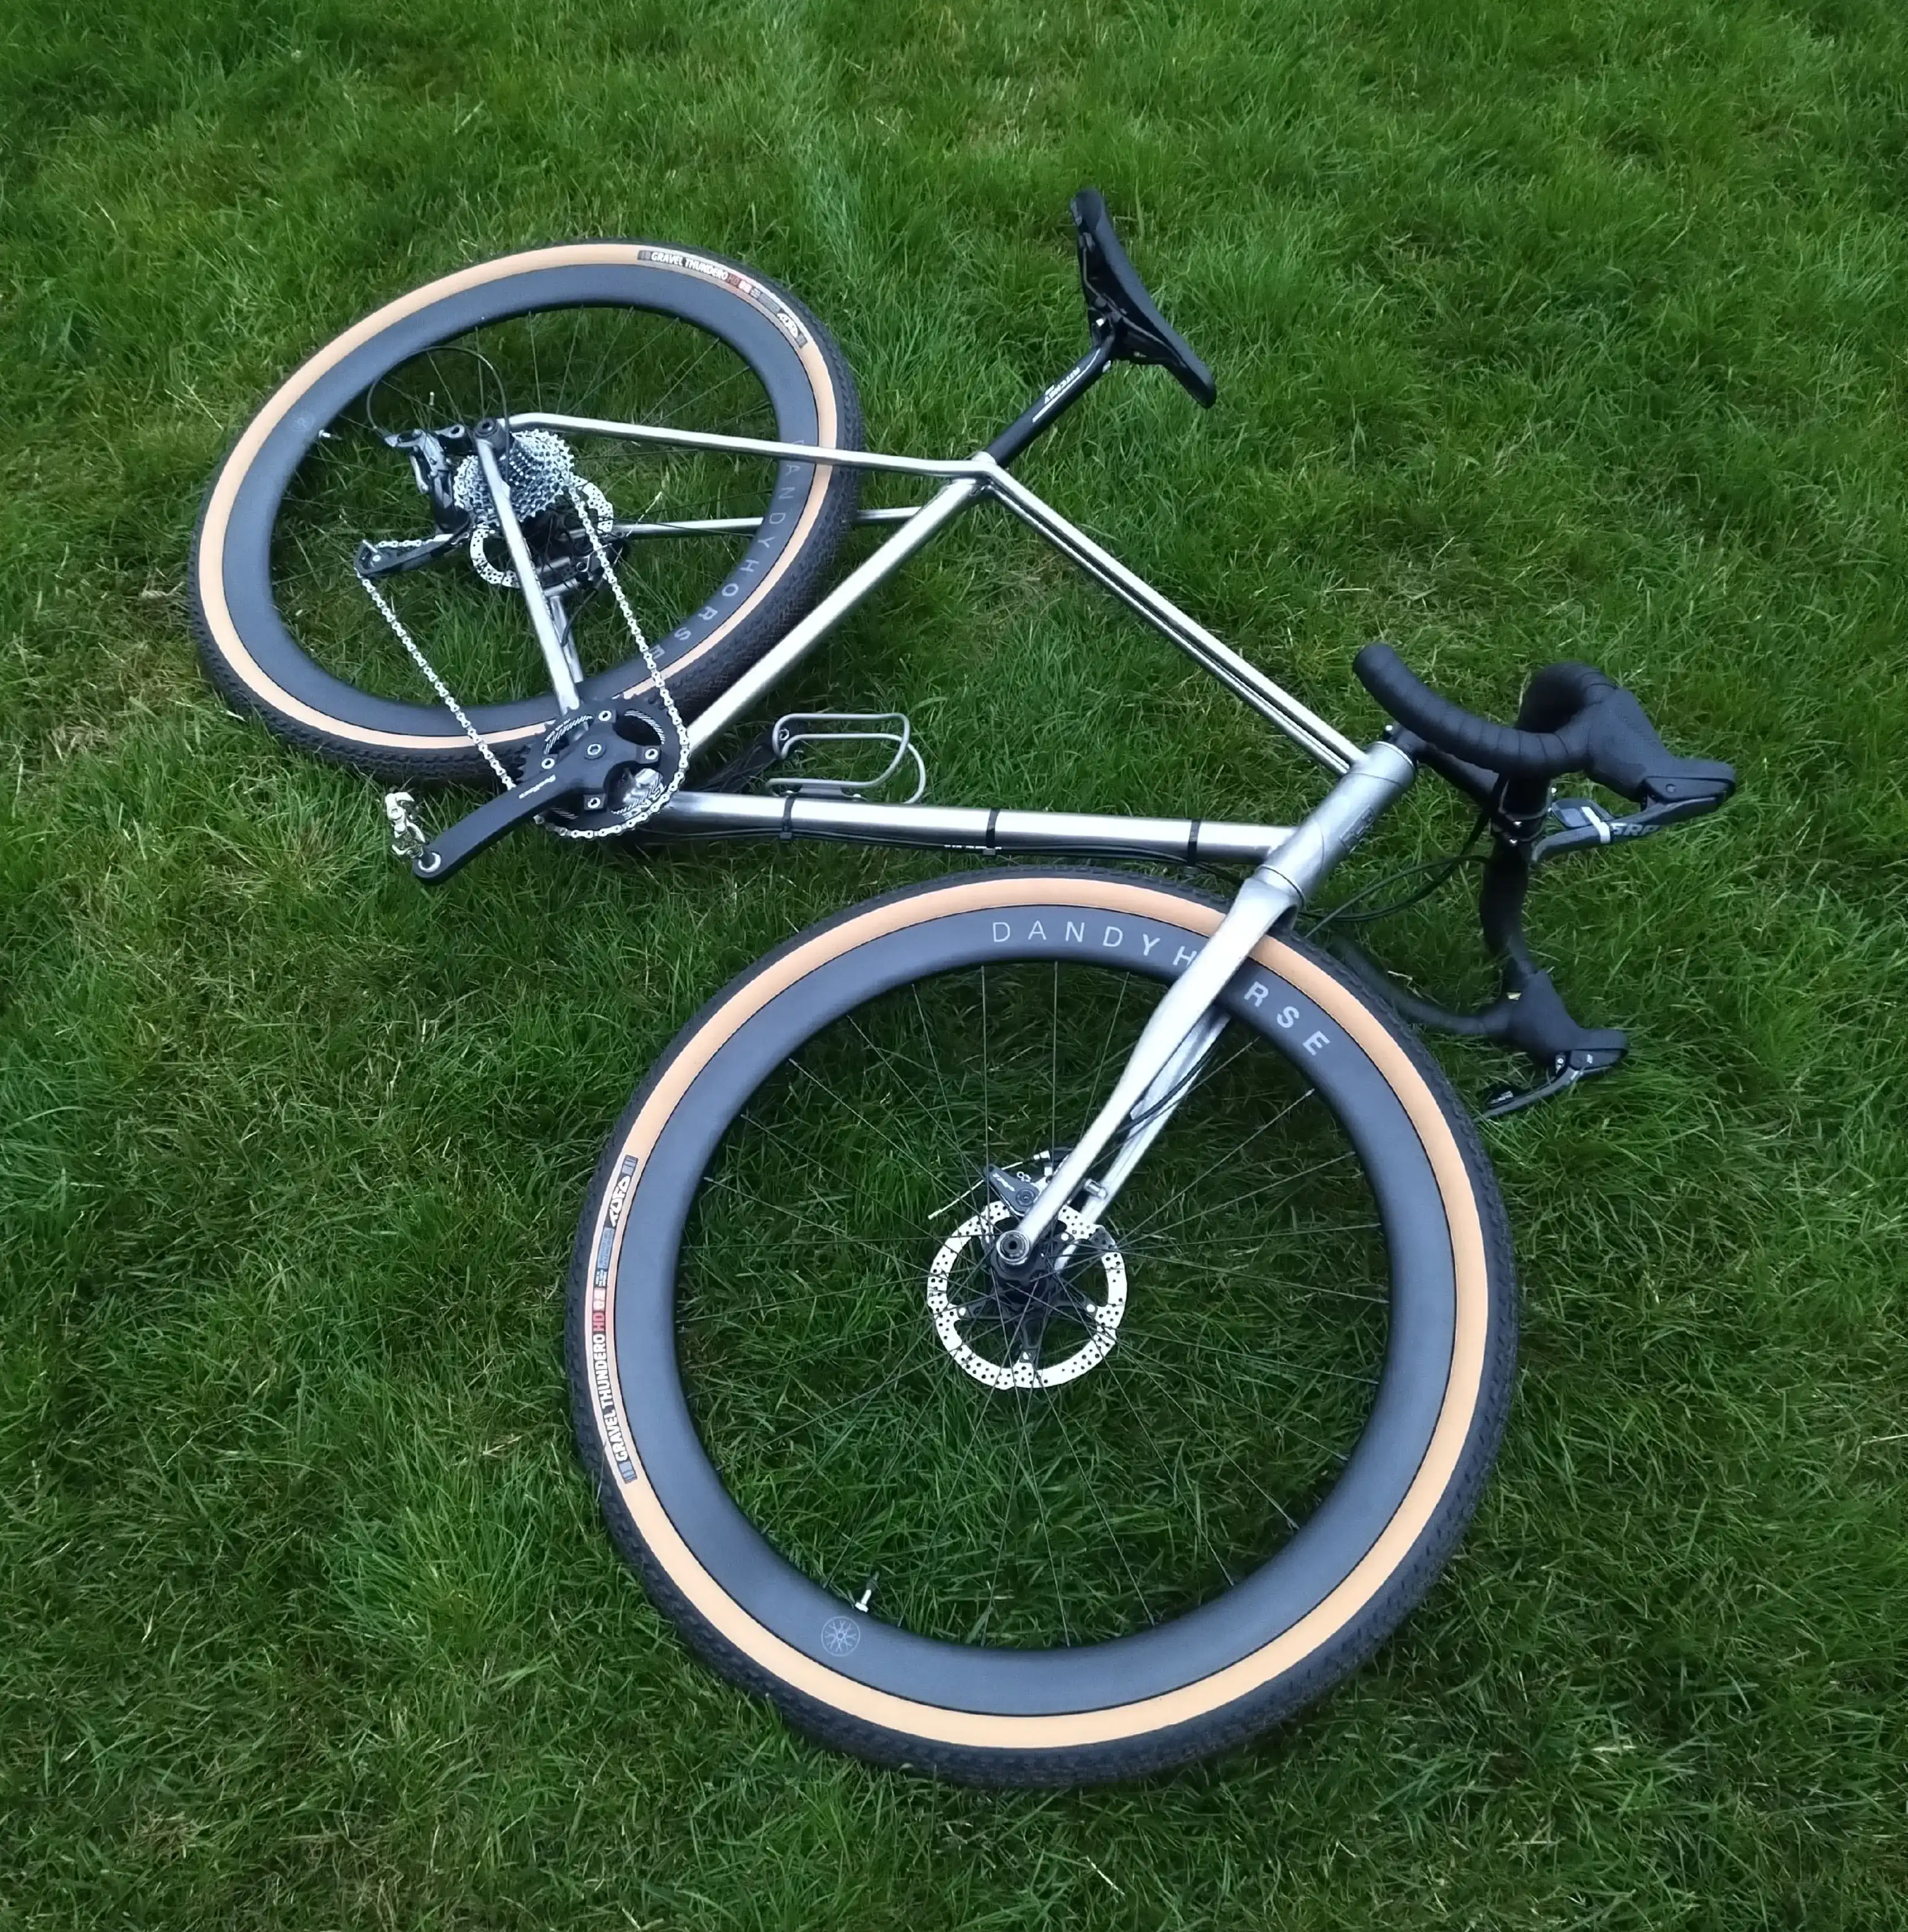
The custom titanium gravel bike prototype fitted with wheels for an early build check.
Image source: @Project_D Bicycles
Overall, the bike feels and handles exactly as I engineered it to – it is reassuringly stiff, very responsive and has that springy ‘pop’ only steel can offer. On top of that, it turns heads, because many of the details on the frameset could not be achieved with standard techniques and were only possible thanks to 3D-printing. This frameset once again convinced me that computer simulations and additive manufacturing are the correct way to create bicycles that feel truly different from the rest of the bunch and fit their rider perfectly in terms of geometry and performance.
For more information about Project_D Bicycles, please visit projectd.tech and project_d_bicycles on Instagram.
Find more detail about this project on Instagram:
Have a custom part in mind? Bring your idea to life with IN3DTEC’s metal 3D printing services.Upload your CAD files HERE now.