English
 Deutsch
 Español
 Français
 Italiano
 日本語
日本語 Русский
 中文
中文
How to Save 3D Printing Costs Through Smart Design Choices
- Published November 06 2025 - Updated July 31 2026
Let’s explore how to reduce production expenses through material optimization, support minimization etc.
The emergence of 3D printing technology has revolutionized manufacturing methods, allowing creators to easily translate digital designs into physical objects. However, for complex or high-volume projects, 3D printing can be costly. Fortunately, strategic design plans can significantly reduce printing costs. Here are some tips from our printing team on how to save on 3D printing expenses by optimizing your design.
1. OPTIMIZE YOUR DESIGN FOR MATERIAL USAGE
Hollow Out Your Models
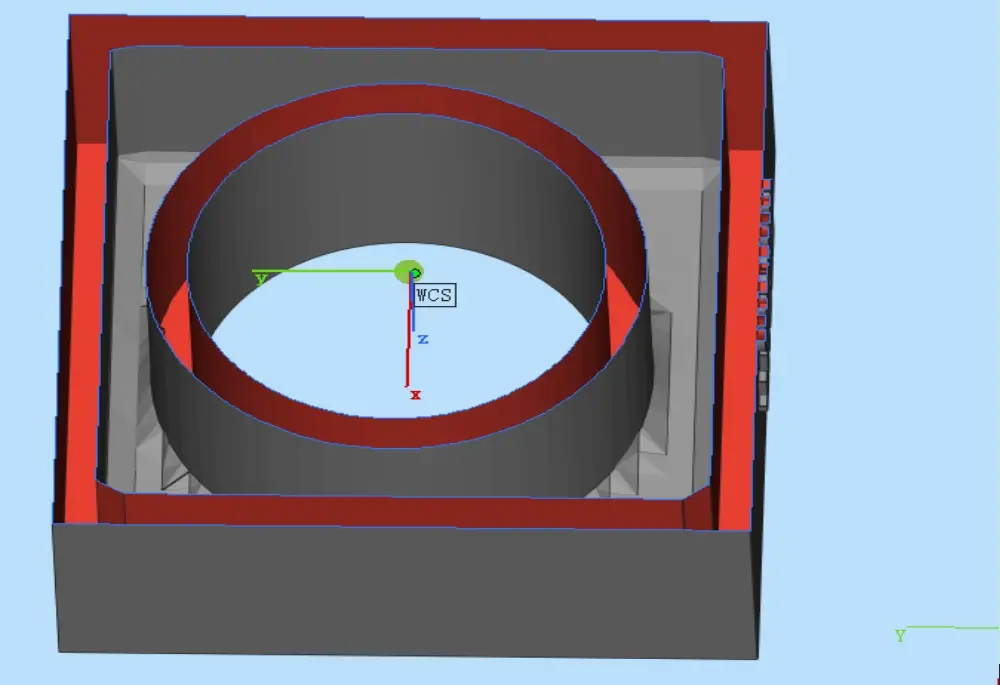
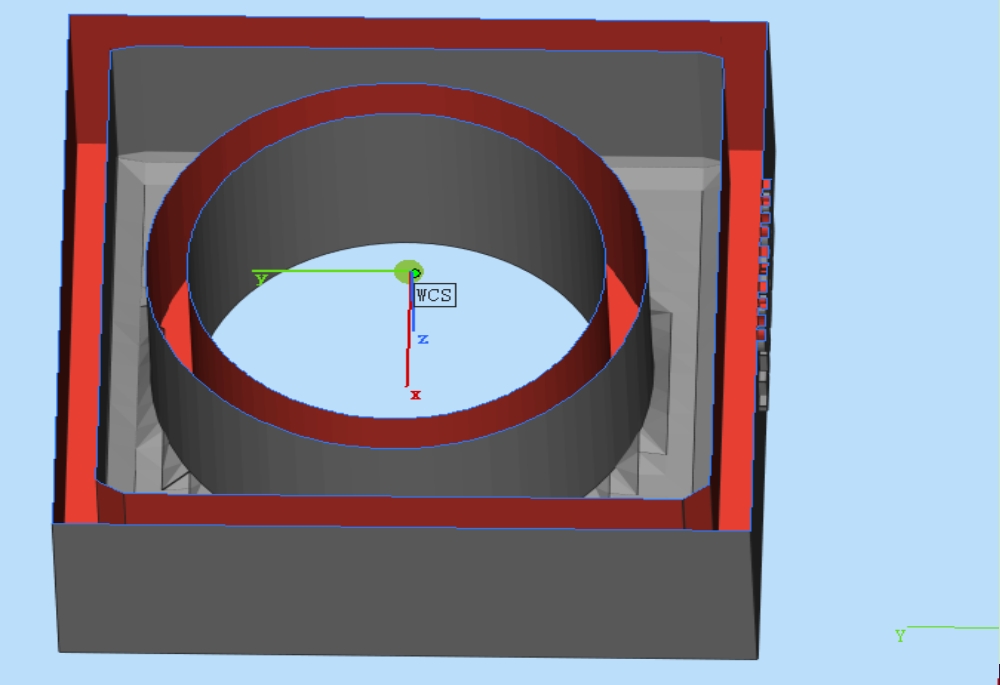
Using a hollowed-out structure can reduce material usage, thus significantly lowering costs. Software tools can be used to hollow out solid parts while retaining sufficient wall thickness to maintain structural integrity. Please take notes that if you choose SLA resin is for printing, a wall thickness of at least 2.5 mm should be maintained, for SLS nylon; 2 mm to 5 mm; for SLM metal, at least 1.2 mm; and for FDM plastic, at least 1.2 mm.
Use Infill Wisely-Ideal for FDM 3D Printing only
In 3D printing, infill rate affects material consumption and printing time. For non-structural parts, a lower infill rate should be great. For most applications, an infill rate of 20%-30% is usually sufficient, ensuring strength while saving material.
2. MINIMIZE SUPPORTS AND OVERHANGS
Design with Self-Supporting Angles
In 3D printing, adding support structures can increase material costs and requires additional post-processing steps. Therefore, the design must ensure that the overhang angle of the part is greater than 45 degrees to minimize the need for support structures. Features such as undercuts or fillets can be integrated to support the overhanging parts.
Split Complex Models
When printing large or complex parts, you may need a lot of support structures. Complex models can be broken down into simpler parts that can be printed without supports and then assembled after printing.
3. CHOOSE THE RIGHT MATERIAL
Consider Cost-Effective Filaments
The cost varies greatly depending on the material. For prototyping and non-functional parts, we recommend cheaper materials such as PLA, while more expensive materials such as ABS or PETG are not recommended. Click this link to get an instant quote for 3D printing using different materials.
Leverage Material Properties
Some materials have superior properties, which may reduce the need for additional design. For parts that require bending, flexible materials should be selected; for high-stress components, we recommend durable materials in order to avoid over-design.
4. OPTIMIZE PRINT SETTINGS
Layer Height Adjustments
In 3D printing, increasing layer thickness means fewer printing layers, thus saving time and materials. For parts that don't require high levels of detail, the layer height can be increased. For example, adjusting the layer height from 0.1 mm to 0.2 mm.
Example: In MJF printing, there are two different modes: fast mode and balanced printing mode. The latter produces parts with higher quality and significantly better surface smoothness. In FDM printing, the maximum nozzle diameter is 1.0 mm, meaning it can print the same part in the shortest amount of time.
Print Speed and Temperature
Optimizing print speed and temperature can save time and reduce material waste. This requires calibrating printer settings before printing begins to ensure efficient material utilization without compromising print quality.
5. DESIGN FOR ASSEMBLY
Modular Design
Smaller parts can typically be printed faster and require less material. Models can be designed as modular components for easy assembly after printing.
Use Fasteners and Snap Fits
Material consumption can be reduced by reducing the solid requirements of large components, such as by using snap-fit designs or designing parts to be assembled with fasteners instead of printing large monolithic components.
6. LEVERAGE ADVANCED SOFTWARE TOOLS
Utilize Slicing Software Features
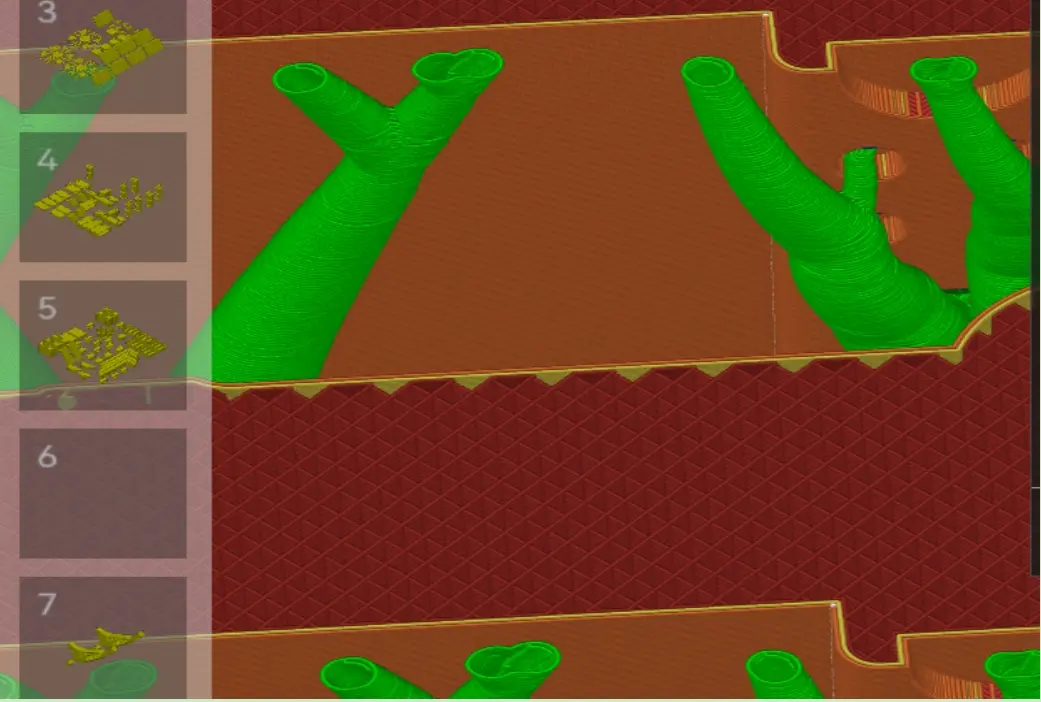
Modern slicing software offers many settings options to optimize 3D print quality. Explore options such as variable layer height, adaptive infill, and support structure optimization to reduce material consumption and print time. For most parts, tree-like supports are recommended.
Let’s take FDM 3D Printing for example, you can use software such as Prusa Slicer, Cura, Simplify3d, Bambu studio, OrcaSlicer
Use Simulation and Analysis Tools
Understanding how a design will perform under stress beforehand can prevent over-design. Using simulation tools to analyze the load-bearing capacity of the design and making adjustments accordingly can reduce material usage without sacrificing strength.
CONCLUSION
By making good design plans, you can significantly reduce the cost of 3D printing. Focus on material utilization, minimize the use of support structures, select appropriate materials, optimize print settings, design assembly, and take full benefit of advanced software tools. These strategies not only help save costs but also shorten production time and improve overall print quality. Happy printing!
If you have any questions or need further assistance with your 3D printing projects, please feel free to contact sales@in3dtec.com.