English
 Deutsch
 Español
 Français
 Italiano
 日本語
日本語 Русский
 中文
中文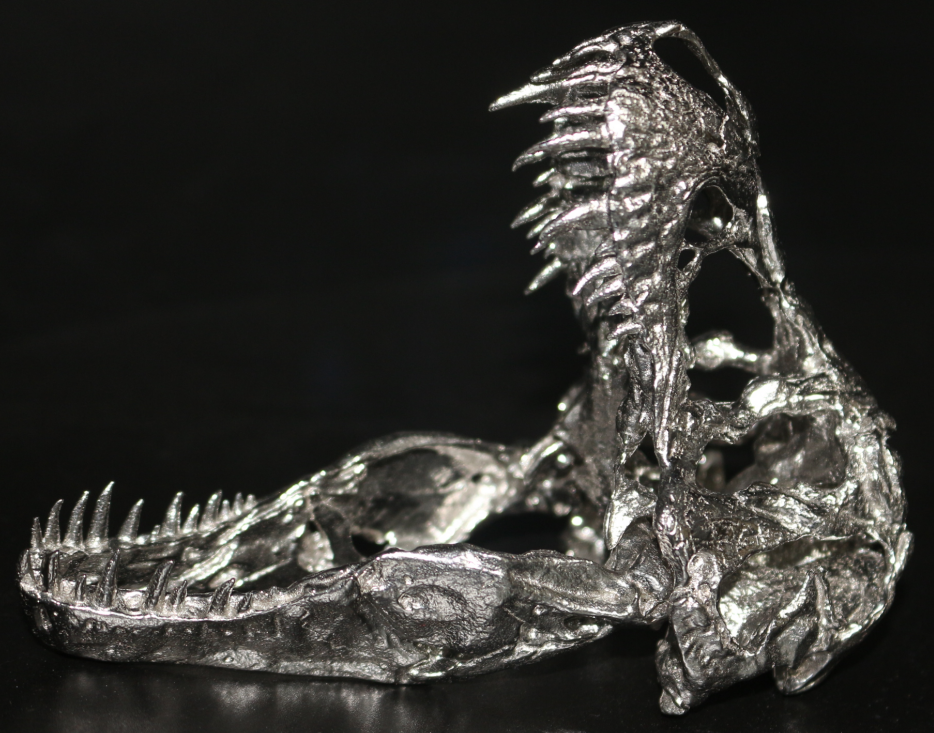
- Author
- 06 November 2025
The Ultimate Guide to Finishing 3D Printed Parts
Professional post-processing techniques to transform raw 3D prints into refined, high-quality masterpieces.
Introduction:
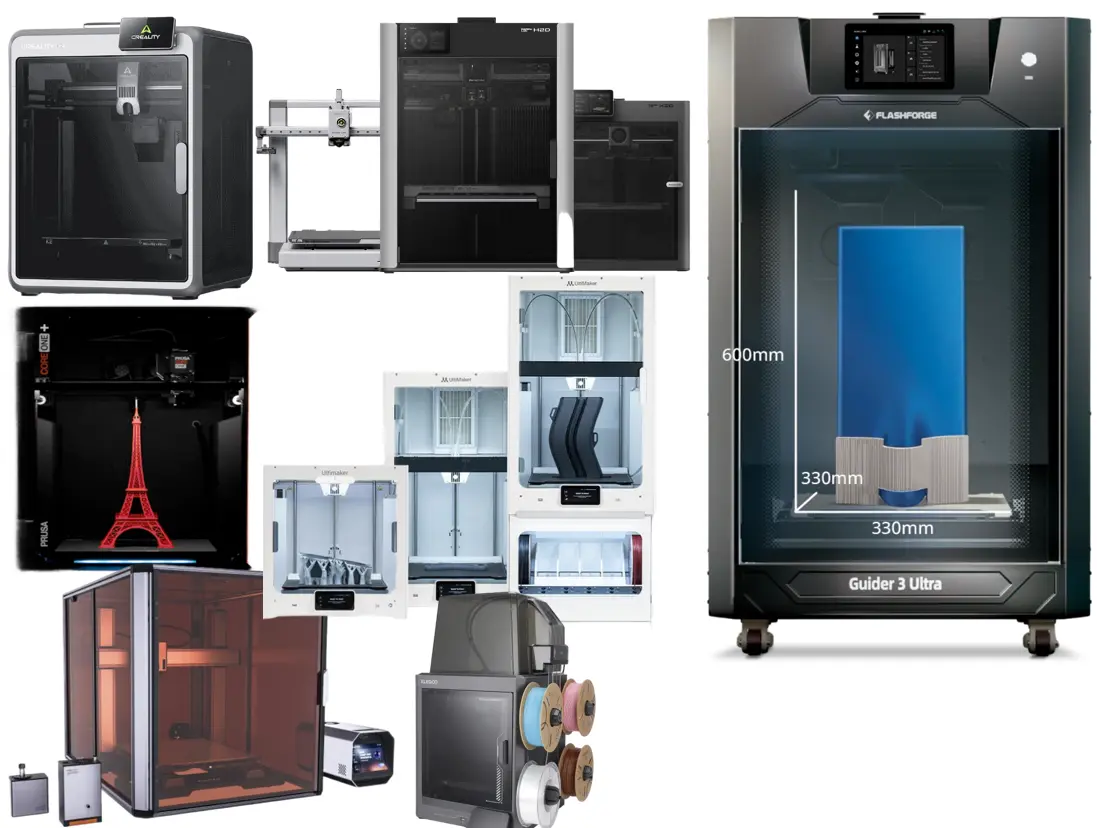
In recent years, 3D printing has revolutionized the manufacturing industry, enabling the creation of complex and customized parts with ease. However, even the highest quality 3D prints often require post-processing to achieve a professional and refined look. In this comprehensive guide, we will explore the various techniques and tools used in finishing 3D printed parts, helping you achieve outstanding results.
1. UNDERSTANDING THE IMPORTANCE OF FINISHING
Before diving into the techniques, it’s crucial to understand why finishing is essential for 3D printed parts. Finishing not only enhances the aesthetic appeal of the part but also improves its functionality, durability, and surface quality. It allows for the removal of imperfections, smoothing of rough surfaces, and even the addition of desired textures or colors.
2. PREPARING THE PRINTED PART
The first step in the finishing process is preparing the 3D printed part for post-processing. This involves removing any support structures, raft, or brim. Careful removal is necessary to avoid damaging the part. Additionally, inspect the print for any visible defects or layer lines that need to be addressed during the finishing process.
3. SANDING AND SMOOTHING
Sanding is one of the most common techniques used to smooth out rough surfaces and eliminate visible layer lines. Start with coarse-grit sandpaper to remove larger imperfections, gradually progressing to finer grits for a smoother finish. For intricate parts or hard-to-reach areas, consider using sanding sticks or foam pads. Remember to wear appropriate safety gear and work in a well-ventilated area.
4. FILLING AND PRIMING
To further hide imperfections and achieve a flawless surface, filling and priming are crucial steps. Apply a filler material, such as epoxy putty or automotive body filler, to fill gaps, holes, or layer lines. Once the filler is dry, sand it down to achieve a level surface. Next, apply a primer to create a smooth and uniform base for painting or other finishing techniques.
5. PAINTING AND COLORING
Painting is an excellent way to add a personal touch and enhance the aesthetics of 3D printed parts. Choose a suitable paint type for your material, such as acrylic or enamel. Before applying the paint, ensure the surface is clean and free from dust or debris. Use thin, even coats, allowing each layer to dry before applying the next. Consider using techniques like airbrushing or masking for more intricate designs.
6. ADVANCED FINISHING TECHNIQUES
In addition to sanding and painting, there are several advanced finishing techniques to explore. These include vapor smoothing, which involves exposing the part to solvent fumes to melt and smooth the surface, and electroplating, which adds a thin layer of metal onto the part for a metallic finish. Other techniques like hydro dipping, heat treating, or adding decals and labels can also be employed to achieve specific effects.
7. TEXTURING AND SURFACE TREATMENTS
If you want to add texture or unique surface finishes to your 3D printed parts, there are various techniques to explore. For example, you can use abrasive blasting, which involves propelling abrasive materials at high speeds to create a textured or frosted appearance. Chemical etching, on the other hand, involves applying specific chemicals to selectively dissolve the surface of the part, creating intricate patterns or designs.
8. SURFACE FINISHES FOR SPECIFIC MATERIALS
Different 3D printing materials may require specific surface finishing techniques. For example, with PLA (Polylactic Acid), you can use a technique called “smoothing with heat” where controlled heat is used to melt and smooth the surface of the print. For ABS (Acrylonitrile Butadiene Styrene), vapor smoothing with acetone is a popular method. Research and experiment with suitable techniques for the specific materials you are working with.
9. FINISHING SAFETY
It’s important to prioritize safety when engaging in finishing processes. Some techniques may involve the use of hazardous materials, such as solvents or chemicals. Ensure you work in a well-ventilated area and wear appropriate personal protective equipment (PPE) like gloves, goggles, and masks. Follow safety guidelines and instructions provided by manufacturers for any products or materials used.
CONCLUSION
Finishing 3D printed parts is a crucial step in elevating their quality and appearance. With the techniques outlined in this guide, you can achieve professional-looking results, turning your 3D prints into impressive, functional, and visually appealing objects. Experiment with different methods, take your time, and enjoy the process of transforming raw prints into finished masterpieces. Remember, practice makes perfect, so don’t be afraid to explore and refine your skills. Happy finishing!